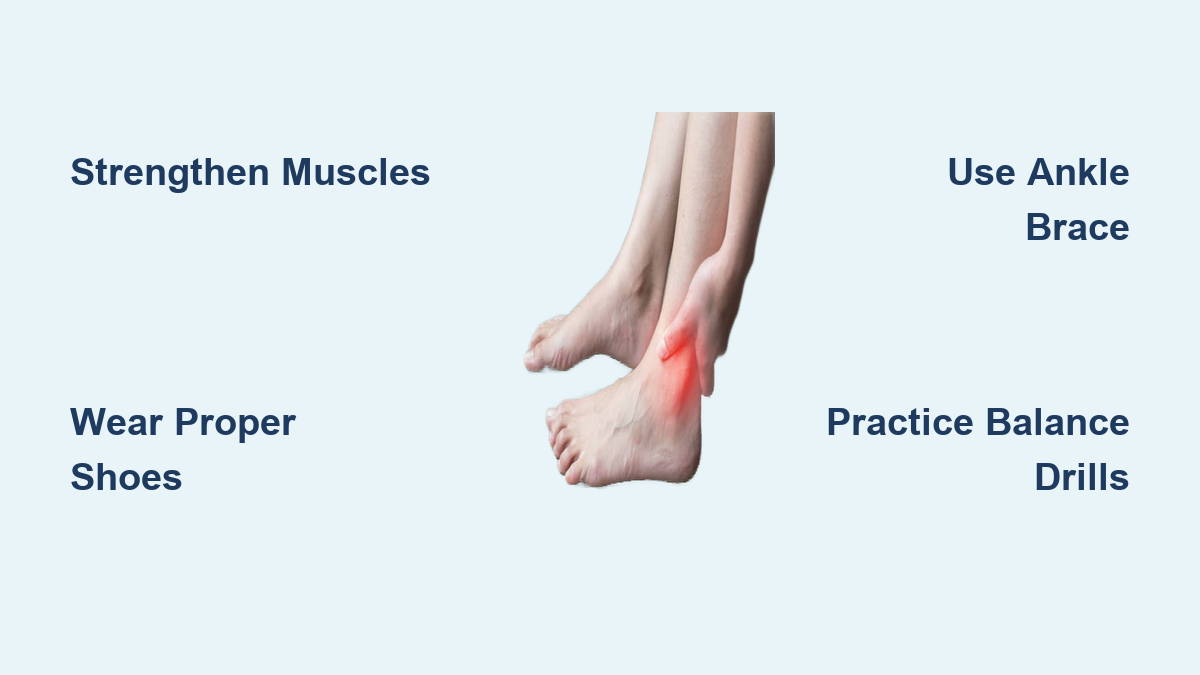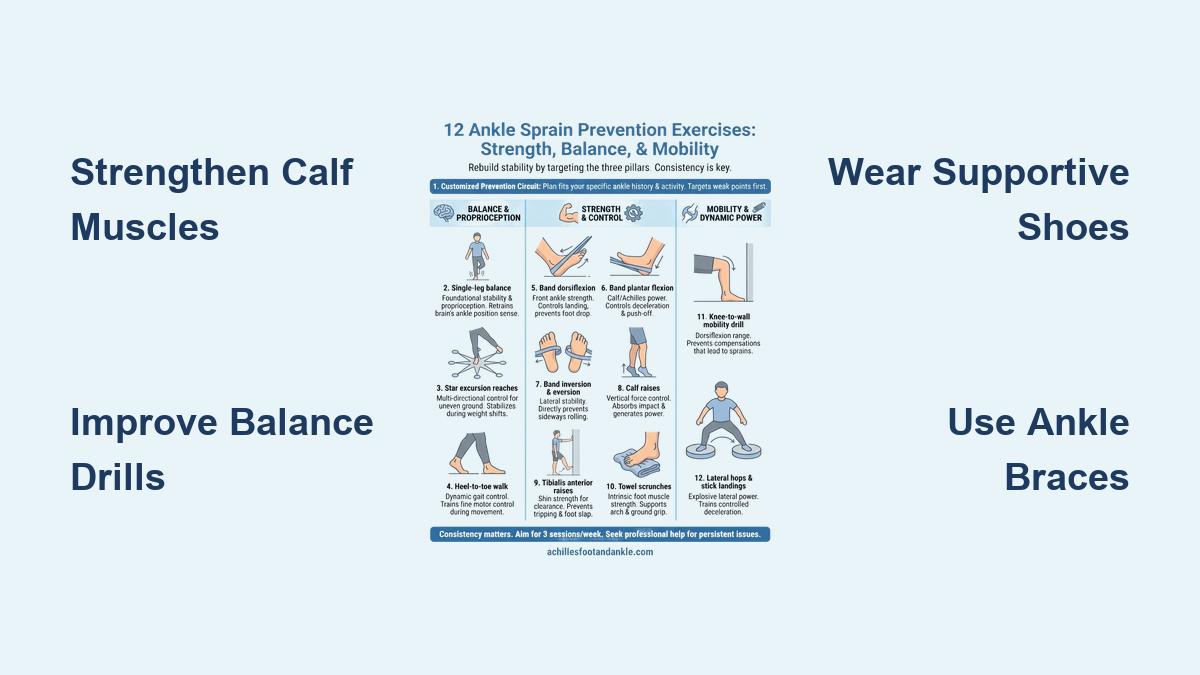
If your ankle keeps rolling when walking on uneven ground, you’re not alone—this is a common and often preventable issue affecting millions. Repeated ankle rolls typically stem from past sprains, weakened stabilizing muscles, poor balance, or inadequate footwear. Left unaddressed, each episode further stretches the ligaments and weakens neuromuscular control, creating a dangerous cycle of instability. The good news? With targeted exercises, proper footwear, and smart rehab strategies, you can regain confidence and walk safely—even on trails, curbs, or gravel paths. This guide delivers science-backed, actionable steps to stop ankle rolling for good, including strengthening routines, balance drills, shoe advice, and when to seek professional help.
Strengthen Key Stabilizing Muscles

Strong muscles around the ankle act like a natural brace, reacting quickly to prevent excessive rolling. Focus on building strength in the peroneals, calf, tibialis, and intrinsic foot muscles to improve dynamic joint control.
Build Calf Strength for Shock Absorption
The gastrocnemius and soleus muscles absorb impact and stabilize the ankle during walking, especially on slopes or loose terrain.
Single-Leg Calf Raises
Stand on one foot, rise onto the ball of your foot, then lower slowly over 3 seconds. Perform 3 sets of 12–15 reps per leg. For greater challenge, do this off a step or add hand weights. The slow lowering (eccentric phase) builds resilience by improving muscle reaction time—critical for catching a roll before it happens.
Heel Raises with Support
Hold a wall or counter, rise onto your toes, and control the descent. Ideal for early rehab or if balance is still shaky. Do 2–3 sets of 10–15 reps. This builds foundational strength without overloading the joint.
Strengthen the Tibialis for Controlled Foot Strike
Weak anterior tibialis muscles lead to foot drop and poor heel control—increasing roll risk during early stance phase.
Resistance-Band Dorsiflexion
Anchor a band to a stable object, loop it around the ball of your foot. Sit with knee bent 90°, pull toes toward shin (2 seconds up, 3 seconds down). Perform 3 sets of 12–15 reps per foot. This strengthens the “braking” mechanism that controls how your foot lands.
Wall Toe Raises
Lean against a wall, lift the balls of your feet toward your shins while keeping heels down. Do 2–3 sets of 15 reps. Keep knees straight—this ensures the work stays in the front of the lower leg, where it’s needed most.
Train Peroneals to Prevent Inversion Rolls
The peroneus longus and brevis are your ankle’s first line of defense against lateral rolling.
Resistance-Band Eversion
Anchor band to the left; loop around the inside of your right foot. Move foot outward against resistance. Perform 3 sets of 15 reps per side. Progress from seated (bent knee) to standing to increase functional demand. These muscles fire milliseconds before a roll—if they’re strong, they can stop it before it starts.
Monster Walks for Functional Stability
Place resistance band above knees or ankles. Step side-to-side in a half-squat, maintaining tension. Complete 2–3 sets of 10 steps per side. This engages glutes and peroneals together—critical for trail walking where terrain shifts unexpectedly.
Warning: If you feel pinching on the outer ankle, reduce resistance or check form. Pain means you’re overloading a sensitive area.
Activate Intrinsic Foot Muscles
Tiny muscles in the foot support the arch and enhance ground feedback.
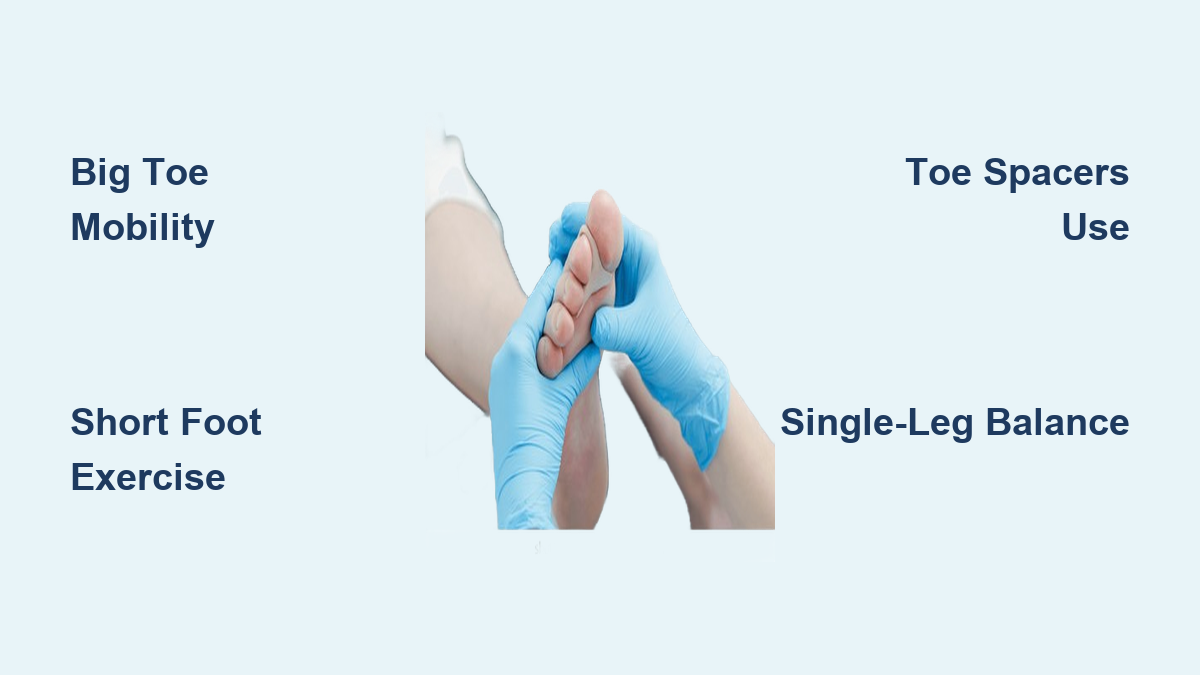
Short Foot Exercise
Sit or stand; press the ball of your foot down while pulling the arch upward (without curling toes). Hold 15 seconds, repeat 3 times per foot. This builds foot strength and improves proprioception—your brain’s ability to sense foot position.
Walk on Lateral Edges
Walk slowly in a straight line using only the outer edges of your feet. Start in supportive shoes, progress to barefoot. Trains the peroneals and lateral foot stability, simulating the micro-adjustments needed on uneven ground.
Improve Balance and Proprioception
After an ankle sprain, your joint’s ability to sense position (proprioception) declines—delaying protective muscle responses. Retraining this system is essential.
Master Single-Leg Balance
This foundational drill sharpens micro-corrections before a roll occurs.
Stand on one leg, knee slightly bent, arms out for balance. Hold 30 seconds, complete 3 rounds per leg. Look straight ahead—don’t watch your feet. This forces your nervous system to rely on joint sensors, not vision.
Progressions:
– Close your eyes (removes visual input)
– Stand on a foam pad or pillow
– Add mini squats or arm movements
Expert Note: Perform barefoot when possible—direct ground contact boosts sensory feedback.
Use a Wobble Board or Bosu Ball
Unstable surfaces challenge your ankle’s reaction speed.
Stand on a wobble board or Bosu (dome side down). Shift weight in all directions: front, back, left, right. Do 30 seconds per set, 3 sets. This trains your ankle to make rapid corrections under load.
Advanced:
– Close eyes
– Perform single-leg
– Add overhead reaches with light weights
These variations mimic real-world demands like stepping off a curb while carrying groceries.
Practice Heel-to-Toe Walking
Mimics real-world demands of walking on curbs or narrow paths.
Place heel directly in front of toes in a straight line. Take 20–30 slow, controlled steps. Keep gaze forward, engage core. This drill challenges mid-stance stability and reinforces coordinated ankle-knee-hip control—exactly what you need on uneven terrain.
Why it works: It forces your body to stabilize on one leg while shifting weight forward, just like hiking on a rocky trail.
Try the Star Excursion Balance Test (SEBT)
A gold-standard drill for dynamic balance.
Stand on one leg; reach the opposite foot in 8 directions (like a star). Touch lightly and return to center. Complete 2–3 rounds per leg.
Tip: Measure reach distance over time—improvement indicates better control. Athletes who train this test reduce re-injury rates by up to 50%.
Add Plyometric Training for Real-World Readiness
Once basic strength and balance are solid, introduce dynamic movements that mimic walking on uneven terrain.
Perform Single-Leg Hops
Trains landing control and impact absorption.
Hop 15–30 cm forward on one leg. Land softly with ankle, knee, and hip bent. Hold landing for 2 seconds. Repeat 8–10 times per leg.
Key cue: “Quiet feet”—land silently to ensure proper shock absorption.
Do Lateral Bounds for Side Stability
Simulates sudden shifts on trails or sidewalks.
Bound side-to-side, landing on one foot. Focus on landing on the outside edge, then flattening the foot. 2–3 sets of 10 bounds per side.
Pro Tip: Imagine avoiding a rock—your body will naturally engage lateral stabilizers.
Jump Rope for Elastic Strength
Builds spring-like resilience in the Achilles and trains rapid muscle co-contraction.
Jump 1 inch high, land on balls of feet. Start with 30-second intervals, 3–5 rounds. Progress to single-leg jumps.
Avoid: High-impact jumping if you’re still in early rehab or have pain.
Stretch Tight Calf Muscles
Limited dorsiflexion forces your foot into unstable positions on uneven ground.
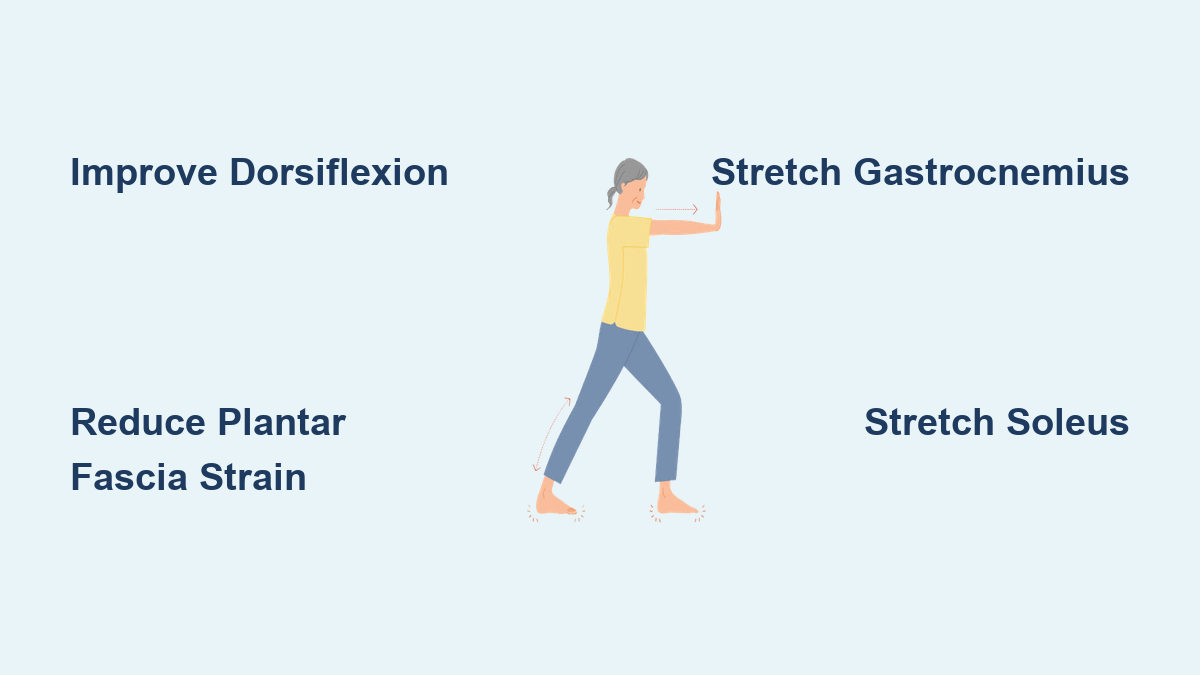
Stretch the Soleus (Bent-Knee Calf Stretch)
Targets the deep calf muscle critical for ankle mobility.
Stand facing a wall, back foot flat, knee bent. Lean forward until you feel a stretch in the lower calf. Hold 10–30 seconds, repeat 3 times per leg.
Why it matters: Improves knee-over-toe motion, reducing strain on the ankle.
Stretch the Gastrocnemius (Straight-Knee Calf Stretch)
Relieves upper calf tightness.
Extend back leg straight, heel down. Lean into wall, keeping back straight. Hold 10–30 seconds per side.
Form check: Ensure back heel stays on the floor.
Choose Supportive Footwear

Shoes play a major role in preventing ankle rolls—especially on loose or sloped surfaces.
Look for These Features
- Firm heel counter: Prevents rearfoot slippage
- Stable midsole: Resists compression after miles of use
- Lateral support: Critical for high-arched or supinated feet
- Aggressive outsole: Enhances grip on dirt, gravel, or wet pavement
Recommended Shoe Types
- Trail-running shoes: Designed for uneven terrain with rock plates and sticky rubber
- Hiking boots: Offer ankle support and durability
- Motion-control or stability shoes: Help if you overpronate
Avoid These Shoes
- Flip-flops
- Ballet flats
- Worn-out sneakers (replace every 300–500 miles)
- Flat sandals with no arch support
Warning: High-tops aren’t always better—focus on overall stability, not just height.
Use Orthotics and Bracing Strategically
External support can reduce re-injury risk—but should complement, not replace, active rehab.
Custom Orthotics for Biomechanical Correction
Correct overpronation or flat feet. Reduce strain on lateral ligaments. Prescribed after gait analysis by a podiatrist.
Fact: Studies show orthotics improve balance and reduce ankle displacement during uneven walking.
Ankle Braces for Confidence and Support
Best used during high-risk activities (hiking, sports, rehab phase). Improves proprioceptive feedback. Should not be worn daily long-term—can weaken muscles.
Top Picks:
– Lace-up braces with rigid side supports
– Semi-rigid sleeves with adjustable straps
Athletic Taping for Temporary Stability
Applied by professionals before activity. Rigid tape limits excessive motion. Kinesiology tape may enhance sensory feedback.
Caution: Taping loses effectiveness after 15–20 minutes of activity—best combined with bracing.
Seek Professional Help When Needed
If ankle rolling persists despite home efforts, professional intervention is crucial.
See a Physical Therapist
A structured program addresses the root causes:
- Assessment: Tests ligament integrity, muscle strength, balance, and gait
- Treatment: Includes manual therapy, neuromuscular re-education, and progressive drills
- Outcome: Most improve within 6–12 weeks
Red flag: If you feel “giving way” without cause, see a PT—this indicates functional instability.
Consult a Podiatrist
For structural issues or persistent pain:
- Diagnoses biomechanical imbalances
- Prescribes custom orthotics
- Recommends proper footwear
- Orders imaging if needed
Get Imaging If Symptoms Worsen
- X-ray: Rules out fractures or bone spurs
- MRI: Evaluates ligament tears, tendon damage, or cartilage injury
Indications:
– Severe swelling or bruising
– No improvement after 6–8 weeks
– Pain with daily walking
Consider Surgery (Rare)
Only needed in <5% of cases—typically for complete ligament tears unresponsive to rehab.
- Procedures: Ligament repair or reconstruction
- Followed by 3–6 months of rehab
- Success rate: Over 85% with proper post-op care
Follow a Weekly Prevention Routine
Consistency is key. Perform this 3–4 times per week:
| Exercise | Sets | Reps/Duration |
|---|---|---|
| Single-Leg Balance | 3 | 30 sec/leg |
| Single-Leg Calf Raises | 3 | 15 reps |
| Band Eversion | 3 | 15 reps |
| Heel-to-Toe Walk | 3 | 20–30 steps |
| Star Excursion | 2 | 8 directions |
| Jump Rope | 3 | 30 sec |
Warm-Up (5–7 min):
– March in place
– Heel walks
– Ankle circles (trace alphabet)
– Calf stretches
Stop if:
– Sharp pain occurs
– Swelling returns
– Landings become loud or unstable
– Fatigue compromises form
Final Note: Ankle rolling is not inevitable. With focused strengthening, balance training, and smart footwear choices, you can walk confidently on any surface. Start today—your ankles will thank you tomorrow.