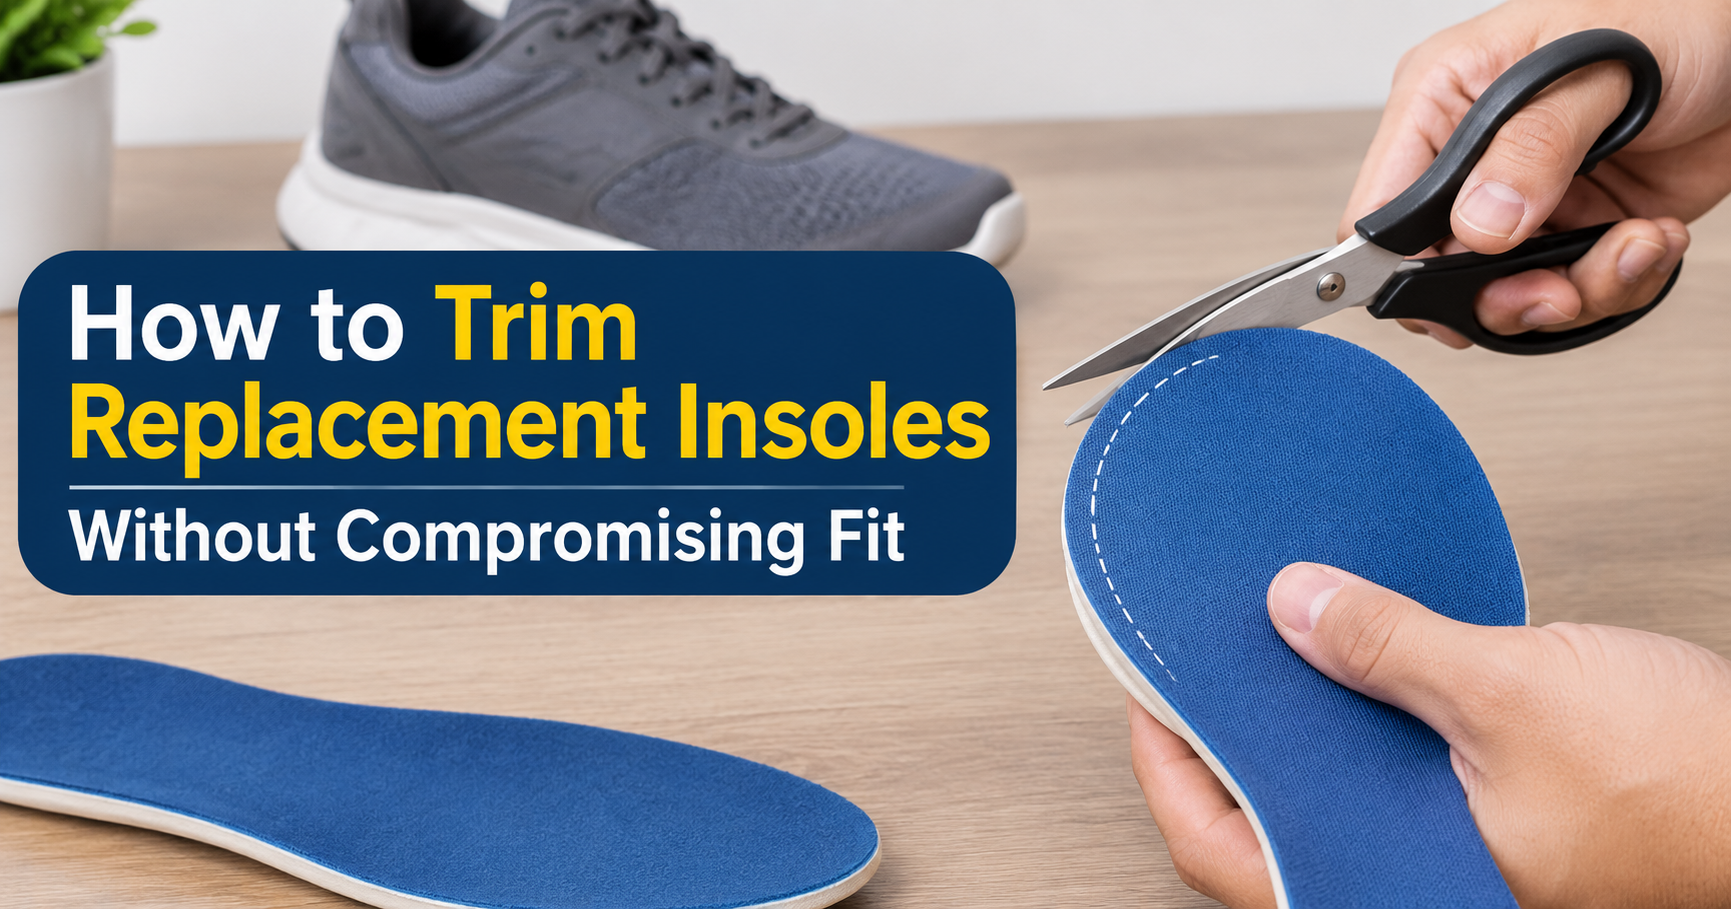
A new insole that is even a few millimetres too big can bunch up under your toes, lift your heel out of position or press the sides of your foot against the shoe wall. An insole that is too small leaves gaps that let your foot slide. Learning how to trim insoles to fit shoes is a simple skill, but the details matter: where you cut, how much you remove and which part of the insole you leave untouched all affect comfort and support.
This guide explains when trimming is appropriate, which tools to use, a clear step-by-step method, how to handle different insole materials, and the mistakes that most often ruin a good pair of insoles.
Why Insoles Need Trimming in the First Place
Most over-the-counter insoles are made in a limited range of size bands (for example, small, medium and large) rather than in every individual shoe size. Manufacturers deliberately make them slightly oversized so that one product can cover several shoe sizes. Shoes themselves also vary in shape: a running shoe, a leather work boot and a pointed dress shoe can all be the same size on the label but have very different internal outlines.
Trimming lets you match the insole to the exact shape of the shoe’s interior so that:
- the insole lies completely flat on the footbed with no curling edges;
- the heel cup and arch support land under the correct parts of your foot;
- there is no pressure on the toes or sides of the foot;
- the shoe keeps enough internal volume so your foot is not pushed upward or forward.
When You Should and Should Not Trim an Insole
Insoles that are designed to be trimmed
Many cushioned, foam, gel and sports insoles are sold as “trim to fit.” They often have printed size lines, cut guides or a slightly oversized forefoot. These are the easiest to modify, and the manufacturer expects you to cut them.
Insoles you should be cautious with
- Custom or prescription orthotics: These are shaped precisely for your feet. Do not alter them unless your podiatrist or orthotist tells you to, because even a small change can alter how they correct your foot position.
- Heat-moldable insoles: Trim them before or after molding according to the instructions that came with them. Cutting at the wrong stage can affect the final shape.
- Stiff arch-support insoles: The arch and heel cup are structural. Trim only the toe end and, if needed, a little from the outer edge of the forefoot.
Tools and Materials You Will Need
- The shoe’s original insole (sock liner): This is your template. If it has been lost, you can trace the inside of the shoe on paper instead.
- Sharp scissors: Heavy-duty or fabric shears work best for foam, gel and fabric-topped insoles. Dull blades tear and leave ragged edges.
- Utility knife or craft knife (optional): Helpful for thick cork, dense EVA or leather-topped insoles. Use it on a cutting mat.
- Permanent marker or fine-tip pen: For a clear tracing line that does not smudge.
- Fine sandpaper or an emery board: To smooth cut edges.
- Ruler: For checking the margin you leave outside the tracing line.
- Cutting mat or a flat protected surface.
Step-by-Step: How to Trim Insoles to Fit Shoes
Step 1: Remove the Existing Insole
Take out the factory insole from the shoe. Most simply lift out from the heel end. If the insole is glued down, peel it gently from the heel forward. If you cannot remove it without damaging the shoe, use the new insole on top and trace the shoe’s interior outline instead.
Step 2: Check the Original Insole’s Condition
The factory insole must be a good template. A worn, compressed or shrunken insole may be smaller than the original shape. If it looks distorted, use a paper tracing of the footbed instead.
Step 3: Lay the Original Insole on the New One
Place the original insole on top of the new insole, matching the heel ends first. Align the heel curves carefully, because the heel is the anchor point. The new insole will usually extend beyond the template at the toe end and along the sides.
Step 4: Trace the Outline
Hold the template firmly and trace its entire outline with the marker. Keep the marker vertical so the line does not drift. Trace slowly around the toe and the curve of the heel.
Step 5: Cut Slightly Outside the Line
Cut about 2 millimetres (roughly 1/16 inch) outside the traced line, not on it. It is far easier to remove a little more later than to add material back. Use long, smooth cuts rather than small snips, and rotate the insole, not the scissors, as you go around curves.
Step 6: Test the Fit in the Shoe
Slide the insole into the shoe, heel first, pressing the heel into the back of the shoe. It should lie flat. Check that the toe end does not curl, that the sides are not riding up the shoe wall, and that you can slide the insole out again without it catching.
Step 7: Fine-Tune with Small Trims
If the insole buckles or lifts at a particular spot, mark that spot and take out the insole. Trim a very small amount, around 1 to 2 millimetres at a time, then test again. Repeat until it lies perfectly flat.
Step 8: Smooth the Edges
Lightly sand rough or sharp edges. For fabric-topped insoles, trim any loose threads. Smooth edges prevent rubbing against the inside of the shoe and stop the top cover from fraying.
Step 9: Wear Test
Wear the shoes for 15 to 30 minutes around the house. Notice any pressure points, toe crowding or sliding. A small adjustment now prevents blisters later.
Which Parts of the Insole Can Be Cut?
Not every area of an insole is equally “safe” to trim. The diagram below shows the general rule for most arch-support and cushioned insoles.
Trimming Tips for Different Insole Materials
| Material | Best Cutting Tool | Tip |
|---|---|---|
| EVA foam | Sharp scissors | Cuts cleanly; sand edges lightly if they feel sharp. |
| Memory foam | Sharp scissors | Compresses easily, so cut slowly and avoid pinching the foam. |
| Gel | Sharp scissors | Avoid cutting into the gel pad itself; trim only the surrounding material. |
| Cork | Utility knife | Score first, then cut through; scissors can crack it. |
| Leather top cover | Heavy-duty shears | Cut from the top side to keep the leather edge neat. |
| Fabric top cover | Fabric scissors | Trim loose threads to prevent fraying. |
| Rigid or semi-rigid orthotic | Usually do not trim | Follow the manufacturer’s or your clinician’s instructions. |
How to Know If the Fit Is Right
A properly trimmed insole sits flat with its heel pressed to the back of the shoe, and the toe end finishes just short of the shoe’s front edge. The figure below compares the three most common outcomes.
Fit checklist
- The insole lies completely flat, with no ridges or curled edges.
- The heel sits fully back against the heel counter of the shoe.
- The arch support lines up with the arch of your foot, not behind or ahead of it.
- You still have about a thumb’s width of space in front of your longest toe when standing.
- The shoe still closes comfortably and your foot is not pushed upward against the top of the shoe.
Special Situations
Running shoes and sneakers
These usually have a removable factory insole that makes an ideal template. Because the shoe volume is limited, a thick replacement can feel tight. If the fit is snug, choose a thinner insole rather than trimming deeply into the sides.
Boots
Boots often have a narrower toe box and tall shafts. Trace carefully and trim a little more at the toe. Test with the socks you normally wear with those boots.
Dress shoes and pointed toes
Pointed toes require extra trimming at the front corners. Many people use a three-quarter-length insole in dress shoes so the toe area does not need cutting at all.
Sandals and open shoes
The insole should not extend beyond the footbed edge, because the exposed edge may curl, peel or rub. Trim just inside the outline for a clean finish.
Children’s shoes
Children’s feet grow quickly, so leave a little growth room and re-check the fit often. Replace insoles when the shoes are outgrown rather than repeatedly trimming them.
Narrow or shallow shoes
If you trim the sides to squeeze an insole into a narrow shoe, take only thin slivers and keep the heel cup intact. If a thick insole is still tight, it may simply be the wrong volume for that shoe.
Common Mistakes to Avoid
- Cutting on the line instead of outside it. This often leaves the insole slightly too small. Always leave a small margin first.
- Trimming the heel. A cut heel can leave the heel cup too shallow and reduce stability.
- Stacking the new insole on top of the old one. Unless the shoe has plenty of extra depth, this raises your foot and makes the shoe feel tight.
- Using dull scissors. Dull blades crush foam and create uneven, jagged edges.
- Making large cuts at once. Small incremental trims give you control.
- Trimming both insoles identically without checking each one. Left and right shoes can differ slightly, so test each shoe separately.
- Forgetting to mirror the template. Always trace the left insole for the left shoe and the right for the right.
Troubleshooting After Trimming
| Problem | Likely Cause | What to Do |
|---|---|---|
| Insole bunches at the toes | Still too long | Trim 1 to 2 mm from the toe end and re-test. |
| Insole slides forward | Too small or slippery shoe surface | Use a new blank, or add a small amount of double-sided insole tape under the heel. |
| Pressure on the side of the foot | Insole too wide | Shave a thin sliver off the side edge. |
| Heel slips out of the shoe | Insole too thick or heel area trimmed | Try a thinner insole and leave the heel untouched. |
| Arch support feels misplaced | Insole aligned wrong in the shoe | Reseat the insole heel-first and check that the heel is fully back. |
Caring for Trimmed Insoles
Once trimmed, an insole cannot be returned to its original size, so look after it. Air your shoes between wears, wipe the surface with a damp cloth and mild soap if the manufacturer allows it, and let it dry completely away from direct heat. Most insoles lose their cushioning over time, so replace them when they look flattened, cracked or uneven, usually every 6 to 12 months with regular use.
When to See a Foot Specialist
Insoles are comfort and support aids, not treatments for every foot problem. Speak with a podiatrist or another qualified healthcare professional if you have persistent foot, heel, arch or ankle pain, numbness or tingling, a diagnosed condition such as diabetes affecting your feet, visible deformities, or pain that continues or worsens after you have fitted your insoles correctly. A professional can tell you whether an off-the-shelf insole is suitable or whether custom orthotics are a better option.
Frequently Asked Questions
How much of an insole can I trim?
Trim only what is needed to match the shoe, usually just a few millimetres at the toe end and sides. Avoid cutting the heel and arch areas.
Can I trim insoles without removing the shoe’s original insole?
You can, but it is harder to get an accurate result. If the original insole cannot be removed, trace the shoe’s interior outline on paper and use that as your template.
Should my insole reach the very front of the shoe?
Not necessarily. A full-length insole should come close to the front, but it must lie flat. A three-quarter-length insole ends behind the toes by design.
Do I need to trim both insoles the same?
Not always. Trace each shoe separately, as left and right shoes and feet can differ a little.
What if I cut too much?
If the insole is now too small, it is usually best to replace it. Adding patches or filler under it can create uneven surfaces and pressure points.
Can I use scissors on every type of insole?
Sharp scissors work on most foam, gel and fabric-topped insoles. For thick cork, dense EVA or leather, a utility knife on a cutting mat gives a cleaner edge. Rigid orthotics generally should not be cut.
How do I trim an insole for a wider or narrower shoe?
The tracing method works the same way. Because the template reflects the shoe’s real width, the new insole will match it. Just keep your cuts outside the tracing line and trim gradually.
Final Thoughts
Trimming insoles to fit your shoes is a quick job, but the results depend on patience and careful measuring. Use the original insole as a template, trace accurately, cut a little outside the line, test often and take off very small amounts at a time. Protect the heel and arch, match the method to the material, and check the fit again after a short wear test. With these steps, your insoles will sit flat, feel stable and deliver the comfort and support they were designed for.
This article is for general information only and is not a substitute for professional medical advice. If you have foot pain or a medical foot condition, consult a qualified healthcare professional.