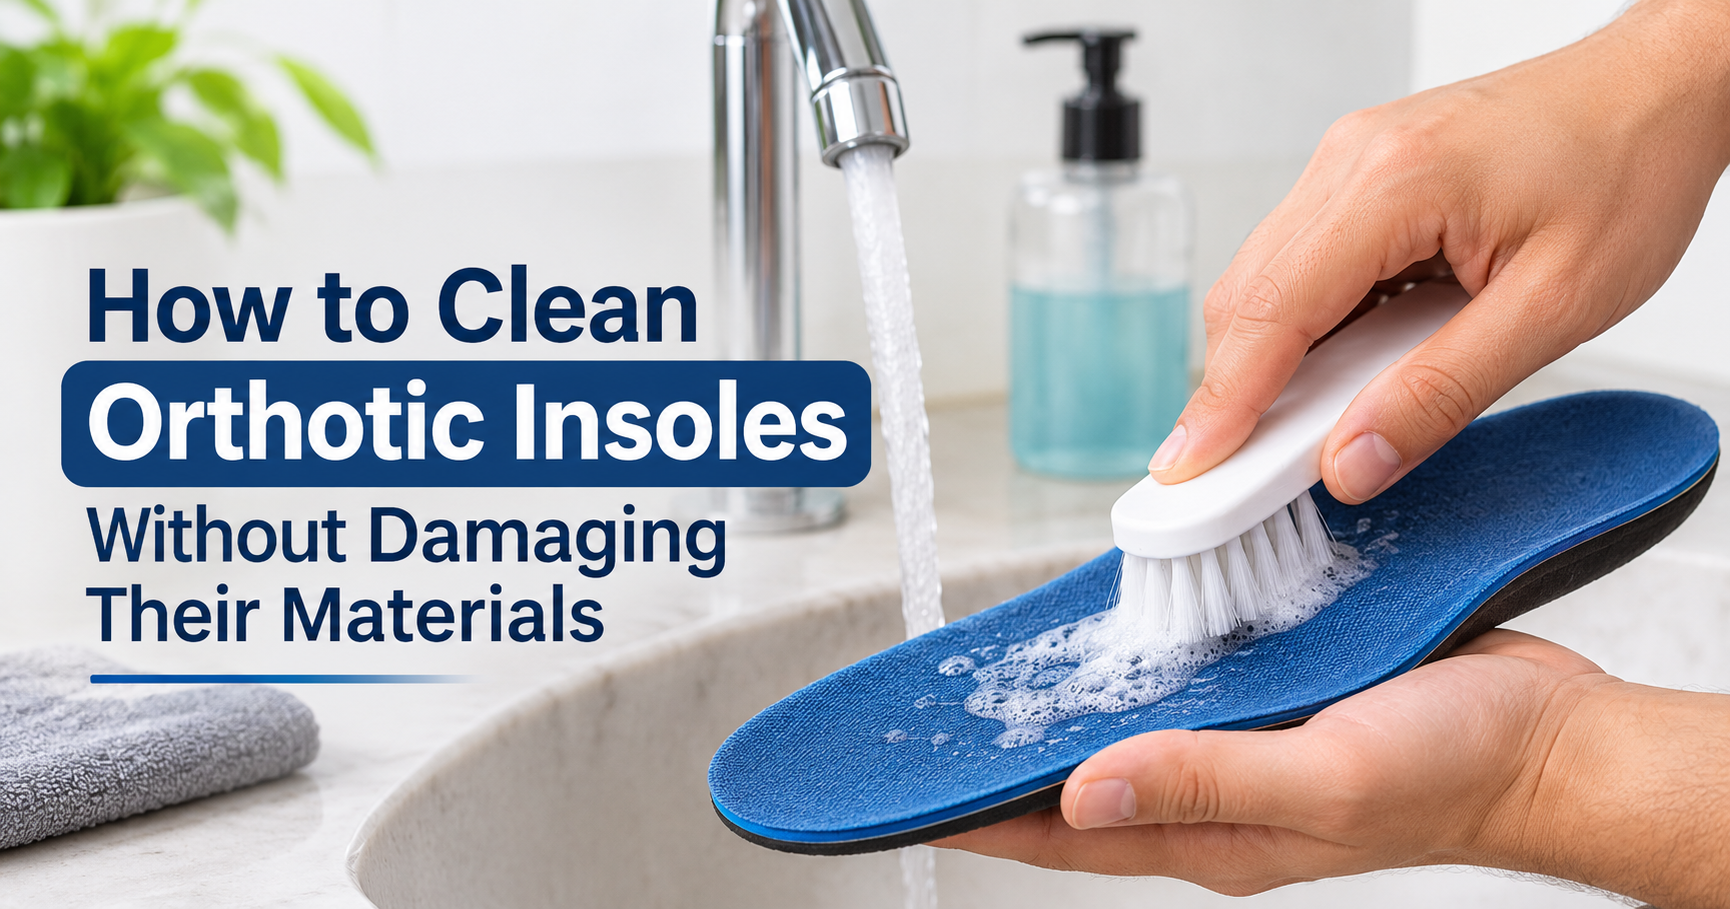
Orthotic insoles do a lot of quiet work. They support your arches, spread pressure across your feet and help your shoes fit the way they should. But because they sit under your feet for hours every day, they also soak up sweat, skin oils, dust and bacteria. Over time that leads to odor, a grimy surface and sometimes even skin irritation.
The good news is that cleaning orthotic insoles is simple once you know the right method. The bad news is that the wrong method, such as tossing them in the washing machine or drying them on a heater, can warp the shape and ruin the support you paid for. This guide explains exactly how to clean orthotic insoles safely, how to handle different materials, how to remove stubborn smells and how to keep them fresh for longer.
Why Cleaning Your Orthotic Insoles Matters
Feet can produce a surprising amount of sweat in a single day. When that moisture is trapped between your foot and your shoe, it soaks into the insole top cover and foam. Warm, damp and dark conditions are exactly what bacteria and fungi like. Regular cleaning helps in several ways:
- Controls odor. Most shoe smell comes from bacteria breaking down sweat, and the insole is often the main place it builds up.
- Supports foot hygiene. A cleaner surface lowers the chance of irritation, and it is especially helpful if you are prone to athlete’s foot or blisters.
- Protects the materials. Salt from sweat and constant moisture can break down glues, top covers and foam over time.
- Keeps the fit consistent. Dirt and compressed debris can change how the insole feels in the shoe.
- Extends lifespan. A well-maintained insole simply lasts longer, which saves money.
Know Your Insole Before You Clean It
Not all orthotics are made the same, and the best cleaning method depends on what yours are made of. Check the manufacturer’s care label or the leaflet that came with them first. If you have custom orthotics prescribed by a podiatrist or orthotist, always follow their cleaning advice, since the materials and glues may be specialized.
| Insole type | Common materials | Cleaning approach |
|---|---|---|
| Foam / EVA insoles | Ethylene-vinyl acetate foam, often with a fabric top | Damp cloth with mild soap, gentle brushing, no soaking |
| Gel insoles | Silicone or polyurethane gel pads | Wipe with soapy cloth, rinse with damp cloth, dry completely |
| Rigid or semi-rigid orthotics | Polypropylene, nylon or carbon fiber shell | Wipe shell with soapy cloth, avoid heat that can warp the plastic |
| Cork-based insoles | Cork with a fabric or leather cover | Light surface wipe only, cork absorbs water and can crumble |
| Leather-top orthotics | Leather cover over a firm base | Slightly damp cloth, mild soap, no soaking, dry away from heat |
| Custom prescription orthotics | Varies by lab and prescription | Follow your clinician’s care instructions |
What You Need
You do not need special products. Most of what you need is already in your home.
- Lukewarm water (never hot)
- Mild liquid soap or gentle dish soap
- A soft-bristle brush, such as a soft toothbrush or a nail brush
- A microfiber cloth or clean sponge
- Baking soda for odor control
- A clean dry towel
- Optional: a shoe-safe disinfecting spray or a small amount of diluted rubbing alcohol for surface wiping
How to Clean Orthotic Insoles: Step by Step
Step 1: Remove the Insoles and Dry Brush Them
Take the insoles out of your shoes. Do not try to clean them while they are inside, because moisture trapped in the shoe will cause new odor problems. Tap them lightly together or against your palm to knock out loose dirt and sand. Then use a dry soft brush to sweep dust and debris off the top surface and edges.
Step 2: Prepare a Mild Soap Solution
Fill a small bowl with lukewarm water and add a few drops of mild soap. Stir it until slightly sudsy. Hot water can soften glues, shrink foam and warp plastic shells, so keep the temperature comfortable to the touch.
Step 3: Wash the Top Surface Gently
Dip a microfiber cloth or soft brush in the soapy water and wring it out well. The cloth should be damp, not dripping. Wipe the top of the insole in small circles, paying extra attention to the heel and forefoot area where sweat collects most. For stubborn marks, use the soft brush with light pressure. Avoid scrubbing hard, since that can fray fabric covers and peel the top layer.
Clean the underside and edges as well, because dirt from the shoe also collects there.
Step 4: Rinse by Wiping, Not Soaking
Take a second cloth, dampen it with plain lukewarm water and wipe away the soap. Repeat until no suds remain. Leftover soap can attract dirt and feel sticky. Resist the urge to hold the insole under running water or dunk it in the bowl, as too much water seeps into the foam and takes a long time to dry, which encourages mildew.
Step 5: Deodorize
If the insoles still smell after washing, sprinkle a thin layer of baking soda over both sides and leave them for several hours or overnight. Baking soda absorbs odor and moisture. Brush it off with a dry soft brush or wipe it away with a barely damp cloth before putting the insoles back.
Step 6: Press Dry and Air Dry Completely
Press the insoles gently between clean towels to remove surface moisture. Then lay them flat in a well-ventilated spot at room temperature. Depending on the material and humidity, they may need 12 to 24 hours to dry fully. Do not put them back in your shoes until they are completely dry to the touch, including the thick middle layers.
How to Remove Stubborn Odor
If regular washing does not fully solve the smell, try one or more of these safe options:
- Baking soda overnight. Place the insoles in a sealed container or bag with a layer of baking soda, then brush them clean the next day.
- Diluted white vinegar wipe. Mix equal parts white vinegar and water, wipe the surface lightly with a barely damp cloth, then wipe again with plain water. Test a small hidden spot first, and skip this step on leather or cork covers.
- Fresh air. After wearing, take the insoles out of the shoes so both can breathe. This habit alone prevents a lot of odor.
- Odor-absorbing products for shoes. Activated charcoal or cedar inserts placed inside shoes between wears help absorb moisture. Keep them separate from the insoles themselves.
How to Disinfect Orthotic Insoles
Washing removes dirt and much of the odor, but you may want extra sanitizing if you have had a foot infection, athlete’s foot or heavy sweating. A light surface wipe with a cloth dampened with diluted isopropyl alcohol or a shoe-safe disinfectant spray is usually enough. Use it sparingly and let the surface dry fully. Avoid soaking, and avoid bleach, which can discolor and weaken materials. If you are treating a foot infection, ask your healthcare provider whether there is a specific sanitizing routine you should follow.
Cleaning Tips by Material
Foam and EVA Insoles
These are the easiest to clean but also the quickest to soak up water. Use a damp, soapy cloth and avoid saturating them. Squeeze gently in a towel afterwards, and give them plenty of drying time.
Gel Insoles
Gel pads are non-porous, so they rinse easily. Wipe with soapy water, wipe again with clean water and dry. Avoid sharp tools and harsh cleaners, which can damage the gel or cause it to peel away from its backing.
Rigid and Carbon Fiber Orthotics
The firm shell resists moisture well, but any fabric top cover attached to it can hold sweat. Wipe the shell and cover separately with a damp soapy cloth. Never leave rigid orthotics on a radiator, near a heater or on a car dashboard, because heat can bend the shell and change the correction.
Leather and Cork Insoles
These materials dislike water. Use a slightly damp cloth, never a wet one, and wipe the surface lightly. Let them dry flat at room temperature. A small amount of leather conditioner on a leather cover after drying helps stop cracking.
Custom Prescription Orthotics
Because custom pairs may have special glues, layers or covers, the safest approach is to wipe them with a damp soapy cloth and avoid soaking. If the top cover is worn, odor is persistent or something seems to be coming apart, ask the clinic about a re-cover or repair.
Do and Don’t Summary
Common Mistakes That Damage Orthotic Insoles
- Using the washing machine or dryer. Agitation, heat and detergent can warp the arch, separate layers and shrink foam.
- Soaking overnight. This can break down adhesives and leave water trapped deep in the material.
- Drying near direct heat. Hair dryers, heaters and sunny windowsills can bend plastic and harden foam.
- Using harsh chemicals. Bleach, strong solvents and abrasive cleaners can eat through top covers.
- Putting damp insoles back in shoes. This starts the odor cycle all over again.
- Scrubbing too hard. Aggressive brushing wears down the surface and thins the cover.
How Often Should You Clean Orthotic Insoles?
| Situation | Suggested frequency |
|---|---|
| Light everyday use | Wipe down every 1 to 2 weeks |
| Heavy sweating, sports or long work shifts | Wipe down once a week, deep clean every 2 to 4 weeks |
| Work boots or closed safety shoes | Dry out daily, deep clean every 2 to 3 weeks |
| After rain, wet shoes or visible dirt | Clean as soon as possible, then dry fully |
| Visible odor or sticky surface | Clean right away |
These are general guidelines. If you notice odor or a dirty surface sooner, clean sooner.
Daily Habits That Keep Insoles Fresh
- Remove insoles from your shoes at the end of the day so they can air out.
- Rotate between two pairs of shoes, giving each pair a full day to dry.
- Wear moisture-wicking socks made of wool or technical fabrics rather than thick damp cotton.
- Keep your feet clean and dry before putting on shoes, and trim toenails regularly.
- Use a light foot powder if you sweat heavily, but wipe the insole occasionally to prevent buildup.
- Store shoes in a ventilated space, not in a sealed bag or a hot trunk.
Don’t Forget to Clean Your Shoes
A clean insole in a dirty shoe will not stay clean for long. While the insoles are out and drying, wipe the inside of the shoe with a damp cloth, allow it to dry, and sprinkle a little baking soda inside to absorb moisture. If the shoe is machine washable, follow its care label, but never wash the orthotics with it.
When to Replace Your Orthotic Insoles
Cleaning cannot fix worn-out support. Consider replacing your insoles if you notice any of these signs:
- The foam is flattened, cracked or has permanent dents
- The top cover is peeling, ripped or worn through
- The arch support feels softer or lower than before
- The smell returns quickly even after a thorough cleaning
- You have new foot pain, heel pain or rubbing in places that did not hurt before
Off-the-shelf insoles commonly need replacing after several months to a year, depending on use and body weight. Custom orthotics may last longer, but the top covers and cushioning often wear sooner. Your podiatrist or orthotist can tell you what is right for your pair.
Frequently Asked Questions
Can I put orthotic insoles in the washing machine?
It is best not to. The tumbling action, hot water and detergent can warp the shape, separate glued layers and shrink foam. Hand cleaning with a damp cloth is the safer option for nearly all types.
Can I use a hair dryer to dry my insoles faster?
Avoid it. Concentrated heat can bend rigid shells and harden foam. If you need them faster, press them between towels and place them in a room with good airflow or in front of a fan on a cool setting.
How do I get the smell out of orthotic insoles?
Wash them gently with mild soap, rinse by wiping, sprinkle baking soda on both sides overnight and let them air dry completely. Rotating shoes and removing insoles after wearing helps prevent the smell from coming back.
Is it safe to use alcohol or vinegar on orthotics?
A light wipe with diluted rubbing alcohol or a vinegar and water mix is generally fine for many foam and gel insoles when used sparingly, but test a small area first. Avoid it on leather, cork and any pair where the manufacturer advises against it.
How long do insoles take to dry?
Most take 12 to 24 hours at room temperature. Thicker foam insoles may take longer. They should feel dry throughout before going back into your shoes.
Do I need to clean new insoles?
A quick wipe is not required for new pairs, but it is a good habit to clean them as soon as you notice dirt, sweat or odor, and then on a regular schedule.
Can dirty insoles cause foot problems?
Dirty, damp insoles can contribute to odor and may increase the risk of skin irritation or fungal problems for some people. Keeping them clean and dry is a simple preventive step. If you notice redness, itching, peeling skin or persistent pain, speak with a healthcare provider.
Final Thoughts
Learning how to clean orthotic insoles properly takes only a few minutes and a handful of basic supplies, yet it protects both your comfort and your investment. Remove them from your shoes, brush off loose dirt, wash gently with mild soap and lukewarm water, rinse by wiping, deodorize with baking soda if needed and let them dry fully at room temperature. Avoid the washing machine, direct heat and harsh chemicals, and build simple habits such as rotating shoes and airing insoles out after wear.
Take care of your orthotics and they will keep supporting your feet comfortably for as long as they are designed to. And if you ever have doubts about how to clean or when to replace a custom pair, your podiatrist or orthotist is the best person to ask.