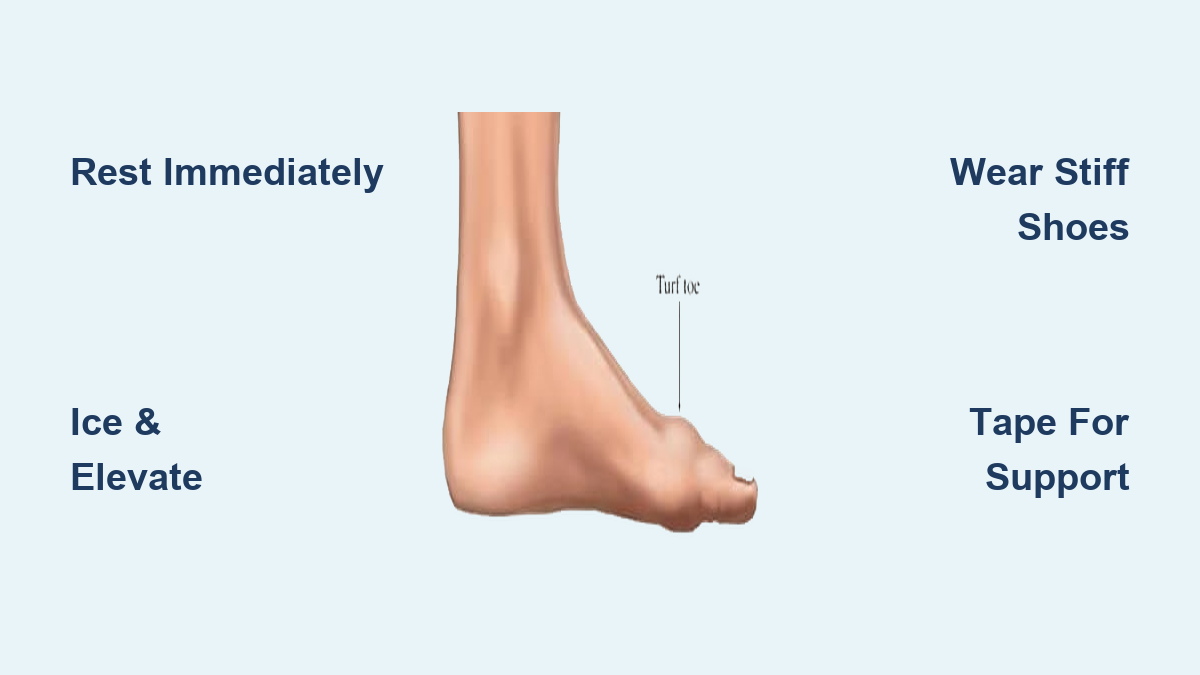
If you’ve ever sprinted hard, landed awkwardly from a jump, or felt a sudden pop under your big toe, you might be dealing with turf toe—a common but often misunderstood foot injury. This sprain of the big toe’s metatarsophalangeal (MTP) joint occurs when the toe bends upward too far, stretching or tearing the ligaments beneath. While it’s frequently seen in athletes playing on artificial turf, anyone can develop it from a misstep, repetitive strain, or intense physical activity.
The good news? Most mild to moderate cases of turf toe can be effectively managed at home with a structured recovery plan. Treating it isn’t just about icing and resting—it’s a step-by-step process that includes protecting the joint, reducing swelling, restoring mobility, and rebuilding strength. Whether you’re a runner, gym-goer, or weekend athlete, knowing how to treat turf toe at home can speed healing, prevent long-term complications like arthritis or stiffness, and get you back on your feet faster. This guide walks you through every phase of recovery—from immediate care to rehabilitation and prevention—so you can heal safely and return stronger.
Recognize Turf Toe Symptoms Early
Spot the First Signs of Injury
The earliest clue of turf toe is pain at the base of your big toe, especially when pushing off the ground while walking or running. The discomfort centers under the ball of the foot where the big toe meets the foot—the MTP joint. You may notice tenderness when pressing on the area, along with mild swelling that develops over hours. In mild cases (Grade 1), the pain is manageable, and you can still walk, though the toe feels stiff during activity.
Identify Moderate to Severe Warning Signals
As the injury worsens, so do the symptoms. Grade 2 injuries involve partial ligament tears and cause moderate pain, visible swelling, and bruising that typically appears 24–48 hours after the injury. Moving the toe upward becomes painful, and running or jumping is difficult. Grade 3 injuries—complete ligament ruptures—are marked by severe pain, significant bruising, inability to bear weight, and possible joint instability. If you heard a “pop” at the time of injury or need crutches to walk, seek medical evaluation before starting any home treatment.
Track Symptom Patterns Over Time
Acute turf toe strikes suddenly—like a football player being tackled mid-stride or a dancer landing off-balance. Gradual onset suggests repetitive strain, common in runners or court athletes. Either way, if pain doesn’t improve within 3–5 days of self-care, or if swelling continues to increase, it’s time to see a doctor. Ignoring symptoms risks chronic pain, joint degeneration, or long-term mobility issues.
Grade Your Turf Toe Severity Accurately

Mild (Grade 1): Ligaments Stretched, Not Torn
In Grade 1 turf toe, the plantar complex is overstretched but not torn. There’s little swelling, no bruising, and full ability to walk. You’ll feel discomfort when pushing off or bending the toe upward, but daily activities remain manageable. This level responds well to home care and usually heals in 3–14 days with proper rest and protection.
Moderate (Grade 2): Partial Ligament Damage
Partial tearing causes noticeable pain, swelling, and bruising. Range of motion is limited, and weight-bearing is uncomfortable. Walking may require a limp, and athletic performance drops sharply. Recovery takes 2–6 weeks and requires strict adherence to rest, immobilization, and gradual rehab. A medical consultation is advised to rule out fractures or more serious damage.
Severe (Grade 3): Complete Ligament Rupture
Complete tears involve rupture of the joint capsule, ligaments, or even the sesamoid bones. Pain is intense, swelling severe, and walking extremely difficult or impossible. Deformity or joint instability may be present. This grade is not suitable for home-only treatment. Imaging (X-ray or MRI) and professional care—possibly including a walking boot, crutches, or surgery—are essential. Return to sport can take 3–6 months.
Key Insight: Over 70% of patients show long-term improvement with proper early care. Misjudging severity delays healing and increases complication risks.
Apply Immediate Home Care Within the First 72 Hours
Use the R.I.C.E. + LOADING Method
For the first 48–72 hours, combine traditional R.I.C.E. with early optimal loading for faster recovery:
- Rest: Stop all aggravating activities. Avoid running, jumping, or any motion that forces the toe upward.
- Ice: Apply ice packs for 15–20 minutes every 2–3 hours. Always use a cloth barrier to prevent skin damage.
- Compression: Wrap the forefoot with an elastic bandage (like an ACE wrap) to control swelling. Don’t wrap too tightly—check toes stay warm and pink.
- Elevation: Keep your foot above heart level as much as possible, especially while sitting or lying down.
- Loading: Begin gentle, pain-free movement once acute pain subsides. Early motion boosts blood flow and speeds healing.
Avoid long-term use of anti-inflammatories like ibuprofen unless needed for pain control, as early inflammation supports tissue repair.
Wear the Right Shoes to Protect Your Toe

Avoid Flexible-Soled Footwear
Wearing sneakers, minimalist shoes, or flip-flops after a turf toe injury is a major setback. These allow excessive bending at the big toe joint, re-injuring healing tissues. Even casual walking in soft-soled footwear can delay recovery by weeks.
Switch to Stiff-Soled Supportive Shoes
Protect your toe by switching to shoes that limit big toe motion:
– Hiking boots
– Rigid athletic shoes
– Cleats with carbon-fiber or steel turf toe plates
– Hard-soled slippers (e.g., Vionic) for home use
The goal is to reduce upward bending (dorsiflexion) during each step, protecting the plantar complex while it heals.
Modify Insoles for Joint Relief
Create a custom “relief cut” in your insole:
1. Trace the outline of your big toe.
2. Draw a line just behind the MTP joint.
3. Cut out the area beneath the joint.
4. Insert into your shoe (remove original insole to avoid tightness).
This creates space for the joint to move without compression, reducing pain and irritation. Use thicker orthotics like FootChair Medical Grade Orthotic for added arch support and stability.
Tape for Stability and Support
Apply Rock Tape to Limit Hyperextension
Kinesiology tape can stabilize the joint and support healing ligaments:
Steps:
1. Clean and dry the foot.
2. Cut a 5 cm-wide strip long enough to run from under the big toe, across the arch, to the heel.
3. Round the ends to prevent peeling.
4. Start under the ball of the big toe with no stretch.
5. Apply with 75% tension across the arch and over the heel.
6. End slightly above the heel so it tucks into your sock.
7. Rub to activate adhesive.
As healing progresses, reduce tape stretch to encourage natural motion.
Try Buddy Taping for Short-Term Immobilization
Tape the big toe to the second toe using athletic tape or medical tape. This stabilizes the joint during early recovery, especially when walking. Use sparingly—long-term immobilization can weaken muscles—limit to first few days or during activity.
Perform Safe Self-Mobilization Exercises
Start Gentle Joint Movements After 2–3 Days
Once pain begins to ease, begin pain-free mobilizations to prevent stiffness:
- Distraction: Gently pull the big toe away from the foot to create space in the joint.
- Gliding: Slowly move the toe up and down in small ranges.
- Circumduction: Make tiny circles with the toe.
- Twisting: Hold heel and forefoot; rotate hands in opposite directions to mobilize the midfoot.
Do each for 30 seconds. Stop immediately if pain increases—these should feel like mild stretching, not strain.
Use a Ball for Soft Tissue Release
Roll a lacrosse or tennis ball under your arch to release tight intrinsic foot muscles:
- Sit with the ball under your foot’s arch (avoid direct pressure on the injured joint).
- Roll slowly forward, pausing on tender spots for 20–30 seconds.
- Focus on the muscles supporting the MTP joint, not the injury site.
This improves flexibility and reduces tension contributing to joint stress.
Begin Early Rehab Exercises
Strengthen with Toe Curls
- Place a towel flat on the floor.
- Use only your toes to scrunch it toward you.
- Keep your heel down—don’t lift it to compensate.
- Repeat 2–3 sets of 10–15 reps daily.
This activates the flexor digitorum longus and intrinsic foot muscles, critical for push-off mechanics.
Practice Short Foot Doming
- Sit or stand barefoot.
- Slide your big toe toward your heel without curling it.
- Feel your arch lift upward.
- Hold for 5 seconds, relax, repeat 10 times.
Progress to doing it while standing as strength improves.
Add Abduction and Lifts
Gently move the big toe away from the second toe (abduction) and lift it off the ground while keeping others down. These maintain neuromuscular control during early healing.
Advance to Late-Stage Strengthening
Stretch for Pain-Free Dorsiflexion
Perform the 1st MTP Standing Stretch:
1. Stand on your uninjured leg.
2. Place the injured foot flat, toes pointing forward.
3. Drive your heel back while keeping the big toe on the ground.
4. Lean forward slightly until you feel a stretch under the joint.
5. Hold 30 seconds, repeat 3 times.
Aim for 50–60° of pain-free dorsiflexion—critical for walking and running.
Do Calf Raises Off a Step
- Stand on a step, heels hanging off.
- Lower heels slowly, then rise up on your toes.
- Start double-leg, progress to single-leg.
- Perform 3 sets of 10–15 reps.
This strengthens the gastrocnemius and soleus, reducing load on the MTP joint.
Try Half-Kneeling Lift Offs
- Kneel on one knee, foot flat on the ground.
- Press toes into the floor and lift the back knee ½ inch.
- Keep your torso upright.
- Do 3 sets of 10 reps.
This trains the foot and ankle to generate force safely.
Restore Explosive Function Before Returning to Sport
Perform Pogos for Reactive Strength
- Stand with feet shoulder-width apart.
- Hop vertically on both legs with stiff knees.
- Land softly, using your ankles to absorb force.
- Do 3 sets of 10–15 seconds.
Progress to single-leg pogos as strength improves.
Train with Sled Pushes or Treadmill Drives
- Sled pushes build forward drive without excessive toe bending.
- Treadmill sprints at low incline help retrain gait mechanics.
Only start these when you can walk and jog pain-free.
Rule: Any discomfort during exercise should not increase your baseline pain by more than 2/10 and must resolve within 24 hours.
Prevent Re-Injury and Chronic Issues
Wear Protective Footwear Long-Term
Even after recovery, avoid flexible shoes on hard surfaces. Use athletic shoes with:
– Rigid forefoot construction
– Turf toe plates (steel or carbon inserts)
– Good arch support
This reduces recurrence risk, especially in high-impact sports.
Strengthen and Warm Up Properly
Incorporate foot exercises into your routine:
– Daily toe curls and short foot drills
– Balance training (single-leg stands, wobble board)
– Dynamic warm-ups before activity
Cold, stiff joints are more prone to injury—never skip warm-up.
Monitor for Complications
Untreated or poorly managed turf toe can lead to:
– Hallux rigidus (arthritis in the big toe)
– Bone spurs
– Chronic pain
– Sesamoid injuries
– Permanent joint stiffness
If your toe remains stiff or painful months after injury, see a podiatrist.
Know When to See a Doctor
Seek Medical Help Immediately If
- You can’t bear weight or walk without severe pain
- Swelling or bruising worsens after 48 hours
- The joint feels unstable or looks deformed
- You suspect a fracture or dislocation
Get Evaluated If No Improvement
If symptoms don’t improve within 3–5 days of consistent home care, consult a healthcare provider. Imaging (X-ray or MRI) may be needed to rule out fractures, sesamoid injuries, or complete ligament tears.
Remember: Self-treatment is for mild-to-moderate cases only. Never ignore red flags.
Final Note: Healing turf toe at home requires patience and precision. Follow a step-by-step approach—protect, reduce swelling, restore motion, rebuild strength—and you’ll recover faster with fewer long-term issues. Most Grade 1 and 2 injuries resolve fully within weeks when treated correctly. The key is consistency: don’t rush back, don’t skip rehab, and never “push through” pain. With the right care, you can return to your sport or daily life stronger and more resilient than before.