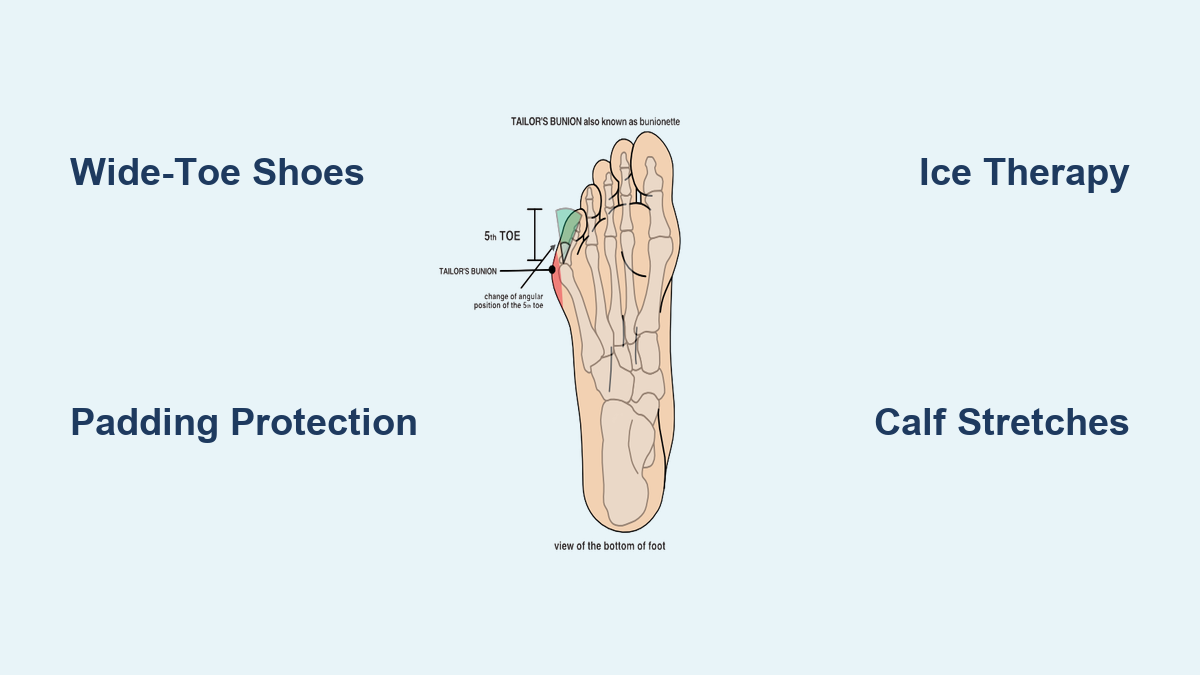
If you’ve noticed a painful, swollen bump on the outer edge of your foot near your little toe, you’re likely dealing with a tailor’s bunionette—a condition that affects the joint where the fifth metatarsal meets the little toe. Unlike traditional bunions that develop on the big toe side, tailor’s bunions form on the outside of the foot and can make even walking in comfortable shoes a challenge. The name comes from tailors in the past who sat cross-legged for hours, causing repeated pressure on the outer foot, leading to this painful deformity.
While the bony prominence itself won’t disappear without surgery, most people find significant pain relief through non-invasive methods. The key is to reduce pressure, manage inflammation, and correct biomechanical imbalances. With the right footwear, padding, stretches, and daily habits, you can ease discomfort, prevent worsening, and regain pain-free mobility. This guide provides a step-by-step, evidence-backed approach to relieving tailor’s bunionette pain—no guesswork, just practical solutions that work.
Choose Shoes That Eliminate Pressure on the Bump
The #1 factor that worsens tailor’s bunionette pain is tight, narrow, or high-heeled footwear. Shoes that squeeze the forefoot force the fifth metatarsal outward, increasing pressure on the joint and irritating the surrounding soft tissues. Switching to properly fitted, wide-toe-box shoes is the most effective first step in reducing pain.
Wear Wide, Deep, and Flexible Shoes
Look for shoes with a roomy toe box that doesn’t taper, allowing your toes to lie naturally without crowding. The upper material should be soft and stretchable—like mesh or supple leather—rather than stiff or rigid. Avoid high heels, which shift your body weight forward and dramatically increase pressure on the forefoot.
Recommended brands include:
– Keen: Offers wide toe boxes in walking, work, and casual styles
– Vionic: Features arch support and adjustable straps in sandals and sneakers
– Orthofeet: Designed specifically for bunions, with stretchable fabric and extra depth
Test Your Shoe Fit Correctly
Don’t rely on your usual shoe size. Feet swell throughout the day, so get measured in the afternoon at a specialty shoe store. Use the insole test to ensure proper fit:
1. Remove the insole from the shoe
2. Stand on it barefoot
3. If your forefoot overhangs the edges, the shoe is too narrow
Even stylish shoes can work—prioritize width and comfort, especially during flare-ups.
Modify Existing Shoes to Reduce Friction

If you already own comfortable shoes that are slightly too tight over the bunion, minor alterations can make them wearable again.
Use a Ball and Ring Shoe Stretcher
Insert a ball and ring shoe stretcher into the shoe overnight, focusing on the outer edge where the bunion rubs. Apply stretching fluid for better results. This tool gently expands the material without damaging the shoe’s structure.
Try DIY Stretching Techniques
- Freeze a water-filled bag: Place a sealed ziplock bag of water inside the shoe and freeze it. As the water expands, it widens the tight area.
- Heat and stretch with thick socks: Use a hairdryer to warm the shoe’s upper, then wear it with thick socks until it cools and molds to your foot.
Cut a Small Pressure-Relief “X” (Temporary Fix)
For immediate relief, carefully cut a small “X” in the upper material directly over the bunion. Cover the edges with moleskin to prevent fraying. This is a last-resort fix—avoid cutting structural parts like the heel counter or sole.
⚠️ Warning: This weakens the shoe over time. Use only for short-term relief.
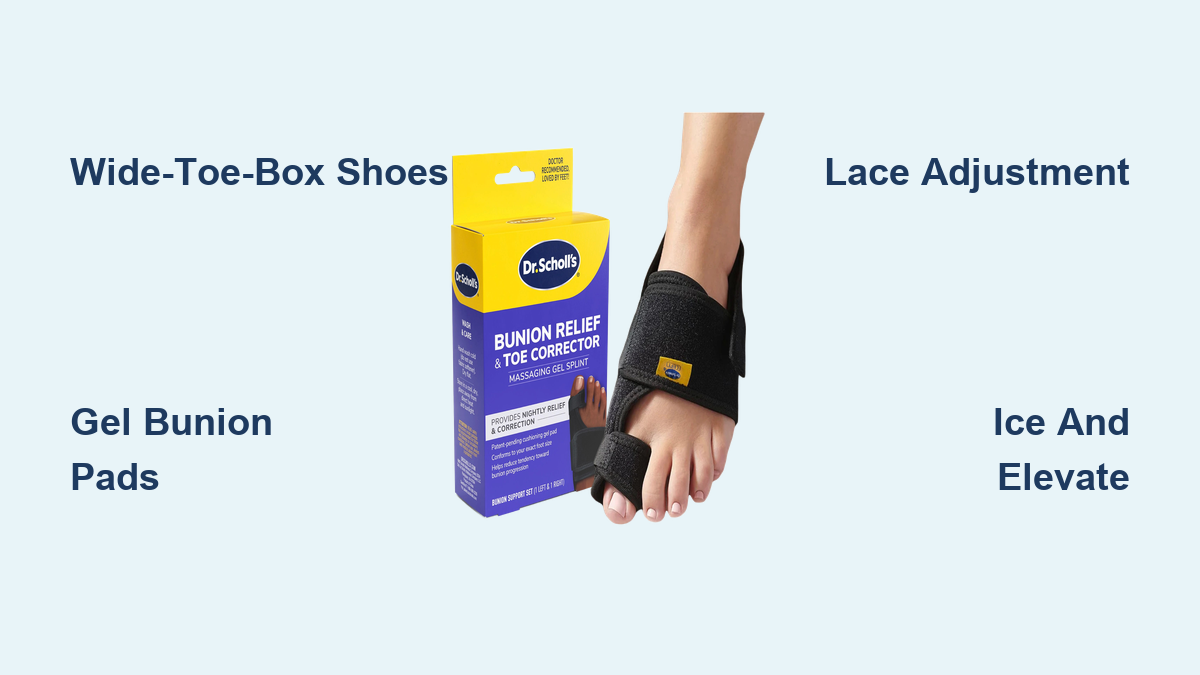
Protect the Bunion with Cushioning Pads
Even in wide shoes, the bony bump can rub against the shoe, leading to redness, swelling, and blistering. Protective padding creates a buffer between bone and footwear.
Use Silicone Gel Sleeves or Pads
Silicone conforms to your foot and absorbs pressure while reducing shear forces. Recommended options:
– Silipos Tailor’s Bunion Guard: Medical-grade gel sleeve that stays in place
– Dr. Frederick’s Tailor’s Bunion Pad: Combines lateral protection with toe separation
Apply Felt or Fleecy Web Padding for Irritated Skin
If the skin is already red or blistered, use soft felt or fleecy web padding secured with hypoallergenic tape or a sock. This provides gentle cushioning without sticking to damaged skin.
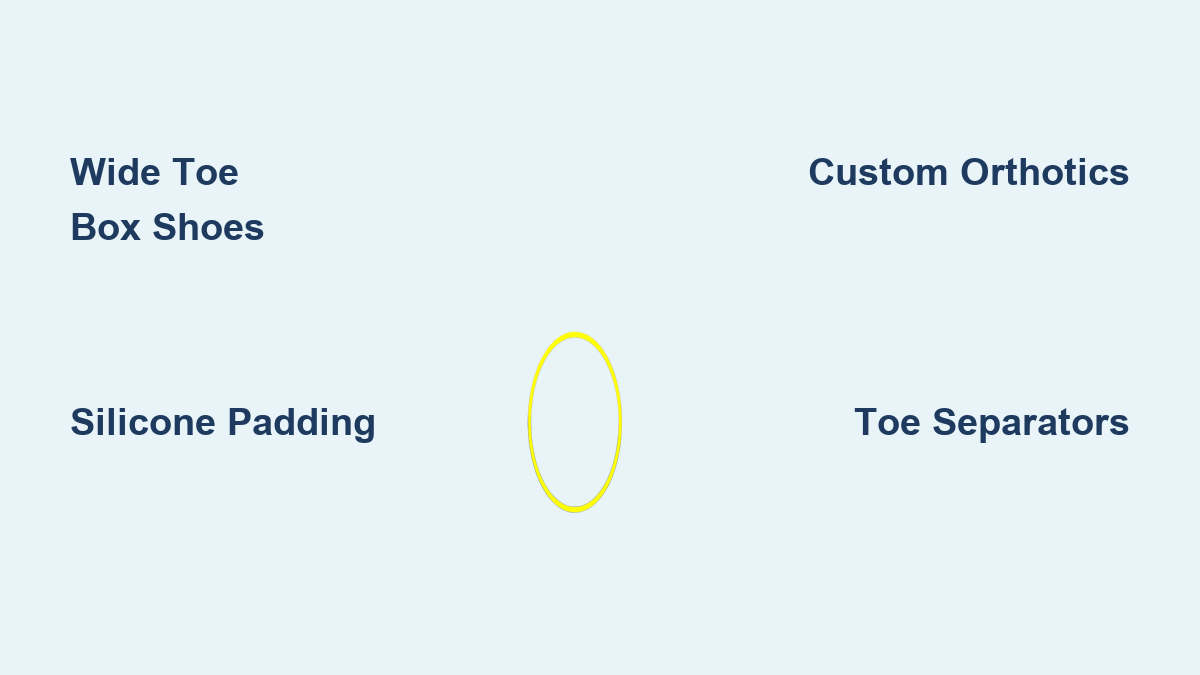
Insert a Toe Separator
Placing a Silipos toe separator between the fourth and fifth toes helps realign the little toe and reduces pressure on the joint. Wear it with or without shoes for ongoing support.
✅ Pro Tip: Use gel sleeves at night to prevent rubbing against bed sheets.
Use Orthotics to Improve Foot Alignment and Reduce Pressure

While orthotics won’t reverse the bony bump, they play a crucial role in slowing progression and reducing pain by correcting foot mechanics.
Wear Custom Orthotics from a Podiatrist
Prescribed and molded to your foot, custom orthotics address imbalances like flat feet or overpronation. They shift weight away from the fifth metatarsal head—the main source of pain. Ideal for those with recurring flare-ups or high-impact lifestyles.
Try Effective Over-the-Counter Insoles
For mild to moderate cases, prefabricated insoles can help:
– FootChair Orthotic – Adjustable arch height fits most shoe types
– Superfeet Green or Blue – Stabilizes the heel and supports the arch
– Vionic Arch Support Sandals – Combine orthotic support with open design
🔄 Replace insoles every 6–12 months or when they lose shape.
Wear Seamless, Low-Friction Socks
Even minor friction from sock seams can irritate the bunion. Choose socks designed for sensitive feet.
Choose Juzo Silver Sole Socks
These therapeutic socks feature:
– Seamless construction over the bunion area
– Low-friction fabric to prevent chafing
– Antimicrobial silver fibers to reduce odor and infection risk
Available in white and black, they’re ideal for daily wear with soft shoes.
Reduce Inflammation with Ice Therapy
If the bunion is swollen or hot to the touch, bursitis (inflammation of the fluid-filled sac over the bone) may be present. Ice therapy reduces swelling and numbs pain.
Apply Ice Properly
- Wrap crushed ice or frozen peas in a damp towel
- Apply for 10–20 minutes, 2–3 times daily, especially after walking
- Never apply ice directly to skin
Try Ice Massage for Targeted Relief
Use a frozen styrofoam cup:
1. Fill with water and freeze
2. Peel back the top to expose the ice
3. Massage the bunion in small circles for 15–20 minutes
4. Stop when the area feels numb
❌ Avoid ice if you have diabetes, poor circulation, or nerve damage.
Manage Pain with Medications and Injections
When discomfort interferes with daily life, medications can provide relief.
Use NSAIDs to Reduce Inflammation
Ibuprofen (600 mg/day)—taken as 200 mg three times daily with food—effectively reduces bursitis. Take consistently for at least 10 days for full anti-inflammatory effect.
⚠️ Do NOT take ibuprofen if you have:
– Kidney disease
– Stomach ulcers
– Diabetes
– Or are on blood thinners like warfarin
Stop immediately if you notice stomach pain, dark stools, or rash.
Try Topical Pain Relief
Biofreeze Cold Therapy Roll-on provides a cooling sensation without systemic side effects. Apply during the day to stay active with less pain.
Consider Corticosteroid Injections
For severe inflammation, a doctor may inject corticosteroids into the bursa. This can offer weeks to months of relief but should be limited to 2–3 times per year to avoid tissue damage.
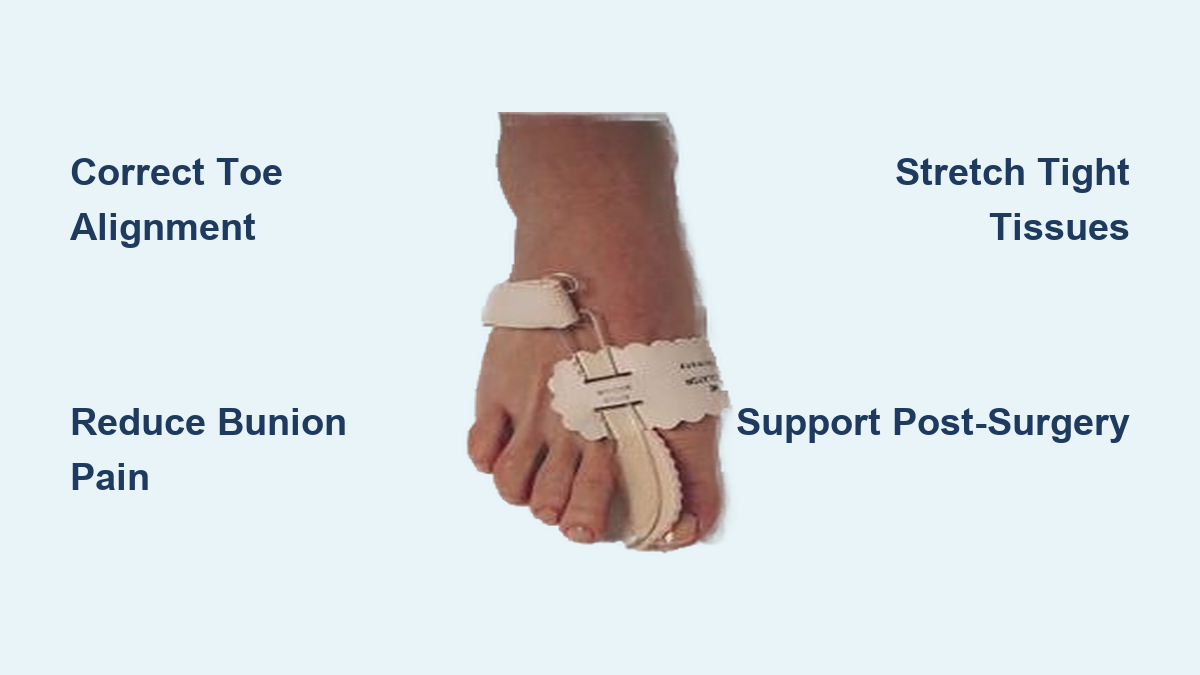
Stretch Tight Calf Muscles Twice Daily
Tight calves contribute to forefoot overload. When the calf is stiff, your foot rolls forward, increasing pressure on the fifth metatarsal.
Perform the Wall Calf Stretch
- Stand arm’s length from a wall
- Step forward with one foot, keep the back leg straight
- Press the back heel into the floor
- Lean in until you feel a stretch in the calf
- Hold 30–60 seconds, repeat 2–3 times per leg
- Do this twice daily
✅ Keep the back knee locked for maximum gastrocnemius stretch.
Add Towel Stretches
Sit with legs straight, loop a towel around the ball of your foot, and gently pull toes toward you. This improves flexibility in the Achilles and plantar fascia.
Strengthen Your Foot Muscles to Improve Stability
Weak intrinsic foot muscles allow toes to drift out of alignment. Strengthening them helps stabilize the forefoot.
Do Toe Spreads
- Sit barefoot, feet flat
- Spread your toes apart as wide as possible
- Hold 5 seconds, relax
- Repeat 10 times, 2–3 sets daily
Use a mirror to ensure all toes move independently.
Practice Arch Doming
- Keep heel and ball of foot grounded
- Lift the arch upward without curling toes
- Hold 5 seconds, repeat 10 times
This activates the muscles that support the medial arch and improve alignment.
Follow the W.A.S.P. Framework for Long-Term Relief
Podiatrists use the W.A.S.P. framework to manage foot pain holistically:
– Weight: Excess weight increases forefoot pressure. Use the NHS BMI calculator to assess if weight loss could help.
– Activity: Pace your day—break long walks into shorter segments with rest.
– Shoes: Prioritize comfort over style. Rotate shoes to avoid constant pressure.
– Partnership: Work with a podiatrist for personalized care and access to treatments like custom orthotics.
This aligns with NHS Scotland’s Realistic Medicine approach, emphasizing prevention and shared decision-making.
Handle Flare-Ups with the POLICE Protocol
When pain suddenly worsens, act fast with the POLICE protocol (first 24–72 hours):
– P – Protect the foot: Limit walking, avoid barefoot walking
– O – Optimal Loading: Gentle movement (like ankle circles) promotes healing
– L – Ice: 10–20 minutes, 2–3 times/day
– C – Compression: Light elastic bandage to reduce swelling (remove at night)
– E – Elevation: Raise foot above heart level when sitting
After 2–3 days, switch to heat therapy (e.g., warm towel) for 10–15 minutes, 3–4 times/day.
Most flare-ups resolve within 6 weeks with consistent care.
Consider Surgery Only After 3–6 Months of Conservative Care

Surgery is an option if pain persists despite non-surgical efforts and limits daily function.
Common Procedures
- Bunionette excision: Removes the bony bump (best for mild cases)
- Osteotomy: Cuts and realigns the fifth metatarsal (moderate to severe)
- Spur removal: Eliminates bony growths
- Fixation: Screws or pins hold bone in place (usually permanent)
Recovery Timeline
- Outpatient procedure: Go home the same day
- Weight-bearing: Often immediate
- Return to work:
- Desk job: 2 weeks
- Standing job: 2–3 months
- Full recovery: 4–12 months
🩺 Always consult a foot and ankle specialist before deciding.
Prevent Future Pain and Progression
You can’t reverse a tailor’s bunion without surgery—but you can prevent it from getting worse.
Start Early with Supportive Shoes
Wear wide-toe-box footwear from adolescence if genetically prone.
Avoid High Heels and Pointed Shoes
These increase forefoot load by up to 75%.
Keep Calf Muscles Flexible
Make stretching part of your daily routine.
Use Taping or Padding During Sports
Runners should wear wide, breathable shoes with orthotics.
Modify Ski Boots if Needed
Solutions include custom footbeds, liner molding, or shell punching.
Final Note: Pain from a tailor’s bunionette doesn’t have to control your life. With the right combination of wide shoes, padding, orthotics, and daily stretches, most people find lasting relief without surgery. Start with footwear changes and ice therapy for quick wins, then build in long-term habits like calf stretching and weight management. If symptoms persist, see a podiatrist for personalized care. The earlier you act, the better your chances of stopping progression and staying pain-free.