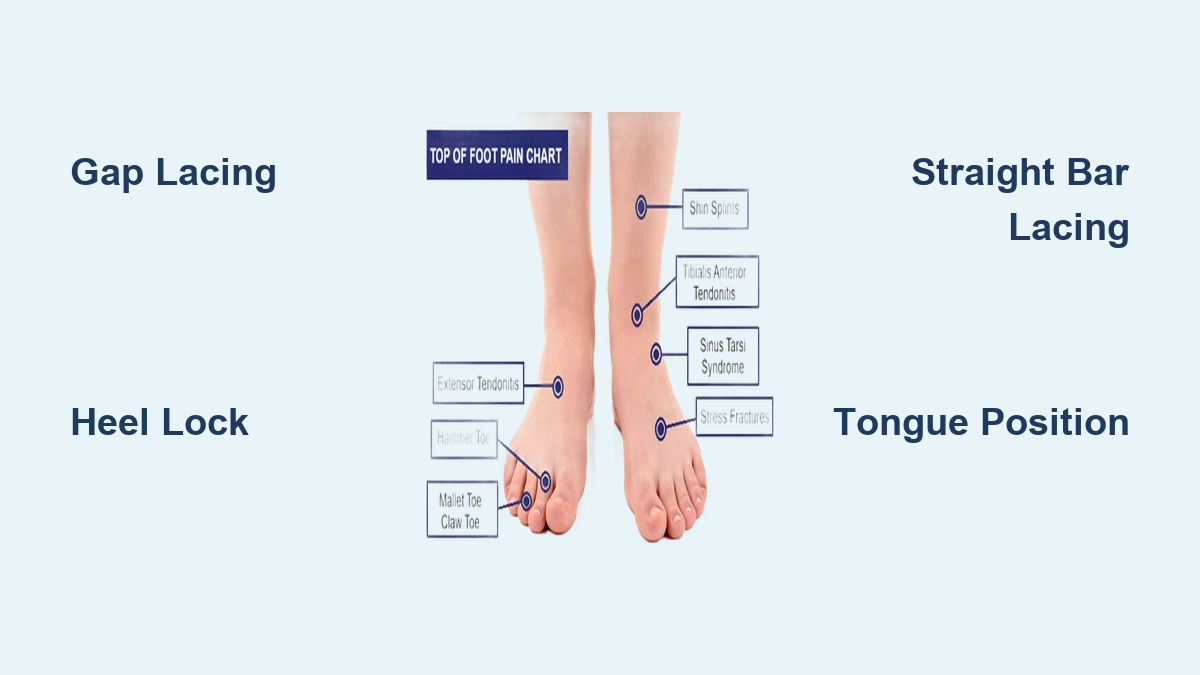
If you’ve ever taken off your shoes after a long run or hike only to find a sharp, burning ache across the top of your foot, you’ve likely experienced lace bite—a common but preventable condition caused by excessive pressure from tight shoelaces. This discomfort, technically known as dorsal foot compression, occurs when laces press down on nerves, tendons (like the extensor digitorum longus), and soft tissues along the instep. The result? Pain that ranges from mild soreness to nerve-like tingling or numbness—especially in people with high arches, swollen feet, or pre-existing tendon issues. The good news is that top-of-foot pain from tight laces usually resolves quickly with smarter lacing, simple self-care, and a few gear tweaks. In this guide, you’ll discover exactly how to eliminate lace-induced foot pain, prevent it from returning, and stay active—without needing to buy new shoes.
Fix Lacing Pressure Points
The root cause of top-of-foot pain is almost always direct pressure from laces crisscrossing too tightly over sensitive areas. Fortunately, adjusting your lacing pattern can relieve this pressure instantly.
Use Gap Lacing to Bypass Pain
Gap lacing creates a “window” over your pain zone by skipping the crisscross at the most sensitive eyelets—typically the 3rd to 5th—allowing the tongue to float freely.
Steps:
1. Lace normally from the bottom up to the eyelet just before your painful area.
2. Run both laces straight up the same side to the next eyelet (no crossing).
3. Cross diagonally to the opposite side.
4. Resume regular crisscrossing above.
This technique is ideal for localized pain, bunions, or post-injury sensitivity. One trail runner eliminated chronic tendon discomfort simply by skipping the 3rd and 4th eyelets—no other changes needed.
✅ Pro Tip: Try gap lacing before your next run if you feel pressure building. It often works within minutes.
Try Window Lacing for Instep Relief
Window lacing is another name for gap lacing but emphasizes creating a soft, open zone over swollen or high areas of the foot.
How:
– Unlace to the painful section.
– Run laces straight up each side for one or two eyelets—no crossing.
– Resume crisscrossing above.
Best for: High insteps, extensor tendonitis, or feet that swell during long runs. This is especially helpful when your foot expands but your laces don’t adjust.
Apply Straight Bar (Lydiard) Lacing
Straight bar lacing removes all diagonal lace pressure from the instep by running parallel bars up the sides—ideal for high arches or chronic lace bite.
Steps:
1. Start at the bottom eyelets.
2. Run one lace straight up the inside of the shoe.
3. Cross diagonally to the opposite side.
4. Repeat: straight up, then diagonal—creating even bars.
This method distributes tension evenly and prevents pinching. It’s a favorite among runners with thick insteps.
⚠️ Note: Straight bar lacing can loosen over time. Pair it with a heel lock for stability.
Adjust for High Instep
A high instep increases pressure on the top of the foot. The fix? Skip middle eyelets or use longer laces to avoid over-tightening.
Solutions:
– Use gap or straight bar lacing in the midfoot.
– Choose shoes with higher volume or wider tongues.
– Insert longer laces (up to 2–3 inches longer) to maintain tension without crushing the dorsum.
✅ Test: You should be able to slide one finger under the laces at the top. If not, they’re too tight.
Combine Lacing Techniques

Many people tighten mid-laces to stop heel slip—only to cause top-of-foot pain. The solution? Use two techniques together to lock the heel without compressing the instep.
Add Heel Lock to Gap Lacing
This combo gives you heel stability and instep relief—the perfect balance for runners and hikers.
Steps:
1. Apply gap lacing over your painful zone.
2. At the top, use the runner’s loop (heel lock):
– After lacing through the top eyelets, feed each lace through the opposite upper loop.
– Pull tight to lock the heel in place.
3. Tie normally.
Benefits:
– Stops heel lift on descents
– Prevents toe jamming
– Eliminates need to over-tighten mid-laces
One trail runner called this the “best of both worlds”—no slippage and no pain.
Use Outside-In Lacing for Comfort
Instead of traditional inside-out threading at the top, reverse the direction.
How:
– Lace normally through lower eyelets.
– At the top, thread laces outside-in through the final loops.
– This changes the pull angle, reducing downward pressure.
Why it helps: Creates a snug fit without compressing the dorsum. Less bulky than heel lock and easier to adjust.
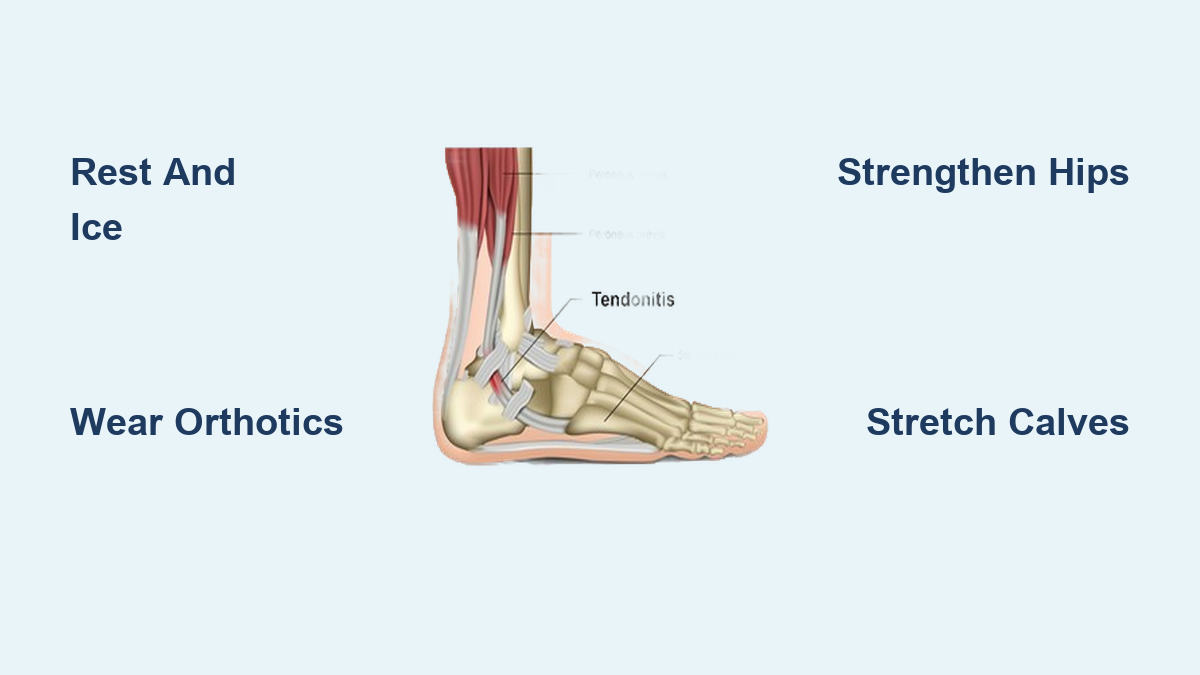
Release Tight Tendons and Tissues
Even with better lacing, tight extensor tendons can keep pain alive. Daily soft tissue work speeds recovery and prevents flare-ups.
Try the Two-Ball “Peanut” Release
This DIY tool targets the top of the foot, ankle, and shin—perfect for runners and hikers.
Make it:
– Place two tennis balls side by side.
– Slide into a sock and tie a knot between them—forms a “peanut” shape.
Use it:
– Sit and place the groove over the base of your big toe.
– Gently rock forward for 3–5 seconds.
– Move across:
– Top of foot
– Front of ankle
– Shin (tibialis anterior)
– Achilles and heel
Follow with movement:
– Toe lifts
– Foot circles
– Ankle pumps
✅ Frequency: Use daily or every other day for lasting relief.
Mobilize Stiff Metatarsals
Stiff midfoot joints contribute to pressure and pain.
From the top:
– Cup foot near pinky toe.
– Press palm into base of big toe metatarsal.
– Gently lift upward—hold 10 seconds.
– Repeat 5 times per toe.
From the bottom:
– Place thumbs on metatarsal heads.
– Press in and lift toe—hold 10 seconds.
– Repeat 5 times.
Goal: Restore joint glide and reduce impingement during walking or running.
Stretch and Strengthen

Weak or tight muscles worsen lace bite. Strengthening and stretching restore balance.
Do the Ankle Impingement Stretch
Relieves tightness across the top of the foot.
Steps:
1. Stand with feet flat.
2. Lunge forward, keeping heel down and toes pressed up.
3. Hold 15 seconds, repeat 3–5 times.
Tip: Increase intensity by placing a rolled towel under the ball of your foot.
Try the Kneeling Top-of-Foot Stretch
Uses body weight to stretch extensor tendons.
How:
– Kneel with tops of feet on floor, toes pointed.
– Slowly lift knees slightly—feel stretch across dorsum.
– Hold 2–3 seconds, repeat 10–15 times.
Best for: Runners, hikers, or anyone with tight insteps.
Strengthen with Towel Scrunches
Builds strength in dorsal foot muscles.
Steps:
1. Place a towel on the floor.
2. Use toes to scrunch it toward your heel.
3. 10–15 reps, 3–5 sets.
Focus: Engage the muscles on top of the foot—not just the toes.
Add the Toe Rocker for Stability
Improves balance and foot control.
How:
– Stand on balls of feet, heels up.
– Rock forward slowly, lowering knees toward floor.
– Hold 2–3 seconds, return.
– 10–15 reps.
Why it helps: Trains foot mechanics to reduce over-reliance on tight lacing.
Optimize Shoe and Sock Fit

Even perfect lacing fails if your gear is working against you.
Check Tongue Position
A folded or bunched tongue creates a ridge under laces—common cause of pain.
Fix:
– Smooth the tongue before lacing.
– Center it and avoid wrinkles.
– One user fixed pain instantly by repositioning a twisted tongue.
Choose the Right Socks
Bunched or thick seams add pressure.
Tips:
– Wear low-seam or seamless socks.
– Smooth fabric over the instep before tightening.
– Avoid double-layer socks unless needed for blister prevention.
Upgrade to Wider or Higher-Volume Shoes
Foot shape matters. High insteps or wide forefeet need more room.
Test:
– Place three fingers on top of the tongue.
– If you can fit four fingers or see edges, consider a wider or higher-volume shoe.
✅ Fact: Wide shoes often offer more vertical space, not just width.
Try Alternative Lacing Systems
Modern shoes use tech to replace traditional laces.
Options:
– BOA Fit System: Dial-based tightening with micro-adjustments. Allows separate heel and forefoot tension zones.
– Salomon Quicklace: One-pull tightening—reduces lace bulk and pressure.
– Race laces: Flat, ribbed laces that stay tied and spread pressure.
– Lace locks: Replace knots with secure fasteners to prevent loosening.
🏃♂️ Popular in trail running: BOA systems reduce lace bite by up to 60% in user reports.
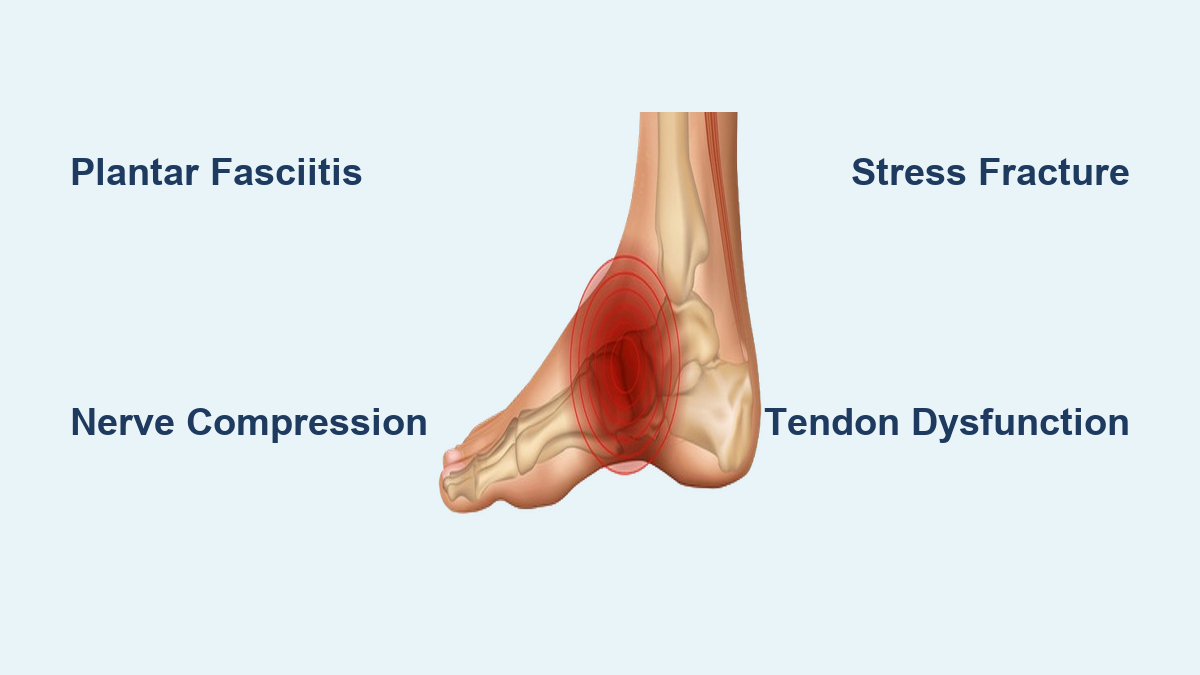
Know When to See a Professional
Most top-of-foot pain resolves with lacing and self-care. But some signs mean it’s time to see a specialist.
Watch for These Red Flags
- Pain persists beyond 2 weeks despite changes
- Numbness or tingling that doesn’t go away
- Focal tenderness (possible stress fracture)
- Swelling that worsens with activity
- Pain at rest or night
Possible conditions:
– Extensor tendonitis – needs physical therapy
– Nerve entrapment – may require imaging
– Stress fracture – common in runners with sudden mileage increases
– Arthritis or systemic disease – e.g., rheumatoid arthritis, diabetic neuropathy
See a: Podiatrist, sports medicine doctor, or physical therapist.
“At least 40% of people in running stores need lacing adjustments—not new shoes.”
— Jared Bassett, Foot Zone, Bend, OR
Final Note: Top-of-foot pain from tight laces is preventable and fixable. With the right lacing—like gap, straight bar, or heel lock combos—plus daily tissue work and proper fit, you can run, hike, and walk pain-free. Start with one change today. Most people feel relief within minutes.