That irritating squeak with every step can turn a confident stride into an awkward shuffle. If your insoles are squeaking in your sneakers, you’re not imagining things—and you’re definitely not alone. This annoying noise usually stems from friction, moisture, or movement between the insole and the shoe’s interior. The good news? Most fixes are fast, affordable, and require nothing more than items you likely already have at home. Whether you’re dealing with brand-new orthotics or well-worn sneakers, this guide delivers proven, step-by-step solutions to silence squeaky insoles for good—so you can walk, run, or stand in peace.
Confirm the Insole Is the Culprit
Before diving into fixes, make sure the insole is actually causing the squeak. Many people blame the insole when the problem lies deeper in the shoe’s structure.
Walk Barefoot in the Shoe
Remove the insole completely and walk around barefoot inside the sneaker. If the squeak disappears, the insole is the source. If the noise persists, the issue may be with the midsole, shank, or outsole—more common in boots than typical athletic sneakers.
Pinpoint the Squeak Location
Reinsert the insole and press down firmly on the heel, arch, and ball of your foot. Listen carefully: most squeaks originate in the heel area, where repeated impact creates friction between layers. This “stick-slip” motion—where surfaces alternately grip and slide—is what produces the high-pitched sound.
Test for Insole Movement
Slide a finger under the edge of the insole. If it lifts or shifts easily, looseness is likely the problem. Even slight movement with each step generates enough friction to cause a squeak. A secure fit is essential for silence.
Silence the Squeak with Friction-Reducing Lubricants

Friction between the insole and shoe bed is the #1 cause of squeaking. Applying a smooth, durable barrier can stop the noise in seconds.
Rub Candle or Beeswax on the Insole Bottom
Coat the underside of the insole—especially the heel and arch—with white candle wax or beeswax. This creates a water-resistant, long-lasting lubricant that remains effective even when wet.
- Why it works: Wax reduces surface grip without leaving a greasy mess.
- Best for: Trail runners, hiking sneakers, or shoes exposed to sweat and rain.
- Pro tip: Use a clean, unused candle to avoid dirt or dye transfer.
Spray On Silicone Lubricant
A light mist of silicone-based spray on the insole’s bottom dramatically cuts friction. Unlike oils, it won’t stain or degrade foam.
- Avoid WD-40 on foam or fabric insoles—it can break down materials over time.
- Reapply every 2–3 weeks for lasting results.
- Let dry for 1–2 minutes before reinserting.
Use Vaseline or Lip Balm in a Pinch
Petroleum jelly or unscented lip balm applied thinly to contact points can silence squeaks fast. It’s accessible and effective for short-term relief.
- Works best in dry, indoor environments.
- May attract dust or leave residue over time.
Dry Out Moisture to Break the Stick-Slip Cycle

Sweat increases surface tension, making the insole stick, release, and squeak with each step. Eliminating moisture stops this cycle at its root.
Dust with Talcum or Baby Powder
Lightly sprinkle talcum powder, baby powder, or cornstarch on the shoe bed and insole underside. These powders absorb sweat and create a dry, slippery layer.
- Use a sock or tissue to spread evenly.
- Reapply after washing or intense use.
- Avoid overuse—clumps can create grit.
Switch to Zeasorb for Heavy Sweaters
If your feet sweat excessively, Zeasorb is a game-changer. This antifungal foot powder is designed to wick moisture and prevent odor—perfect for athletic or work sneakers.
- Apply every few days for continuous protection.
- Available at most pharmacies and online retailers.
Slide in a Dryer Sheet
Place a dryer sheet (like Bounce) between the insole and shoe bed. The fabric softener coating reduces static and friction while adding a subtle fresh scent.
- Replace every 1–2 weeks.
- For layered insoles (e.g., Tread Labs), insert the sheet between the foam top and molded arch for best contact.
Stop Movement with Tape and Adhesives
Even tiny shifts cause squeaks. Anchoring the insole eliminates motion and silences the noise at its source.
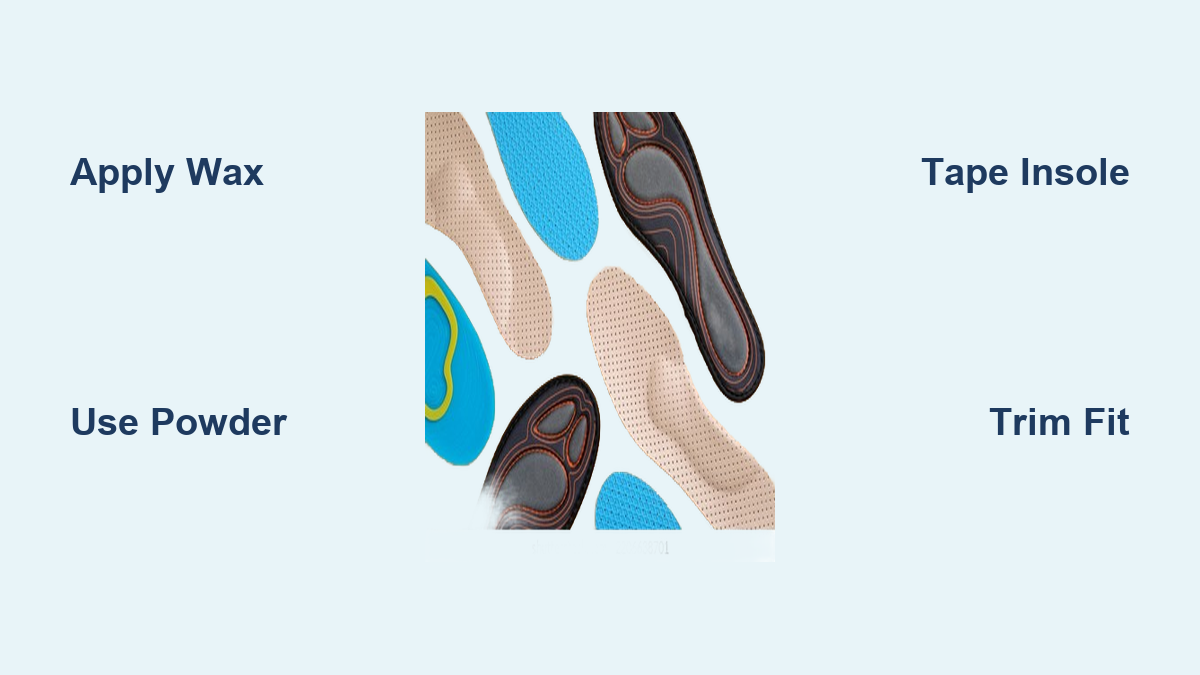
Cover the Bottom with Athletic Tape
Apply kinesiology or sports tape to the entire underside of the insole. This creates a smooth, non-slip surface that resists moisture and wear.
- Trim edges to fit snugly—no overhang.
- Costs under $6 and works across multiple pairs.
- Replace every 4–6 weeks as adhesive weakens.
Use Double-Sided Tape for Targeted Grip
Apply small strips of double-sided tape to high-movement areas—heel and forefoot. Press the insole firmly into place.
- Ideal for orthotics that shift during walking.
- Avoid covering the entire surface—too much stiffness can affect comfort.
Attach Moleskin for Cushion and Stability
Moleskin adds a soft, grippy layer that prevents movement and cushions pressure points. Cut to size and stick it to the bottom of the insole.
- Popular among users with custom orthotics.
- Replace every few weeks as adhesive wears down.
Trim and Fit the Insole for a Perfect Match

Even high-quality insoles squeak if they don’t fit your shoe precisely. A few simple adjustments can eliminate gaps and movement.
Sand the Edges for a Smoother Fit
Use fine-grit sandpaper or a nail file to bevel the edges of the insole. Rounded edges are less likely to catch on the shoe lining.
- Focus on heel and arch borders.
- Prevents flapping and friction at stress points.
Cut to Size Using the Original Insole as a Template
Many insoles (like Superfeet or Powerstep) are trim-to-fit. Place your old insole on top of the new one and trace around it before cutting.
- Ensure no overhang or gaps.
- A snug fit = no movement = no squeak.
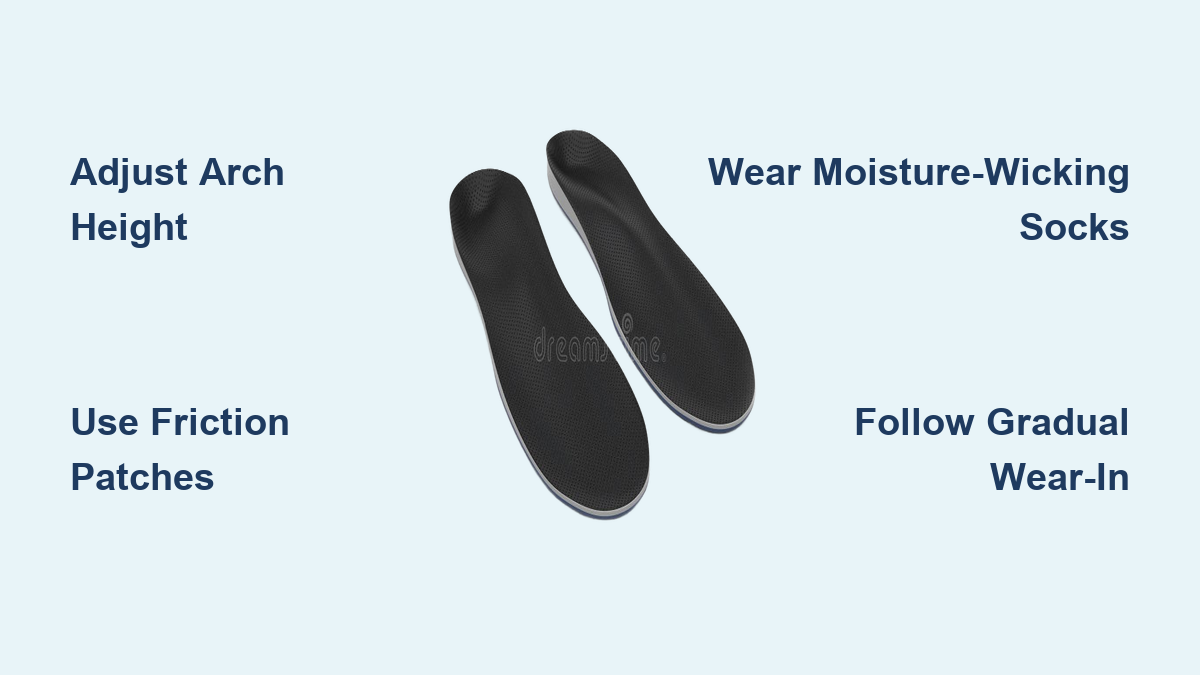
Replace Ill-Fitting Insoles
If your insole is too big, too small, or doesn’t match the shoe’s shape, it will move. Upgrade to one designed for your shoe model and foot type.
- Brands like Tread Labs offer exact sizing by shoe brand and size.
- Consider Ariat or Dr. Scholl’s for affordable, reliable replacements.
Improve Shoe Fit to Reduce Internal Motion
Even the best insole can squeak in a poorly fitting shoe. Locking your foot in place stops movement at the source.
Use Heel-Lock Lacing to Prevent Slippage
Try the runner’s loop (heel-lock lacing) technique. It cinches the heel down, reducing lift and stabilizing the insole.
- Watch a 30-second tutorial online—it’s easy to master.
- Especially effective for running, walking on inclines, or wide heels.
Check Your Shoe Size
If your heel lifts more than a quarter inch, your shoe may be too big. This allows both your foot and insole to slide.
- Try a half-size down or add a heel grip.
- Proper fit prevents squeaks, blisters, and fatigue.
Upgrade to Premium or Custom Insoles for Long-Term Silence

If squeaking persists, your insoles may be low-quality or worn out. Upgrading offers lasting comfort and silence.
Choose High-Performance Insoles
Invest in trusted brands like Superfeet, Powerstep, or Tread Labs. These feature:
- Non-slip undersides with textured grip
- Moisture-wicking tops to reduce sweat
- Reinforced arches that resist compression
They’re designed to stay put and perform under pressure.
Try Custom Orthotics for a Perfect Fit
For chronic squeaking or foot pain, custom-molded orthotics are the gold standard. Made from a 3D scan of your foot, they fit perfectly and eliminate movement.
- Last 3–5 years with care.
- Often covered by insurance.
- Ideal for plantar fasciitis, flat feet, or overpronation.
Clean and Maintain for Ongoing Silence
Dirt, old adhesive, and moisture buildup can reignite squeaking. Regular maintenance keeps things smooth.
Wipe the Shoe Interior Weekly
Remove the insole and clean the shoe bed with a dry or slightly damp cloth. Remove debris, especially around the heel.
- Let the shoe air dry completely before reinserting.
- Prevents abrasive particles from grinding between layers.
Hand-Wash Insoles Monthly
Clean removable insoles by hand with mild soap and water. Never machine wash unless specified.
- Air dry away from direct heat.
- Avoid soaking—this can break down foam.
Rotate Shoes to Reduce Wear
Wearing the same pair daily traps moisture and accelerates wear. Rotate between 2–3 pairs to let each dry out fully.
- Reduces odor, bacteria, and squeaking.
Try Unconventional Hacks That Actually Work
Some offbeat methods have loyal followings—and solid results.
Rub an Empty Deodorant Stick
A used antiperspirant stick rubbed on the insole’s bottom leaves a waxy residue that reduces friction—just like candle wax.
- No strong scent transfer.
- Free and easy if you have an old stick.
Apply Olive Oil to Leather Interiors
For sneakers with leather linings, a tiny drop of olive oil on the contact point can silence squeaks.
- Use a cotton swab for precision.
- Avoid excess—it can darken leather.
Place a Tissue Under the Insole
A single-ply tissue acts as a temporary friction barrier. It absorbs moisture and smooths contact.
- Great for testing if friction is the cause.
- Replace daily.
When the Squeak Isn’t the Insole
If the noise remains after removing the insole, the problem may be structural.
Check for Midsole or Shank Noise
Compression or rubbing in the midsole foam or internal shank can mimic insole squeaks.
- More common in hiking or work boots.
- Hard to fix without professional recrafting.
Inspect for Delamination
If the outsole lifts slightly and you hear air escaping, the shoe layers may be separating.
- This requires repair or replacement.
Final Tips to Stay Squeak-Free
Prevention beats repair. Follow these habits to keep your sneakers silent:
- Air out shoes after use—remove insoles and let them breathe.
- Replace insoles every 6–12 months or after 500–800 miles.
- Store shoes in a cool, dry place—avoid damp trunks or closets.
Stop the squeak for good by combining fit, friction control, and maintenance. Start with powder or tape, then upgrade if needed. With the right fix, your sneakers will be as quiet as they are comfortable—step after step.