You’ve worn your favorite sandals all summer—maybe even all year—and now your feet are paying the price. Arch pain, heel discomfort, or that nagging fatigue after just a few minutes of walking? You’re not imagining it. Sandals that have no arch support are one of the most common culprits behind foot strain, plantar fasciitis, and even knee or back pain over time. The flat, flimsy footbeds of most flip flops, slides, and fashion sandals offer zero biomechanical help, forcing your feet to work overtime with every step.
But here’s the good news: you don’t have to toss your go-to pair. With smart, affordable fixes—from adhesive inserts to DIY upgrades—you can fix sandals that have no arch support and turn them into comfortable, supportive footwear. This guide walks you through proven methods, top-recommended products, and long-term strategies so you can walk pain-free without sacrificing style.
Choose the Right Arch Support Insert for Your Sandals
The fastest, most effective way to upgrade unsupportive sandals is with arch support inserts. These self-adhesive pads add cushioning and structure in minutes, transforming flat footbeds into supportive platforms.
Pick Adhesive Gel or Foam Inserts
Trim-to-fit adhesive inserts are ideal for flip flops, slides, and dress sandals. Just peel, stick, and go—no tools required.
- Best for: Lightweight, open-footbed sandals
- Materials: Gel, memory foam, or semi-rigid polymer
- Top picks: Dr. Scholl’s Love Your FLATS & SANDALS, Urchoice Gel Arch Supports, Dr. Foot’s Arch Support Insoles
These inserts are thin enough to stay hidden but firm enough to provide real relief. They’re also FSA/HSA eligible, so you can use pre-tax dollars to buy them.
Pro Tip: Look for “trim-to-fit” designs. Use scissors to shape the insert to match your sandal’s footbed—especially important for narrow or contoured styles.
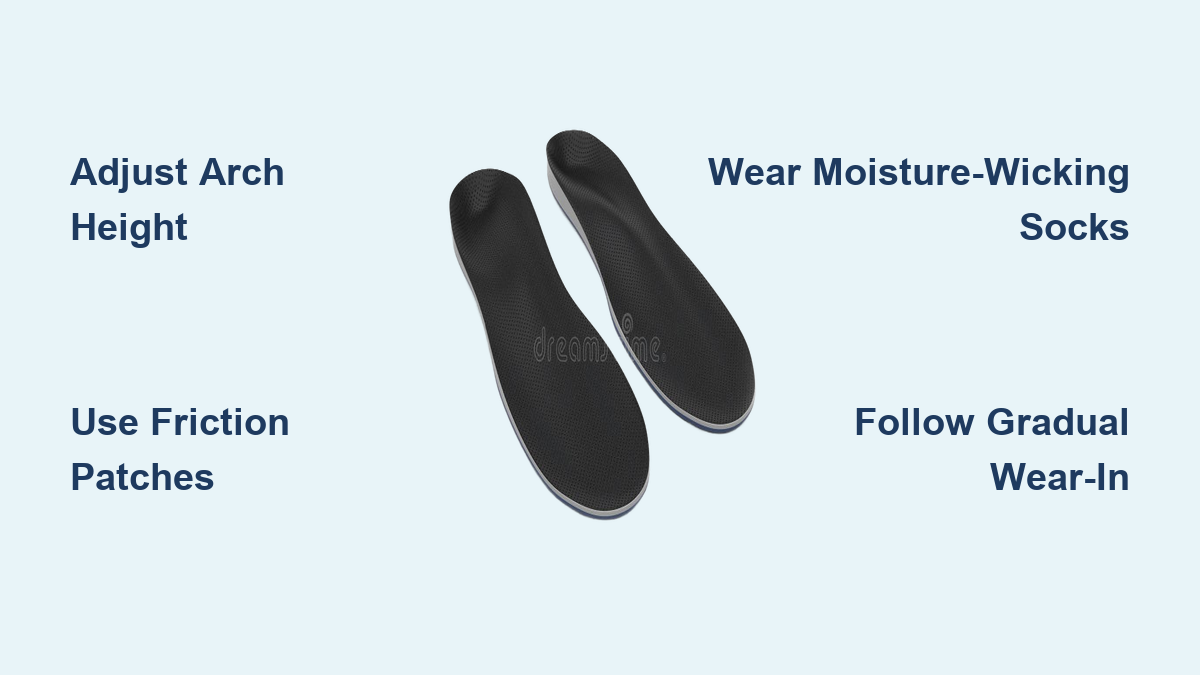
Match Your Arch Height for Maximum Comfort
Not all arches are created equal. Choosing the wrong support level can make pain worse. Match your foot type to the right insert:
- Low arches (flat feet): Need firm, high-lift support to prevent collapse
- Medium arches: Benefit from moderate contouring
- High arches: Require deep, cushioned cradling to absorb shock
Products like Arch Revive offer a 3-height system, letting you test different support levels before committing. This trial approach helps you find the sweet spot for pain-free wear.
Apply Inserts the Right Way
Even the best insert fails if it’s placed incorrectly. Follow these steps for a secure, comfortable fit:
- Clean the footbed with rubbing alcohol to remove oils and dust.
- Peel off the backing and position the pad under the inner (medial) arch.
- Press firmly for 10–15 seconds to ensure full adhesion.
- Walk test on a hard surface to check for slippage or discomfort.
Replace inserts every 3–6 months, or sooner if they start peeling or losing shape.
Use Dr. Rosenberg’s Instant Arches® for Long-Lasting Support

If drugstore inserts keep peeling off, Dr. Rosenberg’s Instant Arches® offer a premium, durable solution engineered specifically for sandals.
Why They Work Better Than Generic Inserts
Unlike flimsy foam pads, Instant Arches® are made from spongy EVA foam with medical-grade adhesive that stays put through sweat, water, and daily wear.
- One size fits most adults
- Invisible once installed
- Provides instant arch lift and pressure relief
- Available in tan, black, and nude to blend with any sandal
Many users report wearing them for over a year without reapplication—far outlasting typical inserts.
“I’ve tried Dr. Scholl’s, but they didn’t stick. Instant Arches stayed put for over a year.”
— Anonymous user
Available exclusively at InstantArches.com, they cost $14.95 for a 2-pack and ship internationally.
Try Dr. Emily Splichal’s Targeted Support Pads

Functional podiatrist Dr. Emily Splichal recommends Sole Insole pads for biomechanical correction beyond basic arch lift.
Install the Shoe Bubble Pad for Overpronation
The Shoe Bubble is a medial arch support pad placed on the inner side of the footbed to prevent overpronation.
- Best for: Plantar fasciitis, flat feet, foot fatigue
- Material: Reusable, washable, adhesive gel
- Placement: Along the inner arch curve
It stabilizes your foot without altering your sandal’s look.
Add a Heel Wedge for Better Alignment
The Heel Wedge adds a slight inward lift to the heel, correcting rearfoot tilt and reducing strain on the posterior tibial tendon.
- Ideal for those with heel pain or tendonitis
- Works best when combined with the Shoe Bubble
Use a Metatarsal Pad for Forefoot Relief
If you feel burning under the ball of your foot, a Metatarsal Pad lifts and spreads the metatarsal bones, reducing nerve compression.
- Placement: Just behind the ball of the foot
- Benefits: Relieves metatarsalgia, bunions, and Morton’s neuroma
All Sole Insole products are available at soleinsole.com, priced between $12–$18.
Install Permanent DIY Arch Supports with Shoe Goo
For a long-term, rock-solid fix, glue in 3/4-length orthotic insoles.
Select the Right Insole
Choose a semi-rigid 3/4-length arch support that covers the arch and ball of the foot but leaves the heel open.
- Flexible enough for natural motion, firm enough for support
- Available on Amazon (search “trim-to-fit arch support”)
- Sizing tip: Many budget insoles run small—order large if you wear men’s 10+ or women’s 9+
Glue With Shoe Goo for Maximum Hold
Shoe Goo is the strongest adhesive for permanent installation:
- Wear nitrile gloves—Shoe Goo is toxic and messy.
- Apply a thin layer to the front edge and heel cutout of the insole.
- Press into place and align with your foot’s natural arch.
- Let cure overnight—do not wear for at least 12 hours.
Warning: This method is irreversible. Only use on sandals you plan to keep.
Result: A custom-fitted, durable support that won’t shift or peel.
Apply Kinesiology Tape for On-the-Go Relief
Need instant arch support without modifying your sandals? Kinesiology tape offers a portable, drug-free solution.
How It Helps
- Mimics the plantar fascia to reduce strain
- Provides proprioceptive feedback to improve gait
- Fully removable and discreet
Used by athletes and physical therapists, it’s perfect for travel or emergency pain relief.
Apply the “Arch Lock” Technique
- Cut two 10-inch strips of KT Tape or RockTape.
- Sit barefoot, toes extended.
- Anchor one end at the heel’s center (no stretch).
- Stretch the middle and wrap under the arch to the ball of the foot.
- Repeat with second strip, slightly offset.
- Rub to activate adhesive.
Lasts 1–3 days, depending on activity and sweating.
Pro Tip: Watch YouTube tutorials for visual guidance—search “KT Tape arch support.”
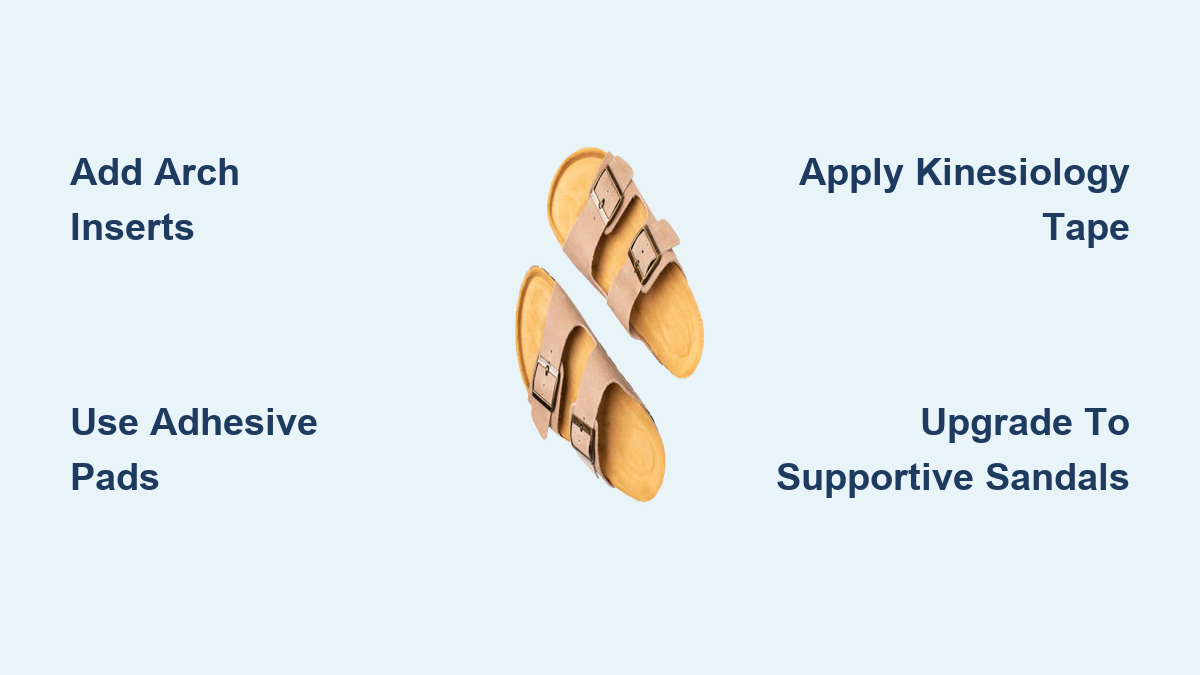
Buy Sandals With Built-In Arch Support
Instead of fixing poor sandals, invest in ones designed with real support.
Top Brands That Work
| Brand | Best For | Price Range |
|---|---|---|
| Vionic | Plantar fasciitis, motion control | $80–$120 |
| Hoka Recovery | Cushioning, post-activity relief | $60–$80 |
| Birkenstock | Natural footbed shaping | $90–$150 |
| Tread Labs | Anatomical fit, adjustable straps | $95–$110 |
| Ecco | Durable, all-day walking | $80–$130 |
| FitFlop | Wide fit, soft midsole | $70–$100 |
These feature contoured footbeds, deep heel cups, and adjustable straps that match natural foot anatomy.
What to Look For
- Contoured arch (not flat or slightly curved)
- Cushioned midsole (EVA or polyurethane)
- Adjustable straps (prevents toe gripping)
- Rubber outsole with traction
- Direct-attach construction (more durable)
“I’ve worn these for hours without pain. Perfect for plantar fasciitis.”
— Lexi, Tread Labs Albion owner
Prevent Future Arch Problems
Fixing your sandals is just the start. Long-term foot health requires proactive care.
Strengthen Your Feet
Build intrinsic foot muscles with:
– Towel scrunches
– Marble pickups
– Short foot exercise (contract arch without curling toes)
– Barefoot walking on grass or sand
These improve arch stability and reduce collapse.
Manage Your Weight
Every extra pound adds 3–4x force on your arches. Losing 10–15 pounds can significantly reduce foot pain.
See a Podiatrist If Pain Persists
Chronic pain may require:
– Custom orthotics
– Physical therapy
– Imaging (X-ray, MRI)
Don’t wait—early intervention prevents long-term damage.
Step-by-Step Action Plan
| Step | Action | Tools Needed |
|---|---|---|
| 1 | Assess foot pain and gait | Mirror, pain journal |
| 2 | Clean sandal footbed | Alcohol wipe, dry cloth |
| 3 | Choose insert type | Adhesive, DIY, or tape |
| 4 | Apply support correctly | Follow product guide |
| 5 | Test walk indoors | Check for slippage |
| 6 | Replace every 3–6 months | Monitor wear |
| 7 | Upgrade to supportive sandals | Vionic, Tread Labs |
| 8 | Do foot exercises daily | Towel, marbles |
| 9 | Consult podiatrist if needed | For chronic pain |
You don’t have to choose between style and comfort. With the right inserts, taping techniques, or smart upgrades, you can fix sandals that have no arch support and keep walking pain-free. Whether you’re retrofitting flip flops or investing in biomechanically sound footwear, these solutions protect your feet—and your stride—for the long haul.