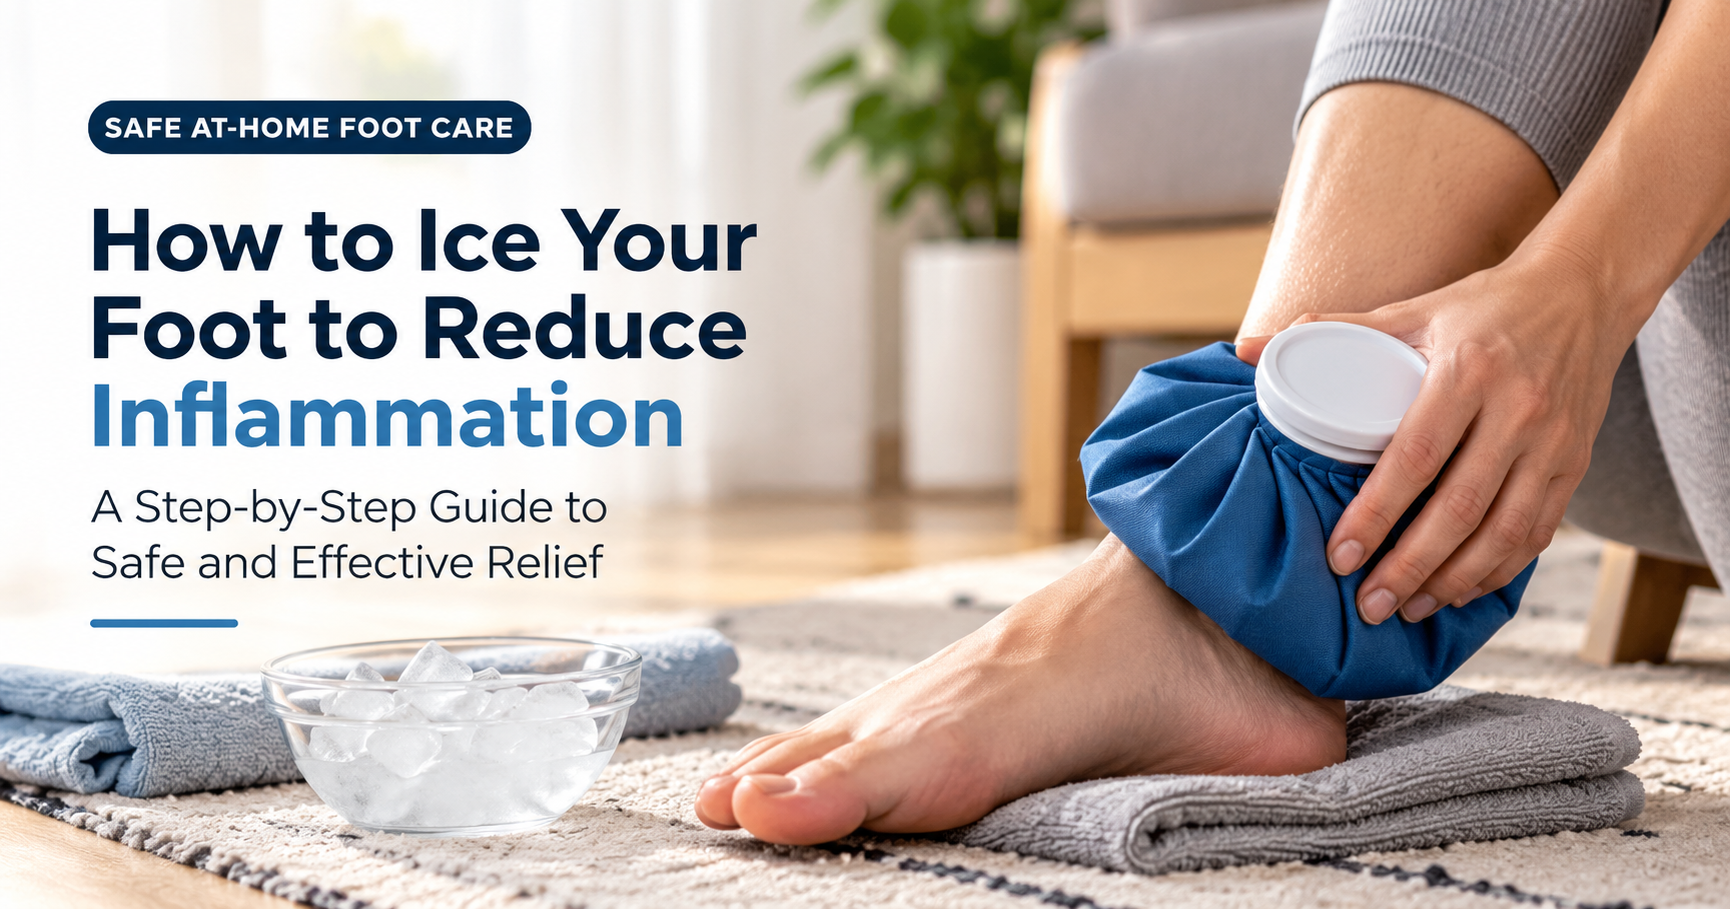
A swollen, sore, or throbbing foot can make every step feel like a chore. Whether the cause is a long day on your feet, a mild sprain, plantar fasciitis, or an overworked Achilles tendon, icing is one of the easiest and cheapest ways to calm inflammation at home. But there is a right way and a wrong way to do it. Ice that is too cold, left on too long, or placed directly on bare skin can cause more harm than good.
This step-by-step guide to icing your foot for inflammation walks you through everything: why cold therapy works, what you need, exactly how to do it, how long and how often to ice, the best methods, and the warning signs that mean it is time to see a doctor.
Quick Answer: How to Ice a Foot for Inflammation
- Sit or lie down and raise your foot above heart level.
- Wrap a cold pack or bag of ice in a thin, dry towel.
- Apply it to the sore area for 15 to 20 minutes.
- Check your skin during and after. Stop if it turns white, blotchy, or numb.
- Wait at least 1 to 2 hours before icing again.
Why Icing Helps Foot Inflammation
Inflammation is your body’s natural response to irritation or injury. Blood flow increases to the area, bringing healing cells along with extra fluid. That is helpful in small amounts, but too much leads to the classic signs: swelling, warmth, redness, stiffness, and pain.
Cold therapy (also called cryotherapy) works in a few ways:
- Narrows blood vessels. Cold causes vasoconstriction, which limits the amount of fluid leaking into the tissue and helps reduce swelling.
- Numbs pain signals. Cold slows the nerve signals that carry pain messages to your brain, giving short-term relief.
- Slows tissue metabolism. Cooler tissue needs less oxygen, which can limit additional irritation right after an injury.
- Relaxes muscle spasm. Reduced pain often lets tight muscles around the foot and ankle settle down.
Icing does not cure the underlying cause on its own, but it is a safe, effective way to manage symptoms while you rest, recover, and address the root problem.
When Icing Your Foot Makes Sense
Cold therapy is most useful for inflammation that is new, swollen, warm, or aggravated by activity. Common situations include:
- Plantar fasciitis: heel or arch pain, especially after long periods of standing or running.
- Achilles tendinitis: pain and puffiness at the back of the heel or lower calf.
- Mild ankle or foot sprains: especially during the first 48 hours.
- Overuse soreness: after long walks, workouts, hiking, or a shift on your feet.
- Bruises and minor impact injuries: such as stubbing a toe or dropping something on your foot.
- Bunion or joint irritation: flare-ups that cause swelling and tenderness.
- Tendon irritation on top of the foot: often caused by tight shoes or laces.
What You Need Before You Start
You do not need fancy equipment. Gather these simple items first so you can relax once the ice is on.
- A cold source: a reusable gel pack, a bag of frozen peas, or crushed ice sealed in a zip-top bag. Crushed ice and gel packs mold better to the shape of your foot than large cubes.
- A thin towel or cloth: this acts as a barrier between the cold and your skin.
- A timer: your phone works perfectly. Do not rely on guessing.
- An elastic wrap (optional): to hold the pack in place without squeezing too tightly.
- Pillows or cushions: to raise your foot comfortably.
Step-by-Step Guide to Icing Your Foot for Inflammation
Follow these eight steps each time you ice. The overview below shows the whole routine at a glance, and the sections that follow explain each step in detail.
Step 1: Get Comfortable and Prepare Your Supplies
Choose a spot where you can stay put for about 20 minutes, such as a couch, bed, or recliner. Set your timer, grab your towel, and keep your phone or a book within reach. Starting with everything ready prevents you from getting up mid-session.
Step 2: Elevate Your Foot Above Heart Level
Lie back and rest your leg on pillows so your foot sits higher than your heart. Gravity then helps drain excess fluid away from the swollen area. If lying fully back is not practical, sit and prop your foot on a stool or ottoman, then lean back as far as is comfortable.
Step 3: Wrap the Ice Pack in a Thin Towel
Never put ice directly on bare skin. Direct contact can cause ice burn (a type of frostbite injury), skin irritation, or nerve damage. A single layer of thin, dry towel is usually enough. If the cold feels sharp or painful rather than just chilly, add a second layer.
Step 4: Apply the Pack to the Painful Area
Place the wrapped pack directly over the sore spot, such as the heel, arch, ball of the foot, or the side of the ankle. Mold it so it covers the full area. If you like, secure it lightly with an elastic wrap. It should feel snug, not tight. Your toes should stay warm in color and free from tingling.
Step 5: Time It: 15 to 20 Minutes
Start your timer and relax. The area will go through a predictable sequence: cold, then aching or burning, then numbness. When it feels numb, you have usually reached the point of benefit. Do not go beyond 20 minutes in a single session, even if it feels fine. Longer is not better and increases the risk of tissue damage.
Step 6: Check Your Skin Partway Through
At the 10-minute mark, lift the pack and look at your skin. Light pink is normal. Stop right away if you notice bright red patches, white or waxy skin, blistering, or a burning or stinging feeling that gets worse instead of fading.
Step 7: Remove the Ice and Let Your Foot Warm Up Naturally
When the timer ends, remove the pack and dry the skin. Let your foot return to normal temperature on its own. Avoid putting it straight onto a heating pad or into hot water. Gentle movement, such as slowly pointing and flexing your toes, is fine once the skin has warmed.
Step 8: Wait, Then Repeat as Needed
Give your foot at least 1 to 2 hours between icing sessions so your skin and tissues can recover. For a fresh injury or flare-up, you can ice several times a day for the first 48 hours. For ongoing problems like plantar fasciitis, icing once or twice a day, often after activity or in the evening, is typical.
How Long and How Often Should You Ice Your Foot?
Timing depends on the method you use and the type of problem you are treating. This quick reference gives general guidance for healthy adults.
| Method | Time per session | How often |
|---|---|---|
| Ice pack or gel pack (wrapped) | 15 to 20 minutes | Every 2 to 3 hours for fresh injuries, 1 to 3 times daily for ongoing pain |
| Ice massage (ice cup) | 5 to 10 minutes | 1 to 3 times daily |
| Frozen water bottle roll | 5 to 10 minutes | 1 to 2 times daily |
| Cold water immersion | Up to 10 minutes | Once or twice daily |
4 Effective Ways to Ice Your Foot
1. Wrapped Ice Pack or Gel Pack
This is the easiest and most common method. It is ideal for general swelling, sprains, and soreness across a wider area of the foot. Use the eight steps above.
2. Ice Massage With a Frozen Paper Cup
Fill a small paper cup with water and freeze it. Peel back the top inch of the paper to expose the ice, then slowly rub it in small circles over the sore spot. Keep the ice moving at all times and stop after 5 to 10 minutes or when the area feels numb. This works well for small, targeted spots such as the heel or a tender tendon.
3. Frozen Water Bottle Roll
Freeze a bottle of water, then sit in a chair and roll the arch of your foot slowly back and forth over it for 5 to 10 minutes. This combines gentle massage with cold, which many people find helpful for plantar fasciitis. Use a thin sock if the bottle feels too cold, and stop if the pain increases.
4. Cold Water Immersion
Fill a basin with cold water and a handful of ice cubes. Slowly lower your foot in and keep it there for up to 10 minutes. This cools the entire foot evenly, which can be useful after a long hike or run. Do not use water that is so cold it causes sharp pain, and never use it if you have circulation problems.
Ice vs. Heat for Foot Pain
Many people are unsure whether to use cold or heat. As a general rule, ice is for swelling and fresh pain, while heat is for stiffness and tight muscles. When in doubt, especially in the first two days after an injury, choose ice.
Some people with long-term foot problems benefit from alternating gentle heat before activity and ice afterward. If you are not sure which is right for your situation, ask a doctor or physical therapist.
Who Should Be Careful or Avoid Icing
Ice is safe for most healthy adults, but it is not right for everyone. Talk to your doctor before icing your foot if you have:
- Diabetes or neuropathy: reduced feeling means you may not notice a cold injury developing.
- Peripheral artery disease or poor circulation.
- Raynaud’s disease or extreme sensitivity to cold.
- Cold urticaria (hives triggered by cold).
- Open wounds, skin infections, or very fragile skin in the area.
- Numbness or loss of sensation in the foot for any reason.
Children and older adults have more sensitive skin, so use extra layers and shorter sessions, and supervise carefully.
Common Mistakes to Avoid
- Putting ice directly on the skin. Always use a barrier.
- Icing for too long. Stick to 20 minutes maximum per session.
- Falling asleep with ice on. Always use a timer, and never sleep with a cold pack in place.
- Wrapping the pack too tightly. Compression that is too firm can restrict blood flow.
- Using ice before a workout. Numbing the area can hide pain warnings and raise the risk of injury.
- Ignoring the cause. Ice manages symptoms, but poor footwear, tight calves, or overtraining will keep the inflammation coming back.
Extra Tips to Reduce Foot Inflammation Faster
- Rest smartly. Reduce high-impact activity for a few days, but keep gentle movement going so the foot does not stiffen.
- Wear supportive shoes. Choose footwear with good arch support and cushioning, and replace worn-out shoes.
- Stretch your calves and arches. Tight calf muscles are a major contributor to plantar fasciitis and Achilles pain.
- Use light compression. A snug (not tight) elastic sleeve or wrap can help limit swelling.
- Maintain a healthy weight. Less body weight means less stress on your feet with each step.
- Stay hydrated and eat balanced meals. Foods rich in omega-3s, fruits, and vegetables support the body’s natural recovery.
When to See a Doctor
Home icing is suitable for mild to moderate problems. Get medical advice promptly if you notice any of the following:
- You cannot put weight on the foot or walk normally.
- The foot looks deformed, or you heard a pop or snap at the time of injury.
- Severe pain, or pain that gets worse despite rest and icing.
- Numbness, tingling, or a foot that looks pale, blue, or feels very cold.
- Redness, warmth, and swelling that spread, especially with fever (possible infection).
- Swelling and pain in the calf, which can signal a blood clot.
- No improvement after about a week of consistent home care.
Frequently Asked Questions
Is it OK to ice my foot every day?
Yes, for most healthy people it is fine to ice once or twice a day for ongoing inflammation, as long as you follow the time limits, use a barrier, and your skin stays healthy. If you need to ice daily for more than a week or two, see a professional to find out why.
Should I ice my foot before or after walking?
Icing after activity is generally best, since it calms irritation caused by use. Icing right before exercise can numb the area and reduce your awareness of pain.
Can I use a frozen bag of vegetables?
Yes. A bag of frozen peas or corn molds nicely to your foot and works as a quick, low-cost cold pack. Keep it wrapped in a towel and label it so it is not eaten afterward.
How do I know if I have ice burn?
Signs include red, white, or grayish skin, a stinging or burning feeling, blisters, and unusual numbness that lingers after the pack is removed. Stop icing, let the skin warm gradually, and see a doctor if symptoms do not improve.
How long does it take for icing to reduce swelling?
You may notice less pain and puffiness after the very first session, but steady improvement usually takes several days of consistent care combined with rest and elevation.
Is ice or heat better for plantar fasciitis?
Ice is often used to ease pain and inflammation, especially after activity or at the end of the day. Some people also like gentle warmth and stretching in the morning to loosen tight tissue. Use whichever feels better and does not make symptoms worse.
Final Thoughts
Knowing how to ice your foot for inflammation properly turns a simple pack of ice into a powerful tool for relief. Remember the essentials: elevate your foot, use a thin barrier, ice for 15 to 20 minutes, check your skin, and wait before repeating. Combine cold therapy with rest, supportive shoes, and gentle stretching, and you give your foot the best chance to heal. If symptoms are severe, last more than a week, or come with warning signs, do not wait, and get a professional evaluation.