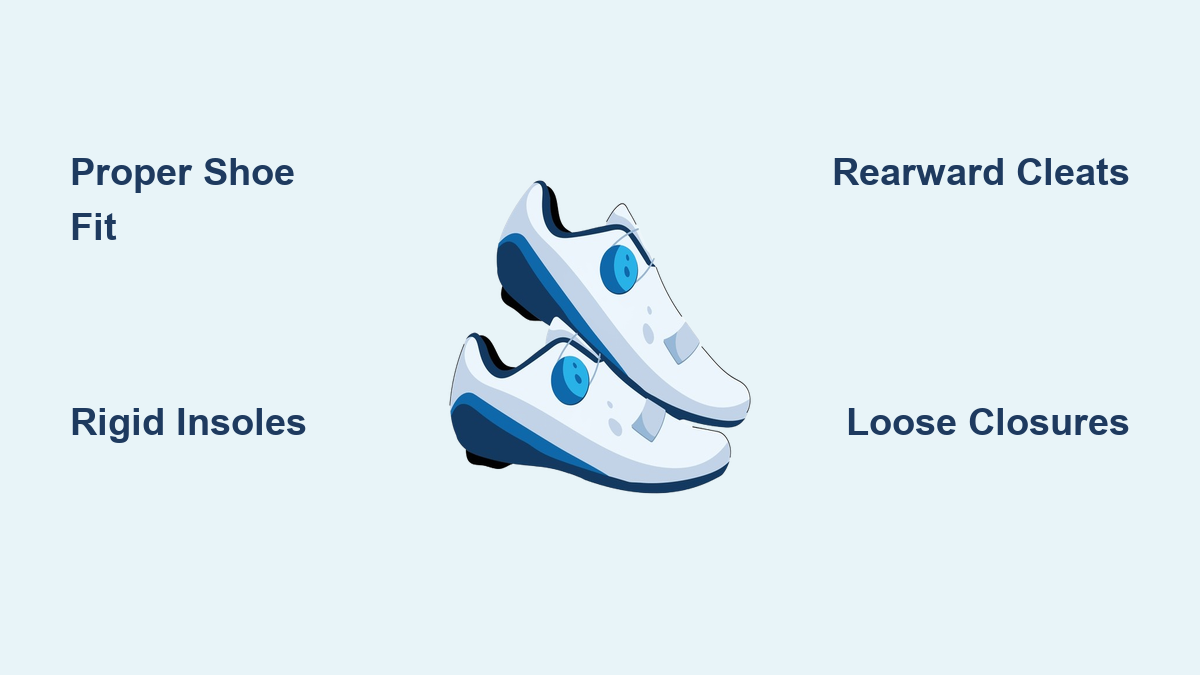
If you’ve ever felt your toes suddenly clench mid-ride—tightening into a sharp, involuntary spasm or a persistent “gripping” sensation inside your cycling shoes—you’re not alone. Toe cramping in cycle shoes affects cyclists of all levels, especially during long climbs, intense intervals, or hot summer rides. It’s more than just discomfort; it’s your body’s way of signaling that something’s wrong with your foot’s stability, support, or alignment.
This cramping often starts subtly: a twitch under the ball of the foot, a dull ache behind the big toe, or the feeling that your toes are constantly fighting to stay balanced with every pedal stroke. Ignored, it can progress to numbness, fatigue, and even long-term issues like metatarsalgia or Morton’s neuroma. But here’s the truth: toe cramping is not normal. It’s not a badge of endurance—it’s a fixable problem rooted in biomechanics, fit, and technique.
The good news? With targeted adjustments to your shoe fit, insoles, cleat position, pedaling style, and bike setup, you can eliminate cramping—often within days. This guide delivers a complete, step-by-step action plan used by elite triathletes, bike fitters, and podiatrists to restore foot stability, reduce pressure, and prevent fatigue. Whether you’re commuting, racing, or touring, you’ll learn how to ride with relaxed, powerful feet—cramp-free.
Choose the Right Cycling Shoe Size and Shape
A poorly fitting cycling shoe is the most common cause of toe cramping. Even a minor mismatch forces your foot to compensate, leading to instability and unconscious gripping.
Pick Shoes with a Snug Heel and Proper Toe Clearance
Your heel should be locked down with zero lift during pedaling. If your foot slides forward, your toes will instinctively clench to stabilize. At the same time, ensure no more than 1 cm (about one fingertip) between your longest toe and the front of the shoe. More space means your foot shifts forward under effort—triggering cramping.
If you can fit two fingertips in the toe box, the shoe is too long. Downsize by half a size. Conversely, if your forefoot feels pinched or you see puckering across the instep, the shoe is likely too narrow. A stable foot shouldn’t move or deform under strap tension.
Match Your Foot Shape to the Shoe Last
Not all “size 44” shoes fit the same. Brands like Specialized, Giro, and Lake use different lasts (molds) that vary in width, volume, and toe box shape. What fits well in a Shimano may crush your forefoot in a Sidi.
If you have wide feet, look for models with roomy toe boxes, even if labeled “standard.” Consider heat-moldable shoes like the Lake CX242, which allow you to customize the upper for a perfect fit. Riders with high arches or high insteps benefit from shoes with dual BOA dials or micro-adjustable straps for precise pressure control without squeezing the forefoot.
Replace Flimsy Insoles with Rigid, Supportive Ones

The stock insoles in most cycling shoes are thin, flexible, and offer almost no support—essentially turning your foot into a collapsing arch under load.
Install Cycling-Specific Insoles
Swap out the factory liner for a rigid, structured insole designed for cycling. Options like Specialized Body Geometry, G8 Performance, or Lake insoles provide:
– Firm arch support to prevent pronation
– A metatarsal pad that lifts the ball of the foot
– A deep heel cup for rearfoot stability
– Varus correction to align the foot in a neutral position
These features reduce foot movement, support the arch, and relieve pressure on nerves in the forefoot—directly combating cramping.
Consider Custom Orthotics for Persistent Issues
For riders with flat feet, overpronation, or high arches, off-the-shelf insoles may not be enough. Semi-custom ($100) or custom-molded orthotics ($200+)—like Lamson insoles—are precision-made to correct biomechanical imbalances. They ensure your foot stays neutral, reducing strain on the small muscles in your toes.
Pro insight: A neutral foot doesn’t need to grip. If your foot rolls inward, your toes work overtime to stabilize—leading to fatigue and cramps.
Move Cleats 10–24 mm Rearward

One of the most effective—and often overlooked—fixes for toe cramping is repositioning your cleats further back on the shoe.
Reduce Forefoot Pressure and Muscle Strain
When cleats are too far forward—under the ball of the foot—the lever arm from your ankle increases, forcing your calf and intrinsic foot muscles to work harder. This overactivation leads to fatigue and cramping.
Shift cleats 10–24 mm rearward so the pedal axle sits under or slightly behind the metatarsal head. This:
– Reduces strain on foot stabilizers
– Improves overall foot stability
– Lowers peak pressure on the forefoot
Elite example: Triathletes like Jan Frodeno and Daniela Ryf use rearward cleat positions to minimize calf fatigue and improve run-off-the-bike performance.
Use Cleat Adapters for Maximum Adjustment

Standard cleat slots often don’t allow enough rearward travel. Cleat adapters like PatroCleats or Speedplay Adapter Plate #13333 extend the range by 15–24 mm. Made from lightweight 6061-T6 aluminum or carbon fiber (as light as 24g/pair), they’re compatible with SPD-SL, Look, Time, and Speedplay systems.
Test changes in 2–3 mm increments on the trainer before long rides. Most riders notice reduced toe tension within minutes.
Loosen Shoe Closures to Prevent Compression
Over-tightening straps or BOA dials is a surprisingly common cause of cramping and numbness.
Avoid Crushing the Forefoot
Tightening over the instep or forefoot compresses nerves and restricts blood flow—especially as feet swell 5–10% during long or hot rides. Even 1–2 mm too tight can trigger symptoms.
Instead:
– Tighten the heel first to lock the foot down
– Secure the midfoot, but keep forefoot straps loose
– Re-adjust during rides to accommodate swelling
User insight: “I solved my numbness just by loosening a Velcro strap a millimeter.” – Bike fit specialist
If you constantly over-tighten, it’s likely a fit issue, not a closure problem. Address instability at the root.
Relax Your Toes During the Pedal Stroke
Many riders unknowingly grip with their toes during hard efforts—especially when fatigued.
Focus on a Smooth, Relaxed Pedal Stroke
Consciously keep your toes loose. Imagine your foot is floating over the pedal, not clenching it.
Key technique cues:
– Push through the arch, not the toes or heel
– Lift the big toe slightly toward the ceiling (dorsiflexion)
– Maintain a circular, fluid stroke—not a stomping motion
Pro tip: “Shift focus from gripping to gliding.” A relaxed foot is a powerful foot.
Use indoor trainer sessions to build muscle memory. Record yourself or use a mirror to check for visible toe tension.
Optimize Saddle Position and Bike Fit
Your foot’s stability is influenced by your entire riding position.
Level and Slightly Raise the Saddle
- Saddle too low or too far forward shifts weight onto the forefoot.
- Saddle tilted down causes you to slide forward, forcing your feet to brace.
- Short saddle or weak support creates a “falling forward” sensation, prompting toe gripping.
Fix it:
– Level the saddle
– Raise saddle height slightly to improve pelvic alignment
– Ensure balanced reach to the handlebars
One rider reported immediate relief after raising and leveling his saddle: “My foot finally felt planted and stable.”
Use Foot-Healthy Accessories
Small additions can make a big difference—especially for prevention and recovery.
Try Metatarsal Pads
Pedag or Strutz Pro pads lift the metatarsal heads, reducing nerve compression. Place the pad just behind the ball of the foot, not under it.
Wear Injinji Toe Socks
Injinji toe socks allow each toe to move independently, reducing compression and improving breathability. They fit in most cycling shoes with a little extra space.
Consider Correct Toes Spacers
Worn off the bike in wide, flexible shoes (like Altra or Vivobarefoot), Correct Toes restore natural toe splay and strengthen intrinsic muscles.
Add Compression Sleeves
Zensah or CEP calf sleeves improve circulation and reduce fatigue that contributes to toe tension. Wear them post-ride for faster recovery.
Try Platform Pedals and Foot-Healthy Shoes
If cramping persists, consider ditching rigid shoes and cleats.
Switch to Catalyst Pedals + Barefoot-Style Shoes
- Catalyst Pedals offer a wide, supportive platform that cradles the entire foot
- Pair with Altra, Topo, or Vivobarefoot shoes—designed for natural foot function
- Allows full toe splay, reduces pressure points, and eliminates forefoot overload
User result: “I used to get cramps road biking—but since switching to flats on my MTB, it’s gone.”
Prevent Cramping with Daily Foot Care
A strong, flexible foot is less likely to cramp.
Stretch Calves and Improve Mobility
- Standing calf stretch: 30 seconds per side, 2–3 reps
- Foam roll calves and arches: 2–3 minutes per foot
- Alphabet drills: Trace A–Z with your toes
Strengthen Intrinsic Muscles
- Towel scrunches: 3 sets of 15
- Marble pickups: Use toes to move marbles into a cup
- Barefoot walking: 5–10 minutes daily on grass or sand
Know When to See a Professional
If you’ve made adjustments for 4–6 weeks and still have cramping, numbness, or pain, see a podiatrist or certified bike fitter.
They can perform:
– Pressure mapping to identify hot spots
– Gait analysis off the bike
– Cleat alignment assessment with motion tracking
The 7-Point Fix: Summary
- Wear properly fitting shoes – Snug heel, 1 cm toe space, no puckering.
- Upgrade to rigid insoles – Replace stock liners; consider custom orthotics.
- Move cleats rearward – 10–24 mm back, use adapters if needed.
- Loosen shoe closures – Avoid forefoot compression, especially as feet swell.
- Relax toes while pedaling – Focus on arch-driven strokes, not gripping.
- Optimize bike fit – Level and slightly raise saddle, balance your position.
- Stretch and strengthen feet – Prevent fatigue and muscle imbalances.
Final Takeaway:
Toe cramping in cycle shoes isn’t something you have to endure. It’s a warning sign, not a normal part of cycling. By addressing shoe fit, insole support, cleat position, and pedaling mechanics, you can eliminate cramping and ride with confidence, comfort, and power.
“Foot pain isn’t just a foot problem—it’s a system-wide issue.”
Fix the foundation, and the rest follows.