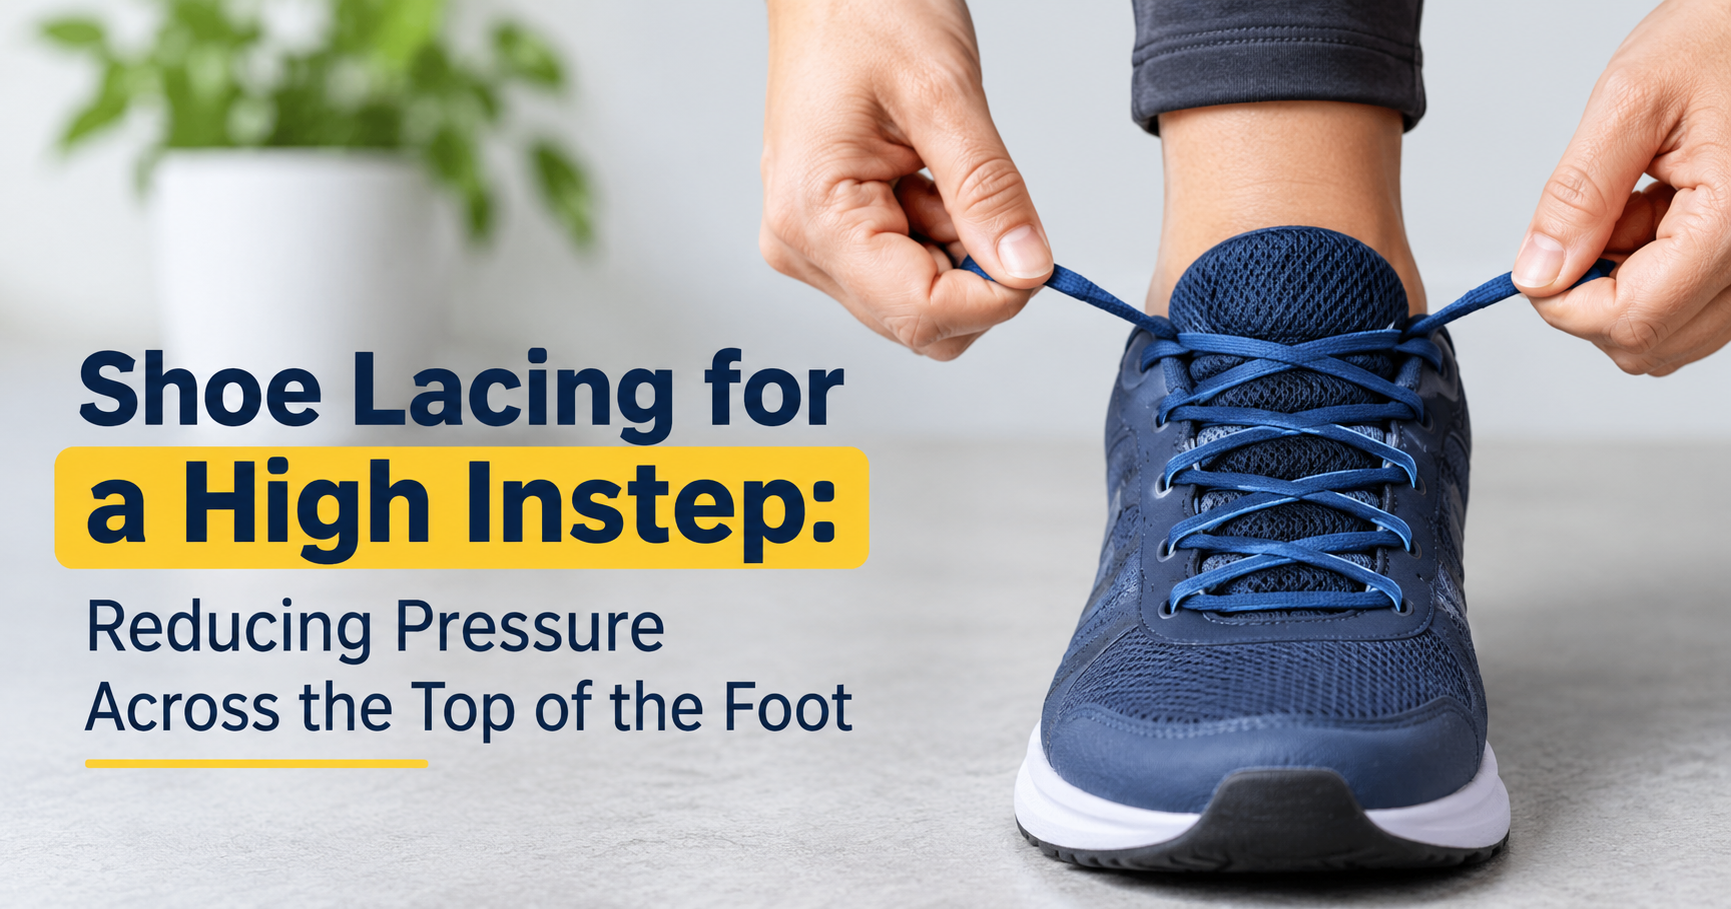
If you have ever slipped on a brand-new pair of shoes, tied them the normal way and felt a sharp, burning pressure across the top of your foot, you are not alone. People with a high instep (also called a high arch or high-volume foot) deal with this problem every day. The shoe fits perfectly in length and width, yet the laces dig in, the foot goes numb, and a comfortable walk or run turns into a countdown to taking the shoes off.
The good news is that you rarely need to buy a new pair of shoes. Changing the way you lace them can redistribute pressure, create extra room and keep your heel secure at the same time. In this complete guide you will learn what a high instep is, why standard lacing causes pain, and five practical shoe lacing techniques for a high instep that you can try today.
What Is a High Instep?
The instep is the arched section on the top of your foot, between the toes and the ankle. A high instep means that this area rises more steeply than average. Because the foot has more volume in the middle, it presses upward against the tongue and the laces of the shoe.
You may have a high instep if you notice several of the following signs:
- Shoes feel tight across the top of the foot even when the length and width are correct.
- You get pain, tingling or numbness after tying your laces firmly.
- The eyelets on your shoes sit very close together, or the shoe barely closes.
- You often loosen your laces completely, but then the heel slips.
- Red marks or indentations from the laces remain on your foot after you take off your shoes.
- Your footprint shows a narrow band or a very small contact area in the middle of the foot.
Why Standard Lacing Hurts a High Instep
With the traditional criss-cross pattern, every pair of eyelets pulls the shoe inward with the same force. Over a flat or normal foot, this is ideal. Over a high instep, however, the laces concentrate pressure on the tallest point of the foot, where the nerves and tendons sit very close to the skin.
This can lead to a condition commonly described as top-of-foot pain or lace bite. Long-term pressure may irritate the extensor tendons and compress small nerves, which is why the sensation is often burning or tingling rather than a simple ache. Choosing a better lacing pattern is the easiest and cheapest way to reduce that pressure.

Technique 1: Window Lacing (Box Lacing)
Window lacing is probably the most popular fix for a high instep, and it is easy to learn. The idea is to create a small “window” of vertical laces directly above the painful area so that nothing crosses over the highest point of the foot.
How to do it
- Start with the usual straight bar across the bottom eyelets and criss-cross upward until you reach the eyelets just below the sore area.
- Instead of crossing, feed each lace end straight up the same side to the next eyelet, so the laces run vertically on both sides.
- Resume the criss-cross pattern from that point to the top of the shoe.
- Tie as usual, adjusting the tension at the ankle, not over the instep.

Best for: sneakers, running shoes, hiking shoes and casual shoes with at least five or six eyelet pairs.
Technique 2: Gap Lacing (Skipping Eyelets)
Gap lacing works on the same principle as window lacing but is even simpler. You skip one or two pairs of eyelets exactly over the area of greatest pressure. The lace runs straight from the eyelet below the pain point to the eyelet above it, which removes tension from that part of the foot.
How to do it
- Lace normally from the bottom until you reach the eyelets that sit over your highest instep point.
- Skip those eyelets and pass each lace vertically to the next available eyelet on the same side.
- Cross the laces again and finish lacing to the top.

If one skipped pair is not enough, try skipping two pairs. Remember that a very large gap may let the foot move more, so keep the lacing snug at the ankle.
Technique 3: Parallel Lacing (Straight Bar Lacing)
Parallel lacing, sometimes called straight bar or ladder lacing, is considered the gentlest pattern for a high instep. Because the laces never cross, there are no crossing points to dig into the foot. Each rung lies flat and spreads pressure evenly across the width of the shoe.
How to do it
- Thread one lace end through the bottom eyelet from the outside to the inside, and the other end from the inside to the outside, so the lace forms a straight bar across the shoe.
- Run each end up the same side under the eyelet and through the next eyelet from the outside, forming another straight bar.
- Repeat until you reach the top and finish with a regular knot.

Tip: This pattern can be harder to tighten and tends to loosen under heavy movement. Using a flat, slightly textured lace or finishing with a surgeon’s knot helps it stay put. It works especially well for dress shoes and leather boots, which have fewer eyelets and stiffer uppers.
Technique 4: Heel Lock (Runner’s Loop) With Looser Instep
A frequent reason people over-tighten laces is that their heel slips. When they tighten the middle of the shoe to stop the slipping, the instep suffers. The heel lock, often called the runner’s loop, solves this by securing the ankle with the top two eyelets so that you can keep the middle of the shoe comfortably loose.
How to do it
- Lace the shoe with your preferred low-pressure pattern, such as window or gap lacing, up to the second-to-last eyelets.
- Feed each lace end through the final eyelet on its own side to create a small loop, without crossing.
- Thread the opposite lace end through the loop on the other side, as shown in the diagram.
- Pull both ends outward and upward to lock the heel back, then tie your knot.

Combining the heel lock with window or gap lacing gives you the best of both worlds: a relaxed forefoot and midfoot, and a firm hold on the heel and ankle.
Technique 5: Separate Lacing Zones With a Surgeon’s Knot
If you need different tension in different parts of the shoe, you can split the lacing into two independent zones. First, lace and tie the bottom half of the shoe at the comfort level you want for your forefoot and instep. Then use a second lace, or tie a surgeon’s knot (a double overhand twist) halfway up, so the lower section stays loose while the upper section can be pulled firmly around the ankle.
The surgeon’s knot is simple: when you tie the first part of the knot, wrap the lace around itself twice instead of once. The extra friction holds the tension in place, so you can tighten the top of the shoe without the bottom section tightening or loosening. This approach is popular among hikers and runners with high insteps because it lets them fine-tune comfort on long routes.
Quick Comparison of the Techniques
| Technique | Difficulty | Pressure Relief | Best Use |
|---|---|---|---|
| Window lacing | Easy | High | Running, walking, everyday sneakers |
| Gap lacing | Very easy | Medium to high | Quick fix for any lace-up shoe |
| Parallel lacing | Medium | Very high | Dress shoes, leather boots |
| Heel lock + loose instep | Medium | High | Running, hiking, sports |
| Separate zones with surgeon’s knot | Medium | High | Long hikes and trail use |
Other Ways to Make Shoes More Comfortable for a High Instep
Lacing is the first step, but a few other adjustments can make a big difference:
- Choose the right shoe. Look for shoes with a high-volume or roomy midfoot, a deeper toe box and a padded, flexible tongue. Models with more eyelets give you more freedom to use window or gap lacing.
- Pick better laces. Wide flat laces spread pressure more evenly than thin round ones. Thin, stretchy or elastic laces can also reduce pressure points.
- Add a tongue pad. A thin foam or gel pad stuck to the tongue helps cushion sensitive tendons beneath the laces.
- Move the tongue. Make sure the tongue sits centered and flat. A twisted tongue is a hidden cause of pressure on the top of the foot.
- Swap the insole. A thick insole raises the foot higher inside the shoe. Using a thinner insole can instantly create more vertical space.
- Wear the right socks. Thick socks add bulk across the instep. Choose thin, moisture-wicking socks for activities where you need a precise fit.
- Retie after warming up. Feet swell during exercise, so it is wise to loosen or re-adjust the laces after the first few minutes.
Common Lacing Mistakes to Avoid
- Pulling the laces too tight in a single motion, instead of tightening gradually from toe to ankle.
- Skipping too many eyelets so the shoe becomes unstable.
- Over-tightening the top of the shoe and cutting off blood flow to the foot.
- Ignoring a slipping heel, which leads to blisters and more over-tightening.
- Continuing to wear painful shoes instead of testing a different pattern.
Frequently Asked Questions
Can lacing really fix pain on top of the foot?
In many cases, yes. Lacing patterns that reduce pressure over the instep can remove most lace-related pain. If the shoe is fundamentally too small or too low in volume, though, lacing alone may not be enough.
What is the best lacing technique for a high instep?
Window lacing and gap lacing are the most widely used because they are easy and effective. Parallel lacing is the most gentle, while the heel lock is the best addition if your heel slips.
Do these techniques work for running shoes and boots?
Yes. They work on any lace-up shoe, including running shoes, hiking boots, work boots, dress shoes and skate shoes. Shoes with more eyelets give you more room for adjustment.
Will skipping eyelets damage my shoes?
No. Skipping eyelets simply changes the path of the lace. It does not harm the shoe, and you can switch back to standard lacing at any time.
When should I see a doctor or podiatrist?
If you have persistent pain, numbness, swelling or tingling on the top of the foot that does not improve after changing your lacing and footwear, consult a podiatrist or healthcare professional. They can check for conditions affecting the tendons or nerves and recommend suitable insoles or custom orthotics.
Final Thoughts
A high instep does not have to mean uncomfortable shoes. With simple changes like window lacing, gap lacing, parallel lacing, the runner’s loop and zone tightening, you can take pressure off the top of your foot and keep your heel secure. Start with the easiest option, test it on a short walk, and adjust until the shoes feel natural. Combine your new lacing with roomy, well-designed footwear and a thin insole, and every step becomes more comfortable.