You slip on your favorite shoes, take a few steps, and hear it: squeak, squeak, squeak. Every stride announces your arrival, and it is hard to ignore. Squeaking insoles are one of the most common and most irritating shoe complaints, and the good news is that the cause is usually simple and the fix is cheap.
This guide explains why insoles squeak, how to find the exact source of the noise, which fixes actually work, and how to keep the problem from coming back.
Table of Contents
- Why do insoles squeak?
- How to find where the noise comes from
- Quick fixes you can try today
- Fixes by insole type
- Fixes by shoe type
- What NOT to do
- How to prevent squeaking
- When to replace the insole or shoe
- Frequently asked questions
Why Do Insoles Squeak?
A squeak is a sound made when two surfaces rub against each other, stick for a moment, and then slip. Scientists call this a stick-slip effect. Inside a shoe, there are several places where this can happen.
1. Friction between the insole and the shoe base
This is the number one cause. When an insole is not secured, it shifts slightly with every step. The bottom of the insole rubs against the shoe’s inner base (the insole board), and the two surfaces grab and release, producing a squeak.
2. Moisture and sweat
Feet can release a surprising amount of sweat during a day. Moisture trapped between the insole and the shoe makes surfaces slippery in some spots and sticky in others, which is a perfect recipe for noise. Squeaking that appears after a long walk, in hot weather, or after wet conditions usually points to moisture.
3. Trapped air
Foam, gel and EVA insoles can trap small pockets of air. When you step down, the air is pushed out through tiny gaps, which makes a squeaking or farting-like sound. This is common with brand-new insoles that fit very tightly.
4. Insole material rubbing the shoe lining
Hard plastic arch supports, heel cups, and the edges of rigid insoles can rub against the shoe’s lining or sidewalls. Some material pairs, such as smooth plastic on leather, squeak more than others.
5. Poor fit or wrong size
An insole that is too long, too short, or too wide will bend, buckle or slide. Even a small movement produces friction. A loose heel cup that is not seated properly in the heel of the shoe is a frequent offender.
6. Stacking insoles
Placing a new insole on top of the original factory insole creates two layers that move against each other. This double layer is a very common source of squeaks.
7. New shoes that have not broken in
The materials of new shoes are stiff. Glue, stitching and lining all need time to settle, and until they do, extra friction points can exist.
8. Socks
Smooth synthetic socks can slide against the top surface of the insole and make a squeaky sound, especially when the insole top cover is slick.
How to Find Where the Noise Comes From
Before trying fixes, spend two minutes diagnosing. It saves time and prevents unnecessary changes.
- Remove the insole and walk. If the squeak disappears, the insole is involved. If the squeak stays, the shoe itself (outsole, midsole, or lining) is the source.
- Press the insole by hand. Place the insole back in the shoe and press on different areas with your thumb. The spot where you hear the noise is your problem area.
- Test the heel and forefoot separately. Press the heel, then the arch, then the ball of the foot. Note which area makes the sound.
- Try different socks. A thicker cotton or wool blend sock can instantly reveal whether sock friction is part of the noise.
- Check for dampness. If the shoe feels humid, dry it before testing again.
Quick Fixes You Can Try Today
Fix 1: Use baby powder or cornstarch
This is the classic, cheapest and often the most effective solution. Remove the insole and sprinkle a thin layer of talcum powder, baby powder or cornstarch on the shoe base. Spread it with your fingers and place the insole back. The powder reduces friction and absorbs moisture. Cornstarch is a good alternative if you prefer talc-free options.
Fix 2: Dry the shoes and insoles completely
Take the insoles out and let both the shoe and insole air-dry for 24 hours away from direct heat. Avoid radiators and hair dryers, since high heat can warp foam and glue. Once dry, many squeaks vanish on their own.
Fix 3: Use double-sided tape or insole adhesive
If the insole is sliding, secure it. Apply a few small strips of double-sided carpet tape or fabric tape to the bottom of the insole and press it firmly onto the shoe base. Preventing movement removes the stick-slip effect completely.
Fix 4: Add a thin layer of moleskin or felt
For squeaks caused by hard edges or rigid heel cups, cut a thin piece of moleskin and stick it on the rubbing area. It acts as a soft buffer between hard surfaces.
Fix 5: Wipe with rubbing alcohol
Dirt, residue and old adhesive can make surfaces sticky. Wipe the underside of the insole and the shoe base with a cloth lightly dampened with rubbing alcohol. Let it dry fully, then reinsert the insole.
Fix 6: Remove the factory insole
If your aftermarket insole is stacked on the original one, remove the factory insole and use only the new one. This eliminates the layer-on-layer friction. Check that the shoe still fits comfortably after removal.
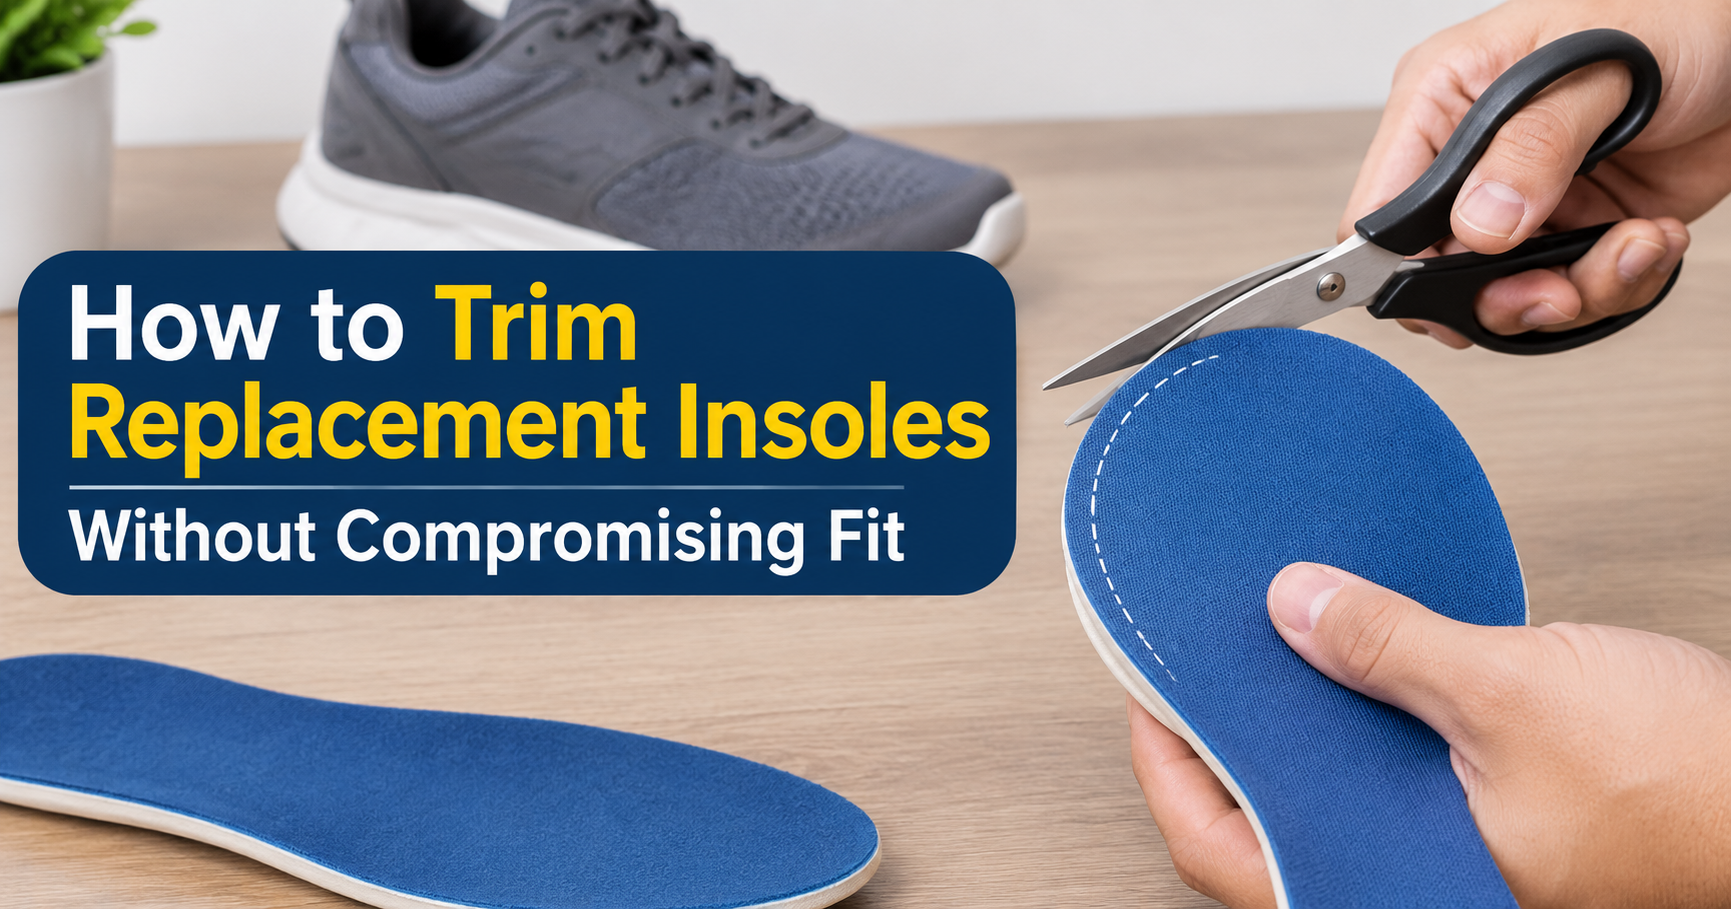
Fix 7: Trim the insole to the correct size
Use the original insole as a template. Trace its outline on the new insole and trim carefully with sharp scissors. A correctly sized insole sits flat without buckling.
Fix 8: Rub a little wax on contact points
A thin application of candle wax or beeswax on the edges where hard surfaces touch can reduce friction. Use a very small amount and buff it so it does not feel greasy.
Fix 9: Switch your socks
Choose moisture-wicking socks made from merino wool or a quality cotton blend. These grip the insole top gently instead of sliding.
Fixes by Insole Type
| Insole Type | Typical Squeak Cause | Best Fix |
|---|---|---|
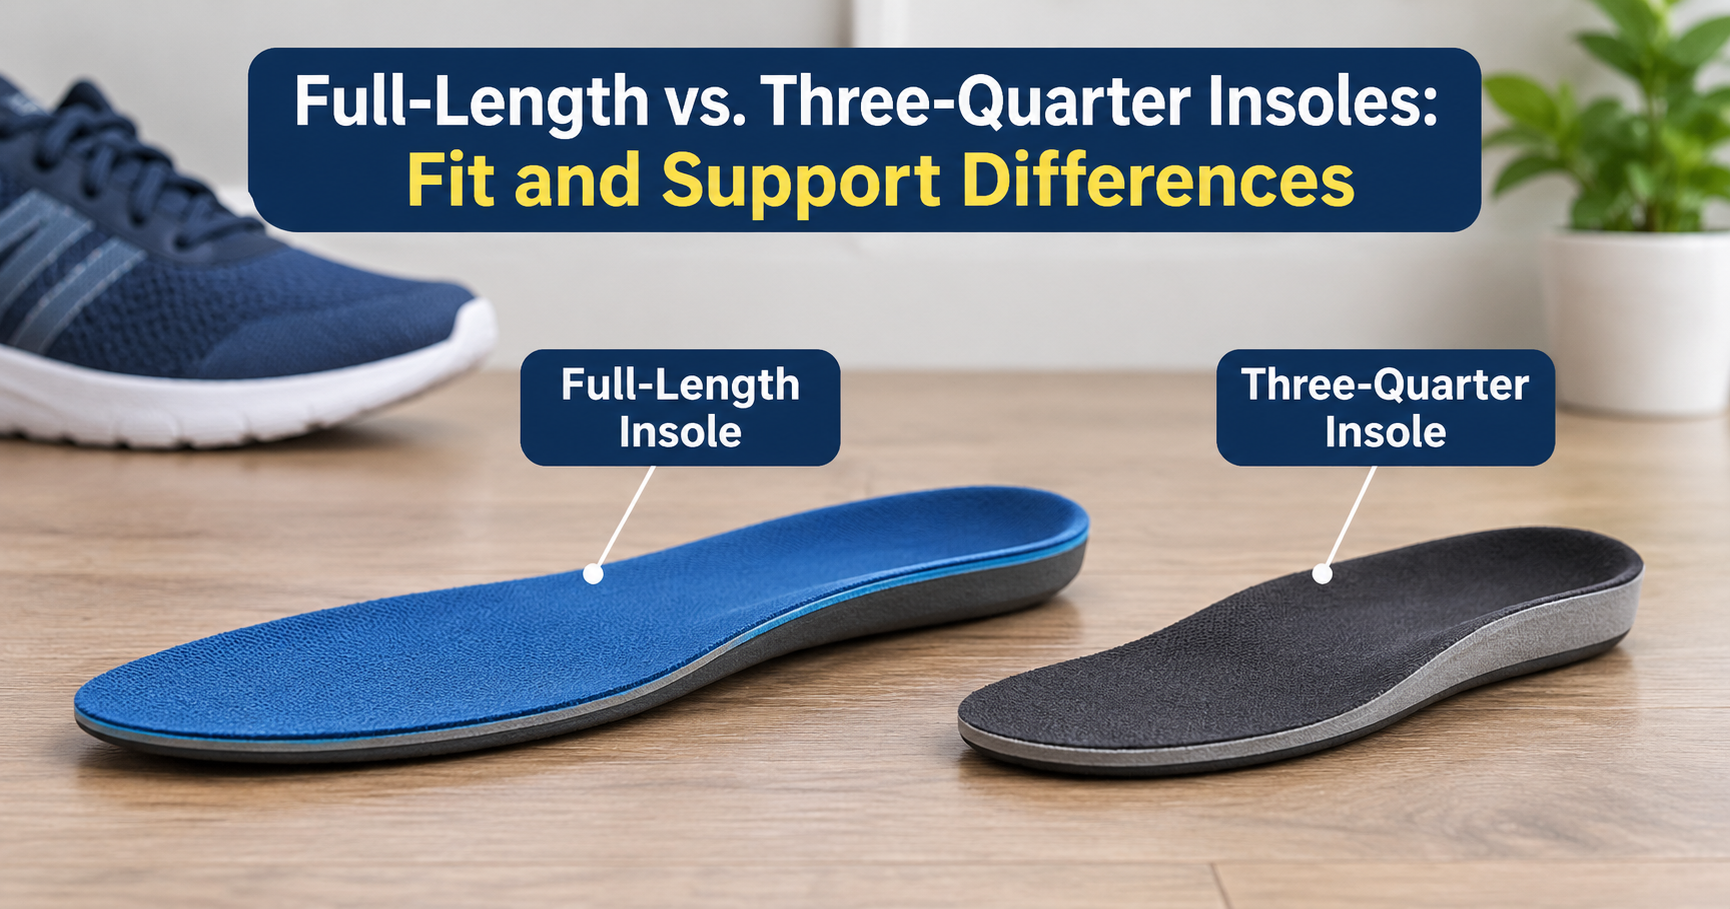
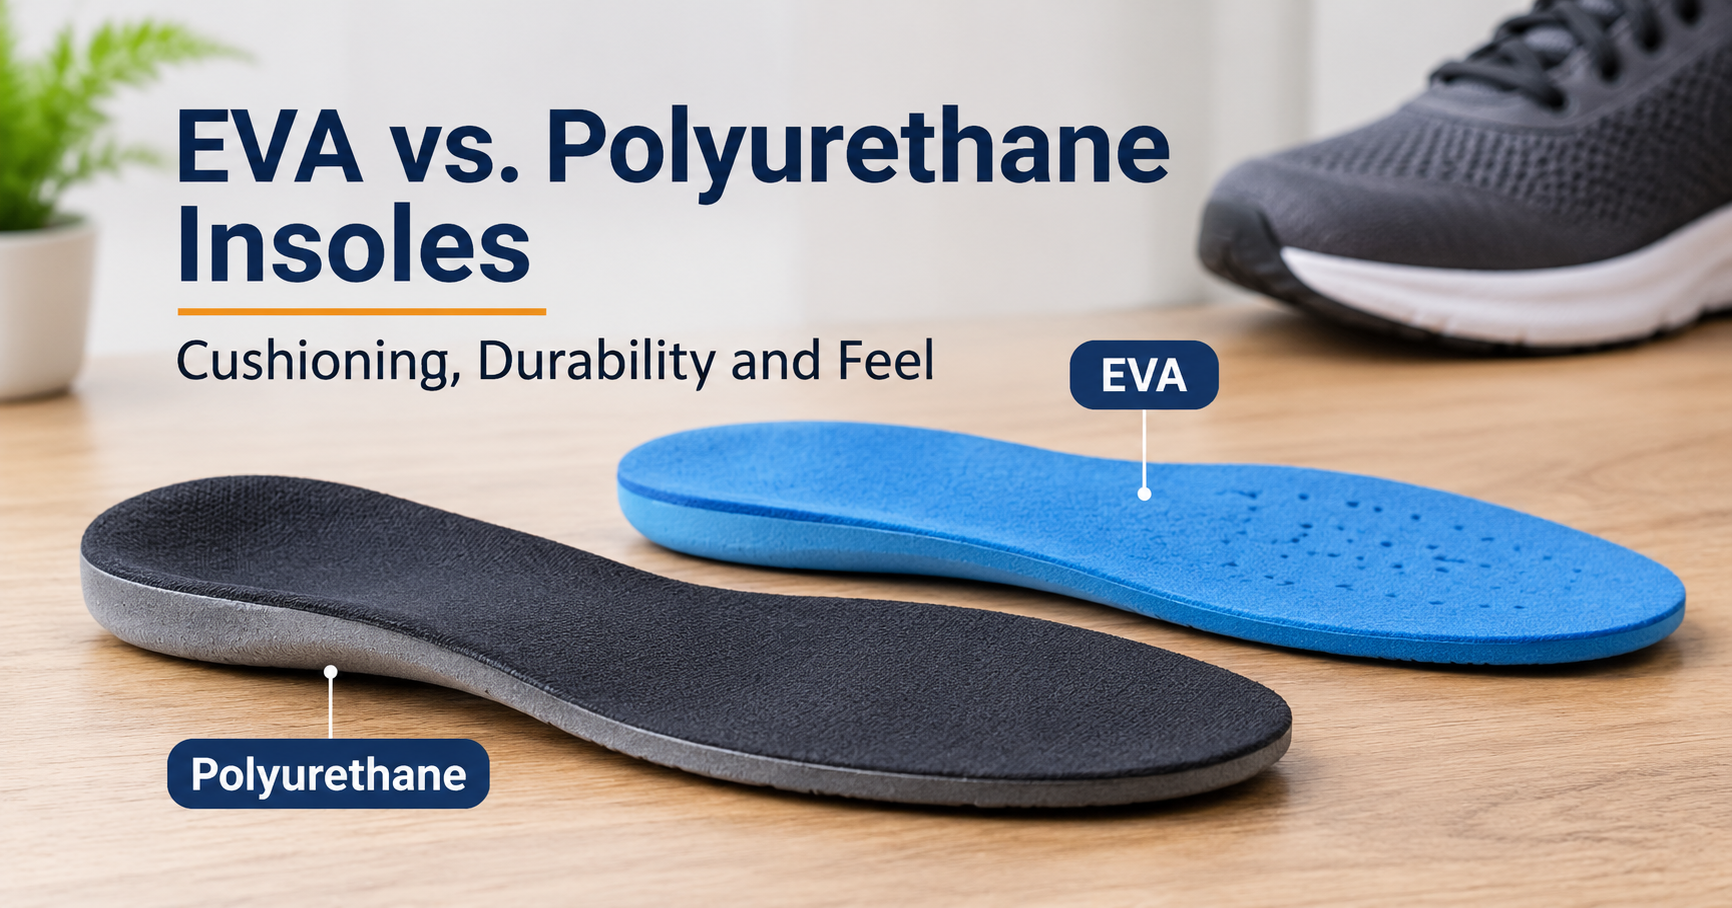
| Foam / EVA | Trapped air, tight fit | Trim slightly, add powder |
| Gel | Sticky surface, sweat | Cornstarch, moisture-wicking socks |
| Rigid orthotic / plastic arch | Hard edges rubbing shoe | Moleskin on edges, tape underside |
| Leather / cork top | Dry surface rubbing, moisture swelling | Powder, light wax on edges |
| Heat-moldable | Poor seating after molding | Re-mold, then secure with tape |
Fixes by Shoe Type
Running and athletic shoes
These often have a molded insole board with small gaps and ridges. Powder under the insole and a thin tape strip at the heel usually solve it. Since athletic shoes get sweaty, dry them out after every use.
Leather dress shoes
Leather lining can be slippery. Roughen the contact area slightly with fine sandpaper, then clean it and add powder. A small felt pad at the heel helps stop sliding.
Work boots
Boots have deeper heel cups and thicker insoles. Make sure the insole is not too long, because it can bunch at the toe. Tape at the heel and arch gives a stable hold.
Sandals and slides
Footbeds in sandals squeak when wet. Let them dry fully, wash off soap or lotion residue, and avoid wearing them with oily creams on your feet.
What NOT to Do
- Do not use oil or heavy grease. Oils can stain shoes, damage glue and make your foot slip.
- Do not use strong glue. It makes the insole permanent and can ruin both insole and shoe.
- Do not dry shoes on a heater. Excess heat can shrink leather and melt foam.
- Do not stack several insoles. More layers means more friction and less room for your foot.
- Do not ignore sharp edges. If a hard edge is rubbing, it can also irritate your skin, so pad it.
How to Prevent Squeaking
- Choose the right size. Match the insole to your shoe size and shape. When in doubt, trim rather than force it.
- Let shoes rest. Rotate pairs so each pair can dry for at least a full day between wears.
- Wear suitable socks. Moisture-wicking materials keep sweat under control.
- Break in new insoles gradually. Wear them for a few hours at a time over several days so materials settle.
- Clean insoles regularly. Gently wipe with a damp cloth and mild soap, then air-dry fully.
- Check fit after molding or trimming. Make sure the insole lies flat before you walk on it.
When to Replace the Insole or Shoe
Sometimes the fixes above are not enough. Consider a replacement when:
- The insole is cracked, flattened or curling at the edges.
- The shoe’s midsole has split or the shoe base is delaminating, which means the noise comes from the shoe structure and not the insole.
- The squeak returns within days despite multiple fixes.
- The insole has lost its cushioning, which can cause foot discomfort in addition to noise.
If you also feel pain, pressure spots or numbness while walking, do not ignore it. Speak with a podiatrist or a qualified foot health professional, since the problem may be fit or support and not just noise.
Frequently Asked Questions
Why do my new insoles squeak?
New insoles are usually tight and can trap air or rub on the shoe base. They often need a short break-in period. Trimming for a better fit and adding a little powder underneath typically resolves it.
Why do my insoles squeak only when it is hot or after walking a lot?
Heat increases sweating, and moisture changes how surfaces grip each other. Drying your shoes properly and using moisture-wicking socks will help.
Is baby powder safe for shoes and feet?
A thin layer under the insole is generally fine. If you prefer, cornstarch works in a similar way. Keep powder under the insole and not directly on irritated skin.
Can squeaky insoles damage my feet?
The noise itself does not harm your feet, but the friction behind it can indicate a loose or poorly fitted insole. An insole that slides can reduce support and, over time, cause hot spots or blisters.
Will the squeak go away by itself?
Sometimes, once new materials soften and moisture dries out. If it continues after a week or two of normal use, take action using the steps above.
Should I remove the original insole when adding a new one?
In most cases yes. Replacing the factory insole instead of stacking on top of it reduces friction, saves space, and improves fit. Make sure the shoe stays comfortable after removal.
Final Thoughts
Squeaking insoles may sound like a small problem, but it can ruin a comfortable walk and make you self-conscious. The good news is that the cause is almost always friction, moisture or a loose fit, and every one of those can be fixed at home with simple materials. Start by locating the noise, dry everything out, add a little powder, and secure the insole if it moves. With a few minutes of effort, your shoes can go back to being quiet and comfortable.