
Scratched hardwood, squeaky chairs and furniture that crawls across the room are small problems that grow into expensive ones. The good news is that a single sheet of adhesive felt can fix all three. Unlike ready-made round pads, adhesive felt lets you create custom foot padding that matches any shape, whether it is a square table leg, an oval stool base or an oddly shaped sofa foot.
In this complete guide you will learn what adhesive felt is, how to choose the right type, how to cut and apply it step by step, and how to keep your pads working for years.
Table of Contents
- What Is Adhesive Felt?
- Why Choose Custom Foot Padding?
- Tools and Materials You Need
- How to Choose the Right Felt
- Step-by-Step: How to Make and Apply Custom Felt Pads
- Felt Thickness Guide
- Common Mistakes to Avoid
- Maintenance and Replacement
- Where Felt Pads Work Best
- Frequently Asked Questions
- Final Thoughts
What Is Adhesive Felt?
Adhesive felt is a sheet of compressed fibers with a sticky backing covered by a peel-off paper liner. It is sold in sheets, rolls and strips, and it can be cut with ordinary scissors. Once the liner is removed, the sheet sticks directly to wood, plastic, metal or painted surfaces.
Most felt used for furniture is made from wool, a wool and synthetic blend, or pure polyester. Wool blends are denser and last longer under weight, while thin synthetic felts are fine for lightweight decor items.
Why Choose Custom Foot Padding?
Pre-cut pads come in a handful of standard shapes. If your furniture does not fit those shapes, the pad hangs over the edge or leaves part of the foot exposed. A custom approach solves this and offers several benefits:
- Perfect fit: The pad covers the whole contact surface, so nothing scratches the floor.
- Better value: One sheet makes dozens of pads, which costs less per piece than buying packs of single-shape pads.
- Flexible thickness: You can layer or select a thicker sheet for heavy items.
- Less waste: You cut only what you need and keep the rest for replacements.
- Quiet movement: Soft felt dampens the noise of chairs sliding or tapping on hard floors.

Tools and Materials You Need
- Adhesive felt sheet with a strong peel-off backing.
- Sharp scissors or a craft knife for clean edges.
- Ruler or measuring tape to measure each foot.
- Marker or pencil to trace the shape.
- Rubbing alcohol and a clean cloth to prepare the surface.
- Sandpaper (optional) to smooth very rough or varnished feet.
How to Choose the Right Felt
Not all felt performs the same. Keep these points in mind before you buy:
1. Thickness
Thicker felt cushions heavier furniture, but it can raise the piece slightly. For most chairs and tables, 3 to 5 mm works well. Light decor can use 2 mm.
2. Density
Dense felt resists flattening. Loose, fluffy felt compresses quickly under weight and needs frequent replacement.
3. Adhesive Strength
Look for a sheet with a strong, even adhesive layer. Weak glue causes pads to peel at the corners within weeks.
4. Color
Light-colored felt usually does not leave marks on light floors, while dark felt can blend in beneath dark furniture.
5. Floor Type
Felt is ideal for hardwood, laminate and tile. On carpet, felt is not needed, and on very rough outdoor surfaces a rubber or plastic glide is often a better choice.
Step-by-Step: How to Make and Apply Custom Felt Pads

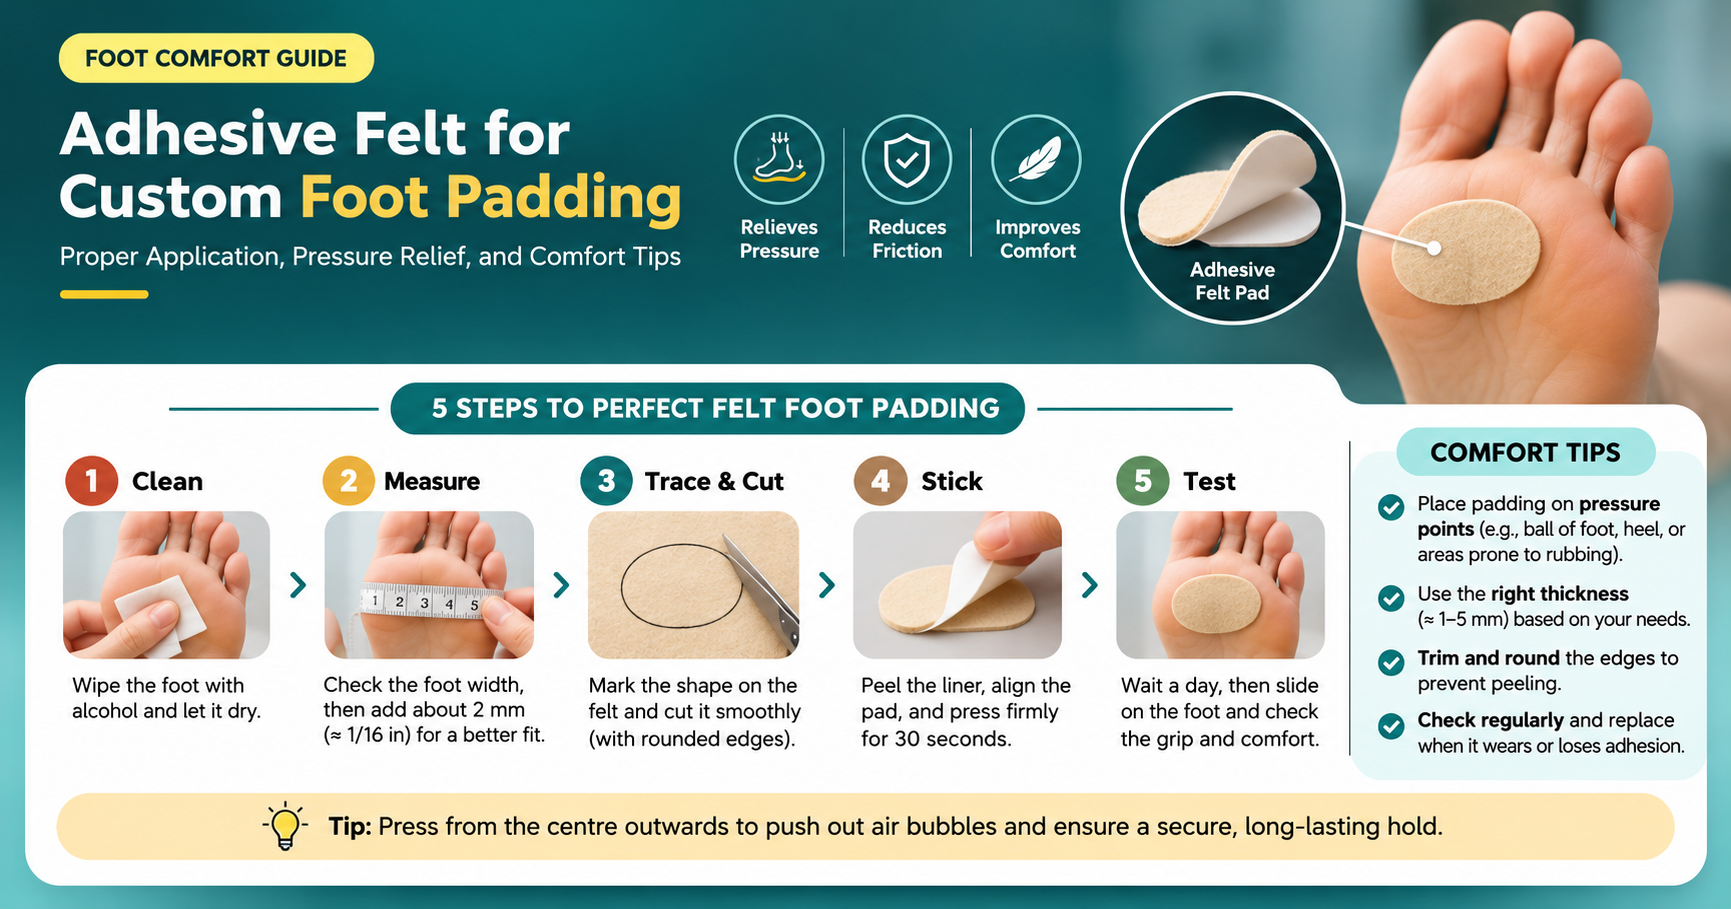
Step 1: Clean the Furniture Foot
Turn the furniture over or lift it safely with help from another person. Wipe the bottom of each foot with rubbing alcohol and let it dry completely. Dust, wax and oil are the most common reasons felt pads fall off. If the surface is glossy, rub it lightly with fine sandpaper, then wipe away the dust.
Step 2: Measure the Foot
Measure the width and length of each foot. For round feet, measure the diameter. Add about 2 mm all around only if the foot is flat and has no rounded edge, so the pad fully covers the contact area without hanging out.
Step 3: Trace and Cut the Felt
Place the felt with the paper side up. Draw the shape on the backing paper using your marker. Cut smoothly along the line with sharp scissors. Cutting slowly in one continuous motion prevents jagged edges. Cut one extra pad for each foot so you have spares ready.
Pro tip: Cut the first pad, check the fit on the foot, then use it as a template for the rest. This saves material and keeps every pad identical.
Step 4: Peel and Stick
Peel back the paper liner, align the pad with the foot and press it down. Press from the center outward to push out air bubbles. Hold firm pressure for about 30 seconds so the adhesive bonds well.
Step 5: Let It Set and Test
Wait at least 24 hours before placing the furniture back in its normal position, especially for heavy pieces. Then slide the item gently on the floor. It should move smoothly and quietly with no visible marks.
Felt Thickness Guide
Use this quick reference to match the felt to the furniture and floor type.

Common Mistakes to Avoid
- Skipping the cleaning step: Dirt stops the glue from gripping.
- Using pads that are too small: Exposed edges still scratch the floor.
- Choosing felt that is too thin: Thin felt wears out quickly under heavy loads.
- Not allowing the adhesive to set: Moving furniture back too soon can slide the pad off.
- Ignoring wear: Flat or dirty felt can trap grit and scratch the floor.
- Using felt on carpet: It is unnecessary and may not stick well to the fibers.
Maintenance and Replacement
Felt pads are not permanent. Check them every few months, especially on chairs that move often. Replace a pad when you notice any of the following:
- The felt has become thin or flattened.
- Dirt, hair or grit is embedded in the surface.
- Corners are lifting or peeling.
- The furniture starts to scratch or make noise again.
To replace a pad, peel off the old felt, remove any leftover glue with rubbing alcohol, and apply a fresh pad using the same steps above. Brushing the felt gently with a lint brush every few weeks also removes dust and extends its life.
Where Felt Pads Work Best
- Dining chairs and tables
- Sofas, armchairs and ottomans
- Bookcases, cabinets and dressers
- Piano benches and stools
- Lamps, vases and decor items
- Desk chairs on hard floors without wheels
- Storage bins and plant stands
Frequently Asked Questions
Is adhesive felt strong enough for heavy furniture?
Yes, if you choose a thick, dense felt and prepare the surface properly. For very heavy items such as large bookcases, use felt that is 5 mm or thicker, or stack two layers.
How long does adhesive felt last?
It depends on use and furniture weight. Chairs that move daily may need new pads every 6 to 12 months, while rarely moved furniture can keep the same pads for a year or more.
Can I use adhesive felt on carpet?
Felt is designed for hard floors. On carpet, it does not provide much benefit, and the adhesive does not stick well to carpet fibers.
Will felt pads damage my floor?
No, clean felt protects floors. Damage usually happens when pads are worn out or when grit gets trapped under them, so check and clean them regularly.
How do I remove old adhesive felt?
Peel the felt away slowly, then dissolve leftover residue with rubbing alcohol and a cloth. Dry the surface before applying a new pad.
Can I cut adhesive felt into any shape?
Yes. That is the main advantage. Squares, ovals, rectangles and even irregular shapes are easy to cut with scissors or a craft knife.
Can I reuse a felt pad after removing it?
Usually no. The adhesive loses strength once peeled, so it is best to apply a new pad.
Final Thoughts
Learning how to use adhesive felt for custom foot padding is one of the easiest and cheapest home improvements you can make. With a sheet of good felt, a pair of scissors and about ten minutes per piece of furniture, you can protect your floors, reduce noise and make furniture glide smoothly. Choose the right thickness, clean the surface, cut accurately and check your pads regularly, and your floors will stay looking new for years.