
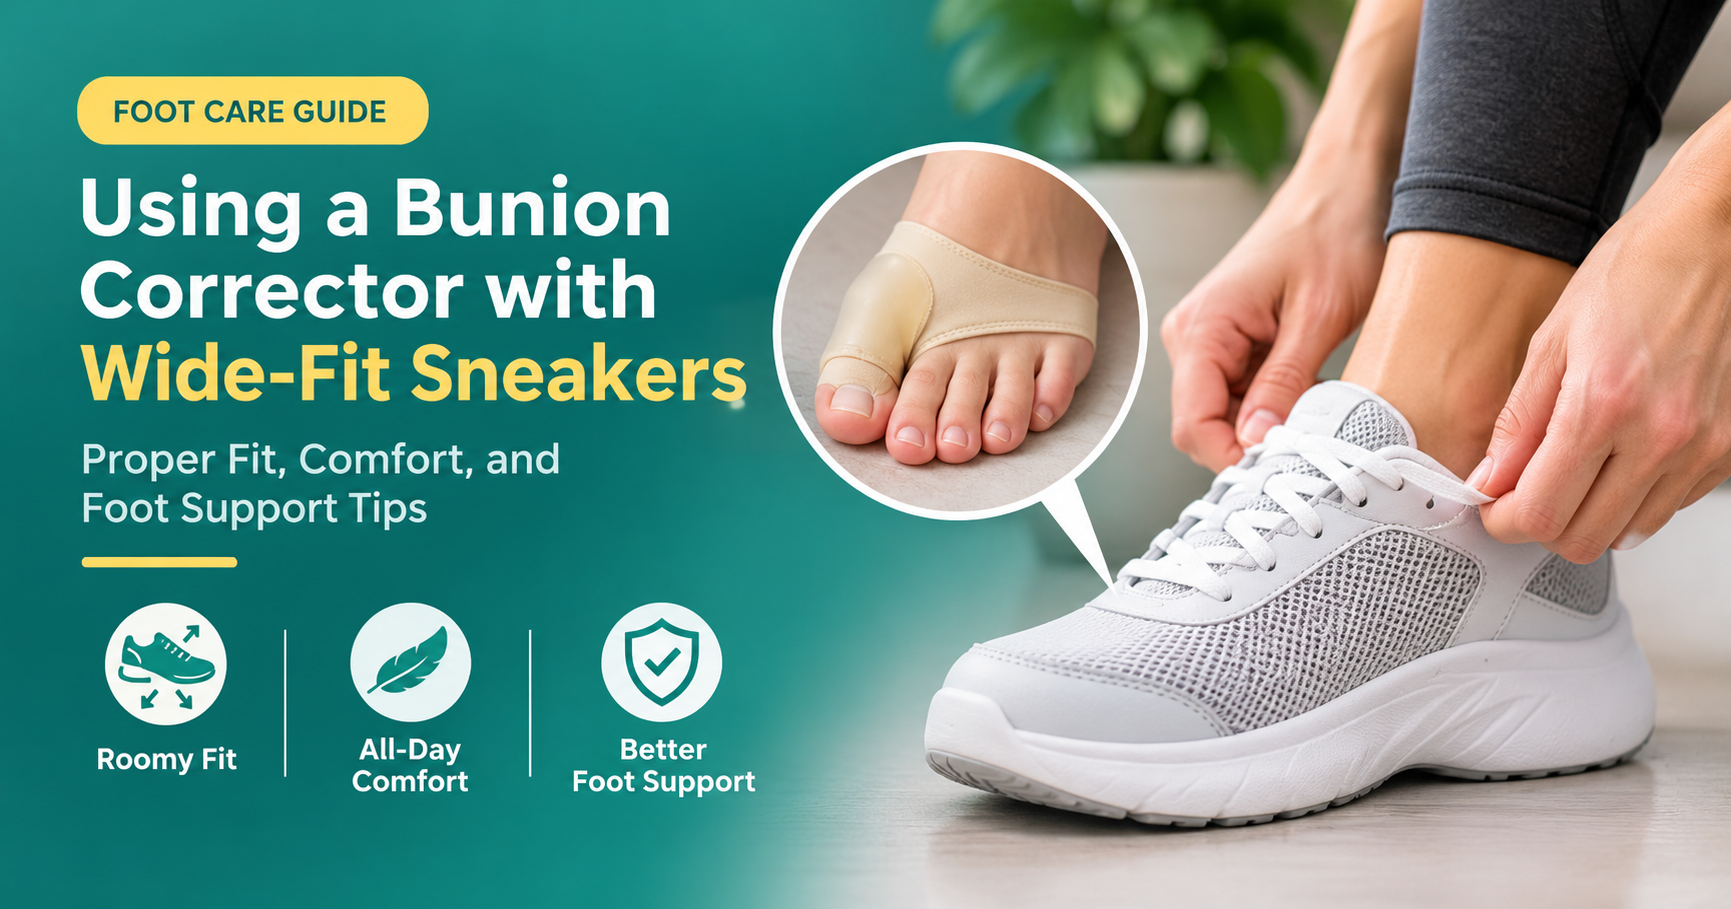
If you live with a bunion, you already know how quickly a normal shoe can turn into a daily source of pressure and soreness. Many people reach for a bunion corrector hoping to ease that discomfort, then discover a new problem: the corrector does not seem to fit inside their sneakers. The fix is usually a combination of the right type of corrector and the right kind of shoe. This guide explains how to use a bunion corrector with wide fit sneakers, from choosing compatible products to fitting them correctly, building up wearing time and avoiding the mistakes that cause new aches.

Quick answer
- Choose a low-profile corrector (a thin gel sleeve, soft toe spacer or slim day splint) rather than a bulky rigid brace for daytime sneaker wear.
- Pick sneakers with a wide, deep toe box, a removable insole and soft, flexible upper materials.
- Put the corrector on first, then try the sneaker with the same socks you plan to wear.
- Start with 1 to 2 hours a day and build up gradually over several weeks.
- Stop and seek advice if you feel numbness, tingling, skin damage or increasing pain.
What Is a Bunion and Why Does Footwear Matter So Much?
A bunion (hallux valgus) is a bony bump that forms at the base of the big toe, where the toe angles inward toward the second toe. The joint at the base of the toe becomes prominent, and the skin over it can turn red, tender or thickened from friction. Bunions tend to develop gradually and are influenced by foot structure, genetics, joint flexibility and long-term footwear habits.
Footwear matters because a bunion is, in practical terms, a wider part of the foot. A shoe that squeezes the forefoot concentrates pressure right on the bump. Even the best corrector cannot work properly inside a shoe that is too narrow, which is why pairing the two correctly is the key to comfort.
What Does a Bunion Corrector Actually Do?
A bunion corrector is a supportive device worn on or around the big toe joint. It is important to set realistic expectations. Most over-the-counter correctors are designed to cushion, protect and gently support toe alignment while you wear them. They can make walking more comfortable and reduce rubbing, but they are not proven to permanently remove a bunion or reverse the bony change. Think of them as comfort and protection tools, not a cure.
Common Types of Bunion Correctors
| Type | How It Works | Sneaker Compatibility |
|---|---|---|
| Gel or fabric bunion sleeve | Slides over the forefoot and cushions the bump against rubbing | Excellent, very low profile |
| Soft toe spacer or separator | Sits between the first and second toe to reduce crowding | Very good, needs a roomy toe box |
| Slim daytime splint or strap | Gently supports the big toe in a straighter position | Good in wide, deep shoes only |
| Rigid night splint | Holds the toe in a corrected position while resting | Not intended for sneakers |
For sneaker wear, the first three options are the most practical. A rigid or bulky night-style splint is designed for sleeping or resting, and forcing it into a shoe usually creates more pressure instead of less.
Why Wide Fit Sneakers Are the Best Partner for a Corrector
Adding a corrector adds volume to the forefoot. Even a thin sleeve takes up a few millimeters, and a toe spacer widens the front of the foot further. In a standard-width shoe, that extra volume has nowhere to go and the bunion ends up pressed against the upper. A wide fit sneaker gives you the extra room that makes the corrector useful rather than irritating.

What to Look for in Wide Fit Sneakers
- A wide and deep toe box. The front of the shoe should be broad at the ball of the foot and tall enough that your toes and the corrector are not pushed against the top.
- Soft, stretchable upper material. Knit mesh and other flexible fabrics move with the bump instead of rubbing it. Stiff, seamed leather over the joint can irritate the area.
- Minimal seams over the big toe joint. Seams and overlays directly above the bunion are a common source of friction.
- A removable insole. Taking out the factory insole creates extra depth if you need it, and lets you add a supportive insole if your clinician recommends one.
- A supportive but flexible sole. Good cushioning and a sole that bends at the ball of the foot help reduce load on the big toe joint.
- A secure heel counter and adjustable laces. You want the heel held firmly while the forefoot stays relaxed.
- Enough length. Leave about a thumb’s width between your longest toe and the end of the shoe.
Remember that “wide” is not a universal standard. Widths vary between brands, so use the labels as a starting point and rely on how the shoe actually feels with your corrector on.
Step-by-Step: How to Use a Bunion Corrector with Wide Fit Sneakers

Step 1: Prepare Your Foot
Wash and thoroughly dry your foot, especially between the toes. Moisture under a corrector can lead to skin irritation. Check the skin over the bunion for redness, blisters or open areas. If the skin is broken, wait until it has healed before wearing the device.
Step 2: Position the Corrector Correctly
Follow the instructions that come with your product. In general, a sleeve should sit smoothly over the forefoot with the cushioned pad aligned over the bump. A toe spacer should rest comfortably between the first and second toe. Guide the big toe gently into position. Never force the toe into a straight line. The device should feel supportive, not stretched.
Step 3: Secure It Snugly, Not Tightly
If your corrector has a strap, fasten it so it stays put without squeezing. You should still be able to wiggle your toes. A tight strap can restrict circulation and cause numbness, which defeats the purpose of choosing a roomy sneaker.
Step 4: Choose the Right Socks and Lace Smartly
Wear thin, seamless, moisture-wicking socks. Thick socks add volume that can fill up the extra room you paid for. Then lace the sneaker in a way that gives the forefoot space:
- Keep the laces looser across the widest part of the forefoot.
- Snug the laces closer to the ankle so your heel stays locked in place.
- If the shoe feels tight over the top of the foot, try skipping one eyelet pair near the forefoot to relieve pressure.
Step 5: Do a Five-Minute Fit Check
Stand up and walk around for about five minutes. Ask yourself these questions:
- Is there any pressure on the bunion bump or the side of the big toe?
- Can all my toes move freely?
- Does my foot slide forward when I walk or go down stairs?
- Does the corrector shift or bunch up?
If any answer points to a problem, adjust the corrector, change the lacing or try a different size or style before heading out for the day.
How Long Should You Wear a Corrector in Your Sneakers?
Your foot needs time to get used to a new device. A gradual approach reduces the risk of soreness and skin irritation. The schedule below is a common, cautious pattern for adults. It is a general guide, not medical advice, and you should shorten it if you feel discomfort.

- Week 1: 1 to 2 hours a day, ideally on low-activity days.
- Week 2: around 3 hours a day if your skin and joint feel comfortable.
- Week 3: around 5 hours a day, including some light walking.
- Week 4 onward: work up toward longer wear if it remains comfortable, always taking breaks.
Take the corrector off during intense workouts unless it is specifically designed for athletic use, and remove it whenever you notice rubbing or numbness.
Common Mistakes to Avoid
- Wearing a bulky splint in a regular shoe. This is the most frequent cause of new pressure points. Match the device to the shoe.
- Buying sneakers that are only longer, not wider. Extra length does not create forefoot room and can make the shoe unstable.
- Over-tightening the strap or laces. Tightness increases pressure and can restrict circulation.
- Wearing it all day immediately. Skipping the break-in period often leads to irritation.
- Ignoring skin changes. Persistent redness, blisters or numbness are signs to stop and reassess.
- Expecting the bump to disappear. A corrector supports comfort and alignment while worn, but it is not a guaranteed permanent fix.
How to Care for Your Corrector and Sneakers
- Wash the corrector regularly according to the product instructions, using mild soap and air drying. Heat can damage gel and elastic materials.
- Let your sneakers air out between wears so moisture does not build up. Rotating two pairs helps.
- Inspect for wear. Replace the corrector if the gel hardens, the fabric stretches out or the straps lose their grip.
- Replace worn-out sneakers. Once cushioning flattens or the upper stretches unevenly, support drops and the shoe may rub in new places.
Other Ways to Support Bunion Comfort
A corrector works best as part of a broader routine. Many people also benefit from the following habits:
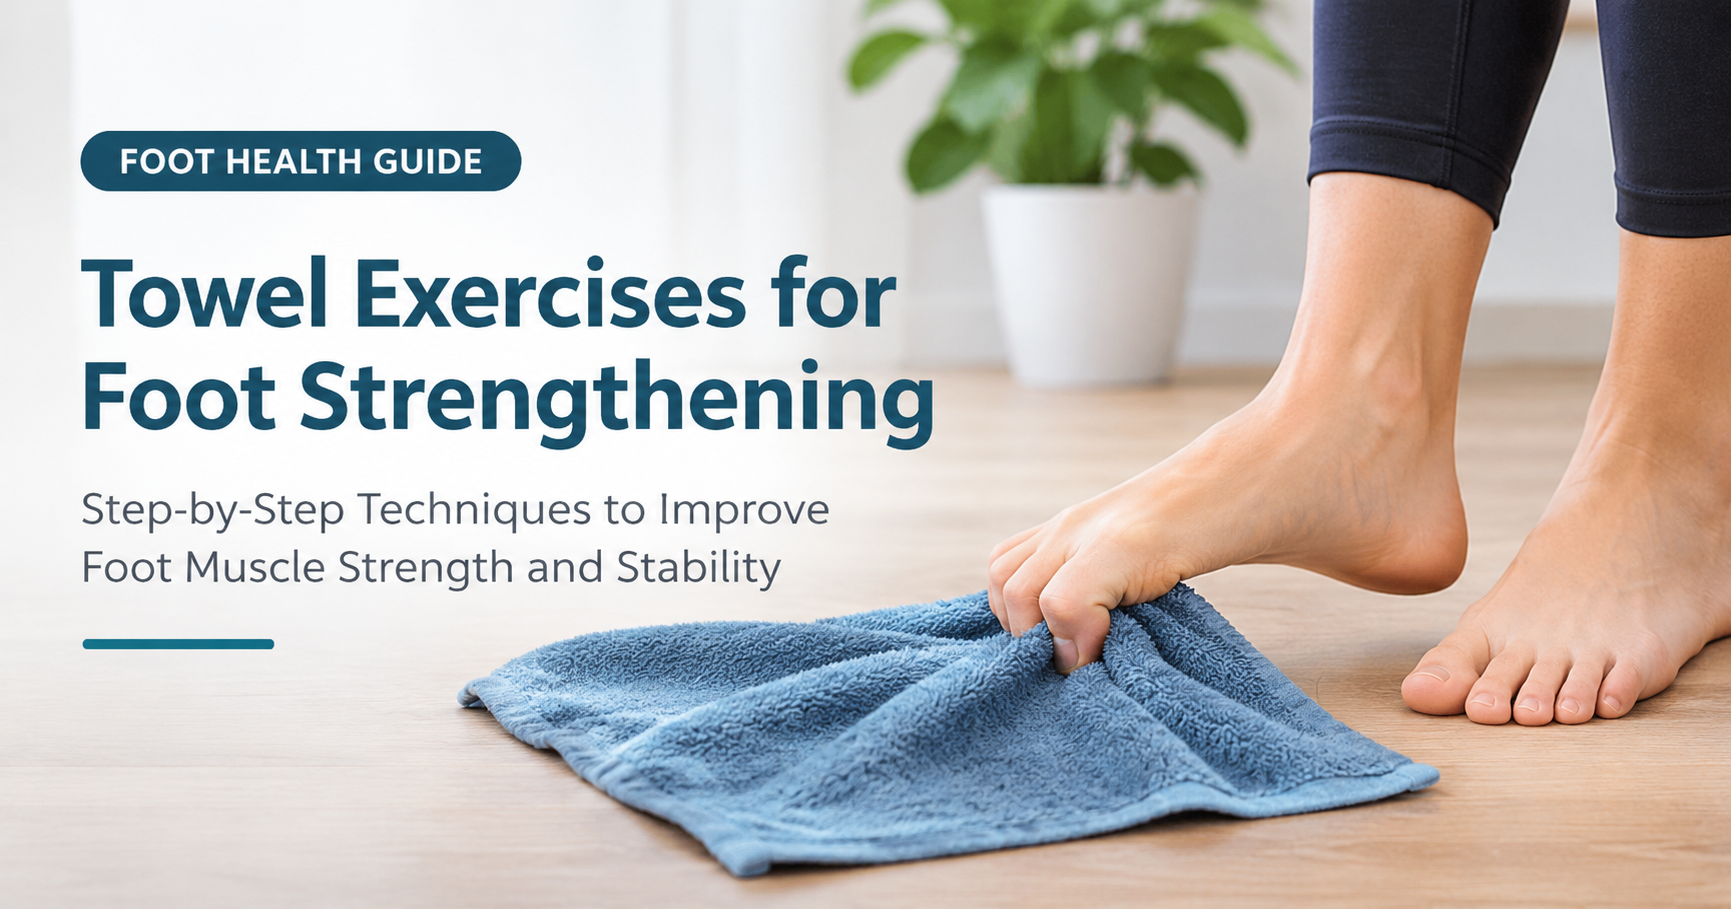
- Gentle toe exercises such as toe spreading and picking up a small towel with the toes can help keep the forefoot mobile.
- Supportive insoles may improve foot positioning if recommended by a foot health professional.
- Varying your footwear so that no single pair puts pressure on the same spot day after day.
- Limiting narrow or pointed shoes and high heels, which concentrate pressure on the forefoot.
- Managing swelling with rest and elevation after long days on your feet.
When Should You See a Podiatrist?
Self-care has limits. Book an appointment with a podiatrist or another qualified foot health professional if you notice any of the following:
- Pain that is persistent, worsening or interferes with walking or sleep.
- A bunion that is getting noticeably larger or more angled.
- Swelling, warmth or redness around the joint that does not settle.
- Numbness, tingling or color changes in the toes.
- Skin breakdown, blisters or a corn that keeps returning.
- Diabetes, circulation problems or reduced sensation in the feet. In these cases, check with a professional before using any corrector.
A professional can assess the severity of the bunion, recommend suitable footwear or custom orthotics and discuss other treatment options if conservative care is not enough.
Frequently Asked Questions
Can I wear a bunion corrector in regular sneakers?
A thin gel sleeve may fit in some regular sneakers, but most people find that correctors with spacers or straps need a wider and deeper toe box. If you feel pressure, move to a wide fit sneaker rather than forcing the fit.
Should I go up a size to fit a corrector?
Usually a wider width is more helpful than a longer size. Going up in length alone can make the heel slip and does little for forefoot room. Try a wide fit option first and check the length with the corrector on.
Is it safe to wear a bunion corrector all day?
Some low-profile devices are designed for longer wear, but it depends on the product and your comfort. Build up gradually, take breaks, and follow the manufacturer’s guidance. If you have any health condition affecting circulation or sensation, ask a professional first.
Will a bunion corrector get rid of my bunion?
Over-the-counter correctors are mainly intended to cushion, protect and support the toe while worn. They are not proven to permanently straighten the bone. Severe bunions may require a professional assessment and, in some cases, surgery.
Can I exercise in sneakers with a bunion corrector?
Light activity such as walking is often fine once you are used to the device. For running or high-impact training, choose a thin athletic-friendly corrector, make sure the sneakers have a roomy toe box, and stop if you feel discomfort.
How do I know if my sneakers are wide enough?
With the corrector on, your toes should lie flat and spread slightly, the bunion should not touch the side of the shoe, and you should feel no pinching at the ball of the foot. Try shoes later in the day, when feet are naturally a little larger.
Final Thoughts
Using a bunion corrector with wide fit sneakers comes down to matching the right device to the right shoe. Choose a low-profile corrector, pick sneakers with a broad and deep toe box, fit everything while wearing the socks you plan to use and build up your wearing time slowly. Pay attention to how your feet respond, make small adjustments to lacing and fit, and get professional advice when symptoms persist. With the right combination, everyday walking can become noticeably more comfortable.
Disclaimer: This article is for general information only and is not a substitute for professional medical advice, diagnosis or treatment. Consult a qualified healthcare professional about your individual foot condition.