If you’ve ever felt a sharp, burning pain under the ball of your foot—especially when walking, standing, or pushing off during movement—you may be experiencing metatarsalgia, Morton’s neuroma, or another forefoot condition. One of the most effective, yet often overlooked, solutions built into therapeutic footwear and orthotics is the metatarsal bar. This small but powerful biomechanical feature can dramatically reduce pressure, relieve pain, and restore comfortable mobility.
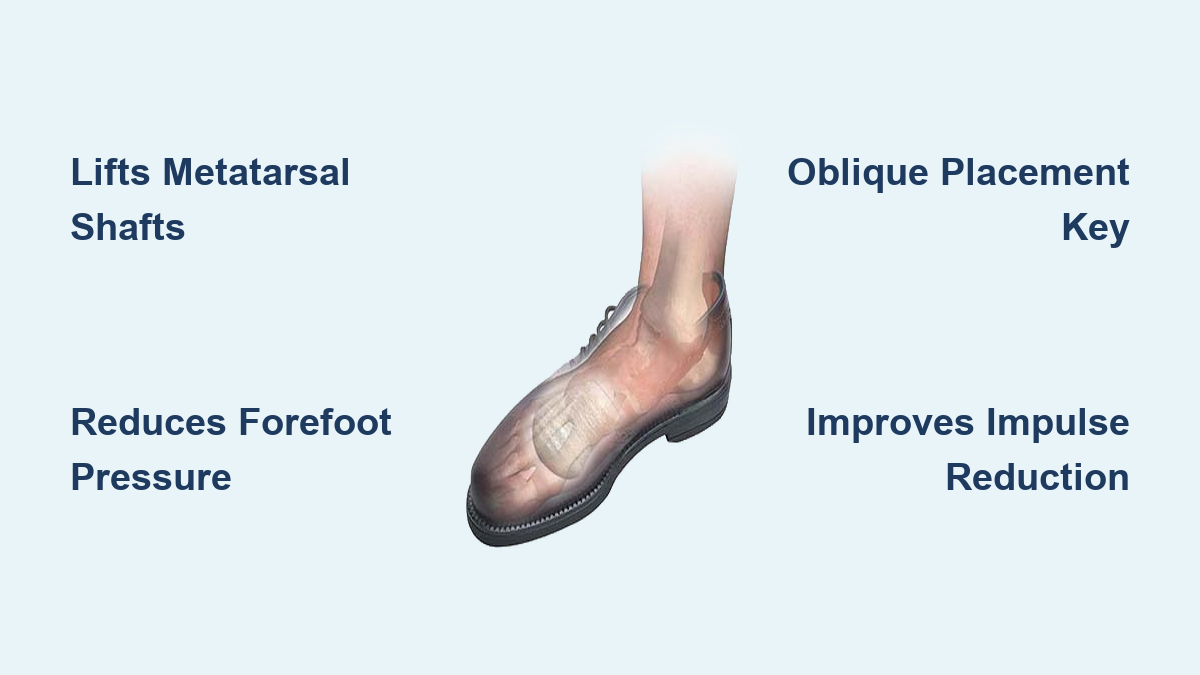
A metatarsal bar is a raised support structure strategically placed in the insole or orthotic, just behind the ball of the foot. Unlike simple padding, it works by lifting the shafts of the metatarsal bones to unload the sensitive heads below—where pain typically occurs. This redistribution of force decreases peak plantar pressure and, crucially, reduces impulse, the cumulative load applied over time during each step. Clinical studies show metatarsal bars can reduce forefoot impulse by up to 60%, especially when placed at an oblique (diagonal) angle.
Whether integrated into custom orthotics or applied as a self-adhesive pad inside your shoe, the metatarsal bar is a scientifically supported tool for managing and preventing a range of forefoot disorders. In this guide, you’ll discover how it works, how it differs from similar devices like metatarsal pads, where it should be placed, and which conditions benefit most from its use.
How a Metatarsal Bar Reduces Forefoot Pressure

The metatarsal bar isn’t a cushion—it’s a biomechanical lever. Its function hinges on altering the way force travels through the foot during gait. When you walk, the forefoot bears up to 60% of your body weight during the push-off phase. In people with high arches, tight calf muscles, or foot deformities, this load becomes concentrated under one or two metatarsal heads—often the second—leading to inflammation, nerve compression, or tissue damage.
The Science of Pressure Redistribution
By elevating the metatarsal shafts just proximal (behind) the heads, the bar creates a supportive shelf that lifts and slightly spreads the bones. This action:
- Unloads the metatarsal heads, reducing direct pressure
- Distributes force more evenly across the transverse arch
- Decreases strain on joints, tendons, and interdigital nerves
This off-loading effect is particularly effective for conditions involving repetitive stress or localized pain under the ball of the foot.
Why Impulse Reduction Matters
A key 2013 study using insole pressure sensors compared metatarsal bars and pads in 70 feet. The results were clear: metatarsal bars reduced impulse under the second metatarsal head more effectively than pads (P < 0.01). Even more significant, oblique (diagonal) placement of the bar outperformed straight (perpendicular) positioning—delivering the greatest reduction in cumulative force.
This makes the metatarsal bar not just a comfort aid, but a preventive tool for long-term foot health, especially in high-impact or prolonged standing activities.
Metatarsal Bar vs. Metatarsal Pad: Key Differences

Though often confused, metatarsal bars and pads serve different purposes and deliver distinct biomechanical effects.
| Feature | Metatarsal Bar | Metatarsal Pad |
|---|---|---|
| Shape | Rectangular, spans full forefoot width | Dome-shaped, focused under 2nd–3rd metatarsals |
| Coverage | Broad, diffuse support | Targeted, localized lift |
| Elevation | Gradual ramp across transverse arch | Acute apex under specific bones |
| Effectiveness | Superior impulse reduction, especially oblique | Moderate pressure relief |
| Shoe Fit | Adds volume; may not fit narrow shoes | Lower profile, better for tight footwear |
| Evidence | Clinically proven for impulse reduction | Widely used but less standardized in research |
When to Choose a Bar Over a Pad
- Use a metatarsal bar if:
- Pain affects multiple metatarsal heads
- You need maximum off-loading during walking or standing
- Your shoes have removable insoles and extra depth
- Use a metatarsal pad if:
- Pain is isolated (e.g., between the 3rd and 4th toes)
- You wear narrow or low-volume footwear
- You’re testing relief before committing to a full bar
Despite their popularity, many metatarsal pads lack standardized design in studies, making results inconsistent. The metatarsal bar, while less commonly researched, delivers more predictable biomechanical outcomes when properly positioned.
Optimal Placement: Pre-Metatarsal vs. Metatarsal Position

Getting the placement right is critical. Too far forward, and the bar presses into painful areas. Too far back, and it loses effectiveness.
Pre-Metatarsal Position (Just Behind the Ball of the Foot)
- Location: Bar’s front edge placed just behind the metatarsal heads
- Function: Lifts the metatarsal shafts, acting as a fulcrum
- Best For:
- Early-stage capsulitis
- Forefoot fatigue or stress
- Preventive support during gait propulsion
This position gently unloads the heads without direct compression, making it ideal for long-term use and prevention.
Metatarsal Position (Under the Heads)
- Location: Bulk of the bar centered under the metatarsal heads
- Function: Cushions and redistributes load directly
- Best For:
- Acute metatarsalgia
- Fat pad atrophy
- Callus formation
Offers immediate relief but may feel more prominent. Best for short-term or severe pain management.
Pro Tip: Oblique (diagonal) placement—from the inside of the foot toward the outside—has been shown to reduce impulse more effectively than straight bars.
Materials and Design Variations

Metatarsal bars come in various shapes, sizes, and materials to suit different needs and footwear types.
Common Shapes
- Rectangular with tapered ends for smooth transition
- Full-width design to support the entire transverse arch
- Height range: 1/8″ (3.2 mm) to 5/16″ (8 mm)
- Reduced-height options for tight or narrow shoes
Taller bars offer greater off-loading but may require deeper footwear.
Materials Used
- Poron® Foam: High-density polyurethane; durable, shock-absorbing; used in Prolab and custom orthotics
- PPT® Foam: Lightweight, breathable, hypoallergenic; ideal for sensitive skin
- Natural Wool Felt (Hapad®): Soft yet supportive; wicks moisture; long-lasting
- Leather-Foam Composites (Tacco): Durable top layer with foam core; some users report firmness
Adhesive-backed models allow easy installation, while custom versions integrate directly into orthotic plates.
Conditions Treated by Metatarsal Bars
The metatarsal bar is prescribed for a wide range of forefoot pathologies:
- Metatarsalgia: Generalized ball-of-foot pain
- Morton’s Neuroma: Nerve compression between metatarsals
- Capsulitis: Inflammation of the 2nd MTP joint
- Bursitis: Inflammation under metatarsal heads
- Fat Pad Atrophy: Loss of natural cushioning
- Freiberg’s Infraction: Osteochondrosis of the metatarsal head
- Arthritis: Forefoot joint degeneration
- Post-Surgical Recovery: After bunion or toe surgery
It’s also used preventively in athletes, dancers, and people who stand for long hours.
Customization for Complex Foot Issues
For severe or resistant cases, metatarsal bars can be modified:
- Cutouts: Hollowed areas over painful bones or calluses
- Slots: Allow flexing during gait
- Divots: Decompress soft tissues
- Oblique Angling: Maximize impulse reduction
- Height Adjustment: Thinner bars for sensitive feet
These are typically done in custom orthotics by podiatrists using CAD/CAM or hand-modification techniques.
Expert Note: Customization is essential for patients with rigid feet, claw toes, or post-traumatic deformities.
Top Brands and Product Options
Hapad® Metatarsal Bars
- Material: Wool felt
- Height: 5/16″
- Price: ~$19/pair
- Best For: Moderate to severe metatarsalgia
MyFootShop.com PPT Cushions (M908)
- Material: PPT foam
- Height: 1/8″–5/16″
- Price: $9.95/pair
- Best For: Morton’s neuroma, lightweight comfort
Tacco Metatarsal Bar
- Material: Leather-foam composite
- Rating: 2.5/5 (some find it too firm)
- Tip: Layer over gel insoles for softness
DOLA Orthotics & Prolab
- Offer custom and pre-made options with Poron foam
- Ideal for athletes and complex biomechanics
Application Tips and Best Practices
Installation (Adhesive Models)
- Clean shoe insole with alcohol
- Dry completely
- Position bar just behind the ball of the foot
- Press firmly and let set 1–2 hours
Warning: Never place directly under painful spots.
Shoe Compatibility
- Works best in deep, removable insole shoes
- Avoid in flats, heels, or minimalist shoes unless using low-profile models
Patient Compliance
- Start with 1–2 hours/day
- Gradually increase to full-day use
- Monitor for redness or irritation
Limitations and When to Avoid
Drawbacks
- Adds forefoot bulk
- May feel too firm
- Adhesive can peel
- Foam compresses over time
Contraindications
- Severe neuropathy (risk of ulcers)
- Open wounds or ulcers
- Inability to adjust to in-shoe changes
In these cases, consult a podiatrist for alternatives like total contact orthotics.
Final Takeaway
A metatarsal bar is more than just padding—it’s a biomechanical solution that changes how your foot bears weight. By lifting the metatarsal shafts, it reduces pressure, impulse, and pain at the source. Whether you choose an over-the-counter adhesive bar or a custom orthotic, proper selection and placement can transform your comfort and mobility. For anyone struggling with ball-of-foot pain, it’s a scientifically backed step toward lasting relief.