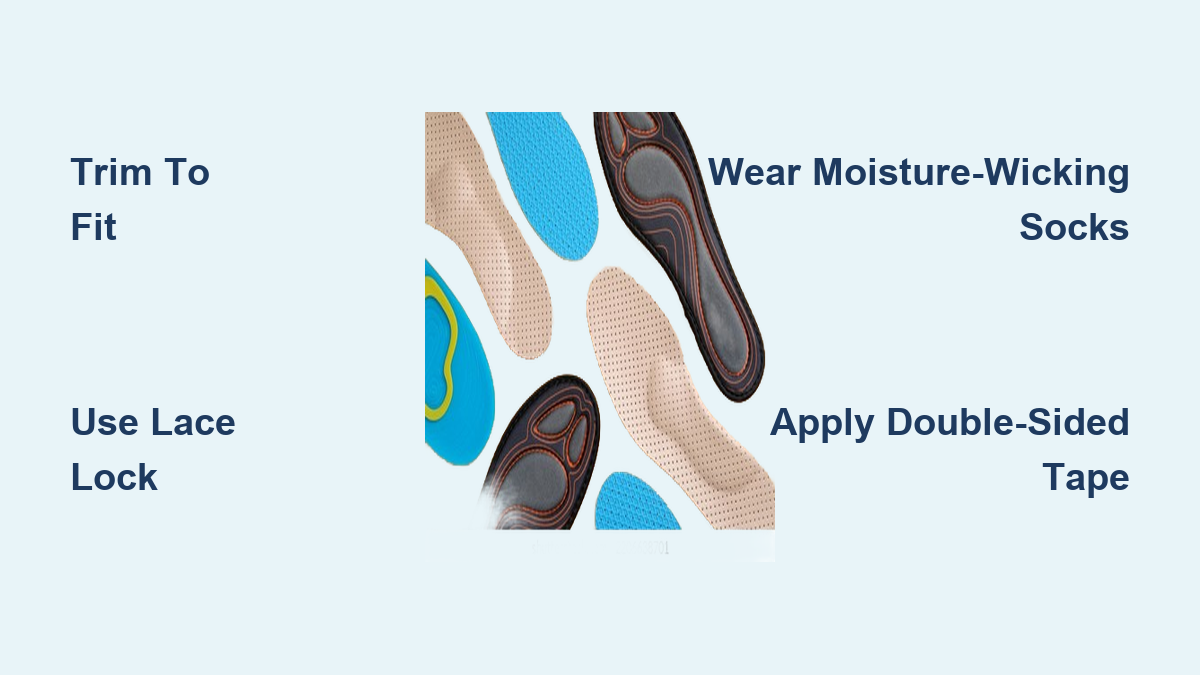
Few things are more frustrating than constantly adjusting your insoles with every step. If your insoles shift, wrinkle, or bunch inside your shoes, you’re not just dealing with discomfort—you’re risking blisters, foot fatigue, and even long-term strain. Insoles that slide inside shoes are a widespread issue, but the solution isn’t always a new pair of inserts. Often, the problem lies in shoe fit, moisture, lacing, or even the shape of the shoe itself. The good news? With targeted, proven strategies, you can stop insole slippage for good. This guide delivers practical, safe, and effective fixes—from simple tape tricks to long-term footwear upgrades—so you can walk, run, and stand with confidence.
Choose the Right Insole Size for Your Shoe
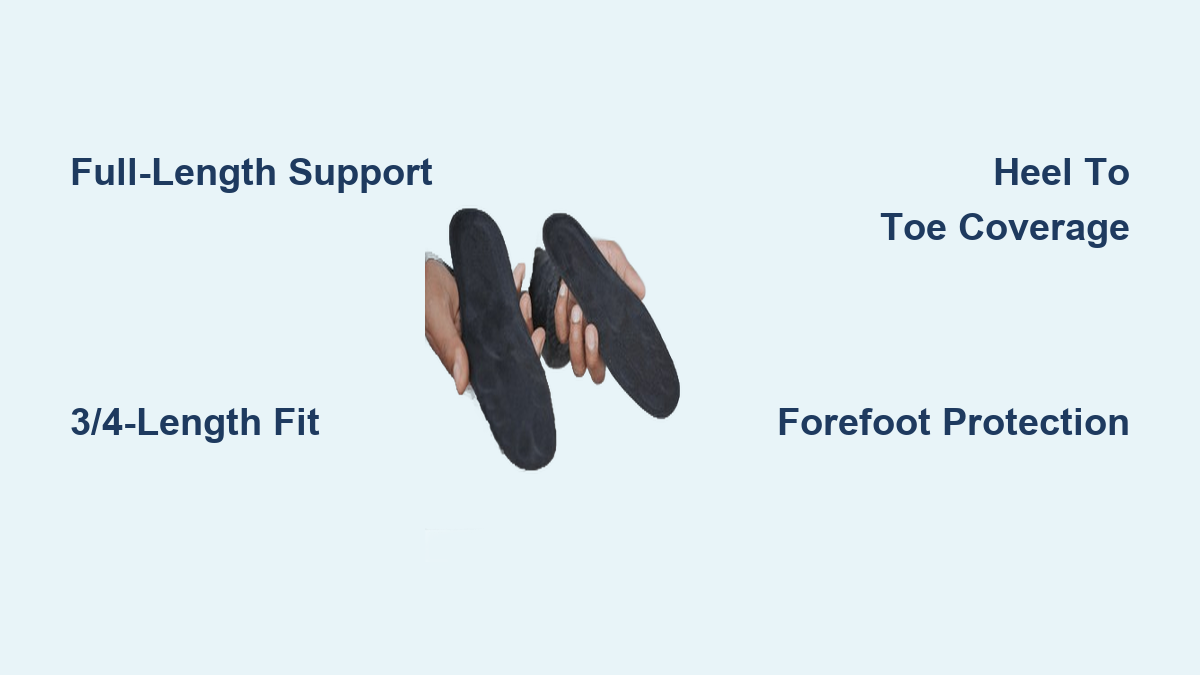
An insole that doesn’t match your shoe’s internal dimensions is guaranteed to move. Too large? It floats and folds. Too small? It slides freely underfoot. Many off-the-shelf insoles are labeled for multiple sizes (e.g., “8–10”), but this one-size-fits-most approach rarely fits exactly. For true stability, opt for precision-sized insoles like Tread Labs, which offer one size per shoe. These are engineered to align perfectly with your shoe’s footbed, eliminating gaps that lead to movement. Always use your original insole as a template: place it over the new one, trace the outline, and trim carefully if needed. A perfect fit means edge-to-edge contact and zero wiggle room.
Wear Shoes That Fit Your Foot Properly
No insole can compensate for a poorly fitting shoe. If your heel lifts or your foot slides forward, the insole will follow. A well-fitted shoe should:
– Hug the heel snugly without pinching
– Allow about a thumb’s width of space at the toe
– Prevent side-to-side splaying of the foot
Loose shoes create internal movement that drags the insole with every step, especially during running, hiking, or descending slopes. If your foot shifts, so will your insole. Invest in shoes that match your foot’s natural shape—especially in the toe box—where many conventional designs force toes into an unnatural, tapered position.
Use a Lace Lock to Secure Your Heel

One of the most overlooked causes of insole slippage is heel lift—and it’s easily fixed. Without a lace lock (also known as a runner’s loop), your heel can rise slightly with each step, pulling the insole backward. To tie a lace lock:
1. At the top eyelets, loop the lace back through from the outside to the inside.
2. Pull the laces tight before tying the final knot.
3. This cinches the heel down and minimizes internal foot movement.
This small adjustment dramatically improves stability, especially in athletic or hiking shoes. It keeps your foot anchored, so your insole stays put.
Trim Insoles to Fit Your Shoe’s Footbed

Many insoles extend beyond the shoe’s interior, especially in narrow or oddly shaped footwear. Excess material bunches, wrinkles, or lifts at the edges, creating pressure points and reducing grip. Trimming solves this. Use your shoe’s original insole as a guide:
– Place it over the new insole
– Trace the outline with a pen
– Cut slowly with sharp scissors, leaving 1–2mm of margin
Avoid cutting too much at once—test the fit before finalizing. Brands like Tread Labs design their insoles to be easily trimmed, making customization simple and effective. A flush fit prevents lifting and ensures even pressure distribution.
Apply Double-Sided Tape for Instant Grip

For a low-profile, removable fix, thin double-sided tape is highly effective. Unlike foam tape, it adds no bulk and stays hidden underfoot. Here’s how to apply it:
1. Clean both the shoe’s footbed and insole with rubbing alcohol.
2. Apply a strip along the center—from heel to ball of the foot.
3. Press the insole down firmly and walk in place to secure.
This method is ideal for runners or hikers who rotate footwear. The tape typically lasts several weeks before losing stickiness and can be easily replaced. For stronger hold, try 3M Dual Lock—a reusable, industrial-grade tape perfect for high-movement activities.
Use Permanent Adhesive for Dedicated Shoes
If you’re using insoles in a single pair of shoes—like work boots or hiking footwear—Shoe Goo or 3M Super 77 spray adhesive provides a long-lasting bond. Ideal for wet or high-use environments, this method secures the insole permanently. Apply lightly to the heel and toe areas only—avoid full coverage to maintain breathability. Let the adhesive cure for 12–24 hours with the shoe stuffed to hold its shape.
⚠️ Warning: This method makes insole removal difficult and prevents you from cleaning the shoe’s interior. Only use it when you’re committed to keeping the insole in that pair.
Install Velcro Fasteners for Reusable Security
Velcro hook-and-loop pads offer a secure, reusable solution. Use low-profile, adhesive-backed patches:
1. Clean both the shoe footbed and insole.
2. Attach the loop (soft) side to the shoe at heel and toe.
3. Attach the hook (rough) side to the insole.
4. Press together and test.
The insole snaps into place and resists sliding, yet lifts out for cleaning or replacement.
⚠️ Caution: Some users report discomfort from the raised texture. Test with thick socks first. Also, the hook side may snag thin socks.
This method is excellent for people who use orthotics across multiple pairs of shoes.
Wear Moisture-Wicking Socks to Reduce Slippage
Sweat creates a slippery layer between the insole and footbed. Even high-grip materials fail when wet. Always wear moisture-wicking socks made from synthetic fibers or merino wool. These pull sweat away from your skin, keeping the interface dry. Avoid cotton socks—they retain moisture and increase slippage. Even in minimalist or barefoot shoes, a thin technical sock can prevent movement without sacrificing ground feel.
Dry Shoes and Insoles After Wet Conditions
Stepping in puddles or hiking through dewy grass? Remove insoles immediately and dry both thoroughly:
– Stuff shoes with newspaper or paper towels
– Place in a dry, ventilated area or near a dehumidifier
– Avoid direct heat (e.g., radiators), which can warp insoles
Reinsert only when completely dry. Wet foam compresses and loses grip—drying restores its structure and performance.
Upgrade to Foot-Shaped Shoes for Natural Alignment

Most insole movement stems from shoe last mismatch. Conventional shoes taper at the toes, forcing your foot into an unnatural shape. This imbalance causes side-to-side shifting, dragging the insole with it. Foot-shaped shoes—like Altra, Xero Shoes, Merrell Vapor Glove, or Vivobarefoot—feature wide, straight toe boxes that let your foot splay naturally. When your foot sits centered, the insole stays put—even in flexible or knit uppers.
💡 Expert Insight:
“If your insoles keep sliding across different shoes, the real issue is likely shoe shape—not the insole.”
These shoes eliminate the root cause of instability, making adhesives and tapes unnecessary.
Match Insole Thickness to Your Shoe
Too much space above your foot? A thin insole will float. Too little? A thick one causes pressure and loosens the fit. Match insole thickness to your shoe’s depth:
– Loose-fitting shoes: Use 4–6mm insoles to fill volume
– Snug or minimalist shoes: Stick to 2–3mm to maintain low profile
Semi-rigid insoles (like Superfeet or Tread Labs) resist compression and stay flat under load. Avoid soft gel inserts if slippage is chronic.
✅ Bonus: Thicker insoles often have deeper heel cups, which cradle the insole and prevent lift.
Invest in Custom Orthotics for Chronic Slippage
If you’ve tried everything and still struggle, custom orthotics may be the answer. Molded to your foot’s exact shape, they:
– Fit snugly within the shoe
– Include contoured heel cups and arch supports
– Resist movement due to anatomical precision
While more expensive, they offer long-term stability and correct biomechanical imbalances. Many podiatrists now offer digital scanning and affordable custom insoles—some under $100.
Never Use Thumbtacks—They’re Dangerous
Some suggest using thumbtacks to pin insoles in place. This is unsafe:
– Risk of puncturing your foot
– Can cause blisters or pressure sores
– Damages insoles and shoe structure
– Extremely hazardous during activity
❌ Verdict: Never use thumbtacks—they compromise both safety and comfort.
Replace Worn or Low-Quality Insoles
Even the best insole fails over time. Replace them if:
– They’re compressed, cracked, or no longer rebound
– They slide despite all fixes
– You’ve changed shoes and need a new fit
Stock insoles are often flimsy and undersized. Upgrade to structured, semi-rigid models like Superfeet Green or Tread Labs Pace for better comfort and stability.
✅ Test Tip: Try new insoles on short walks first. Gradual use reveals fit and slippage issues before long-term commitment.
Best Practices to Prevent Insole Slippage
| Action | Why It Works |
|---|---|
| Wear properly sized shoes | Eliminates excess space for movement |
| Use lace locks | Prevents heel lift and foot shift |
| Wear moisture-wicking socks | Reduces slippery conditions |
| Trim insoles to fit | Ensures edge-to-edge contact |
| Apply double-sided tape | Adds grip without bulk |
| Use Velcro pads | Secure yet removable hold |
| Choose semi-rigid insoles | Resists wrinkling and deformation |
| Switch to foot-shaped shoes | Aligns shoe with natural foot anatomy |
Long-Term Strategy: Fix the Root Cause
- Short-Term: Use tape or Velcro for immediate relief.
- Mid-Term: Replace stock insoles with high-quality, sized-to-fit models.
- Long-Term: Transition to foot-shaped shoes that support natural foot function.
If you’re constantly battling insole slippage across multiple pairs, it’s not bad luck—it’s a sign your footwear doesn’t match your foot. Investing in anatomical shoes and precision insoles stops the problem at the source.
Final Tip: Stability starts from the ground up. By combining proper fit, moisture control, and anatomical alignment, you can walk, run, and stand with confidence—knowing your insoles will stay right where they belong.