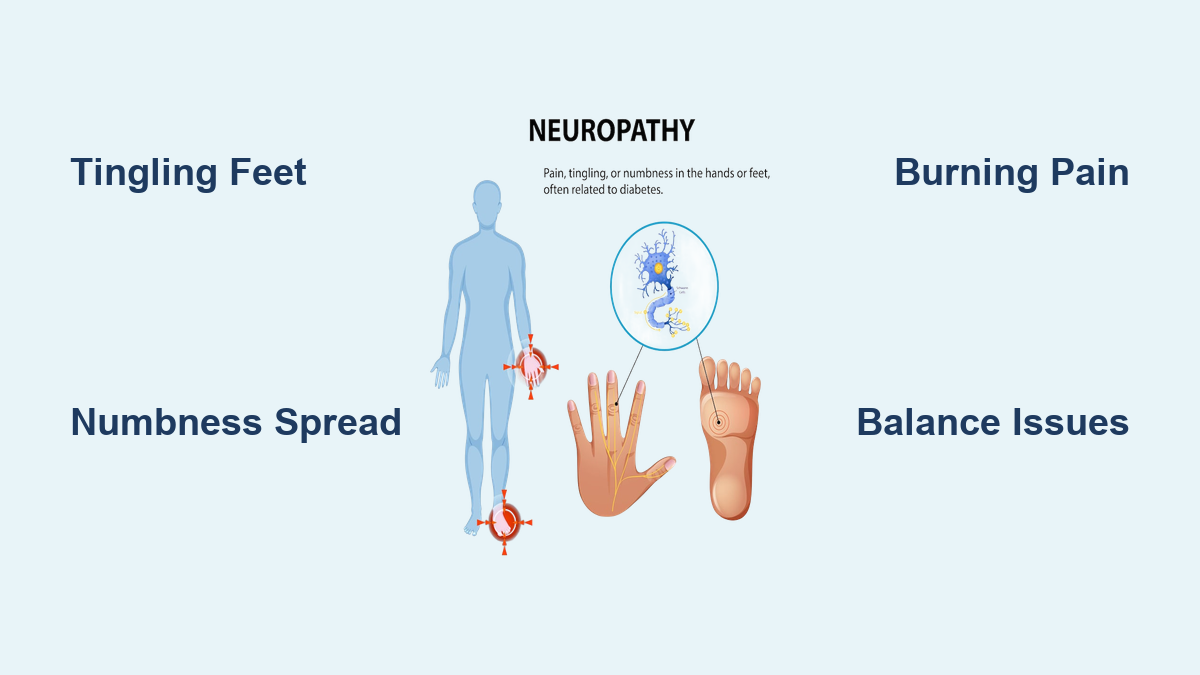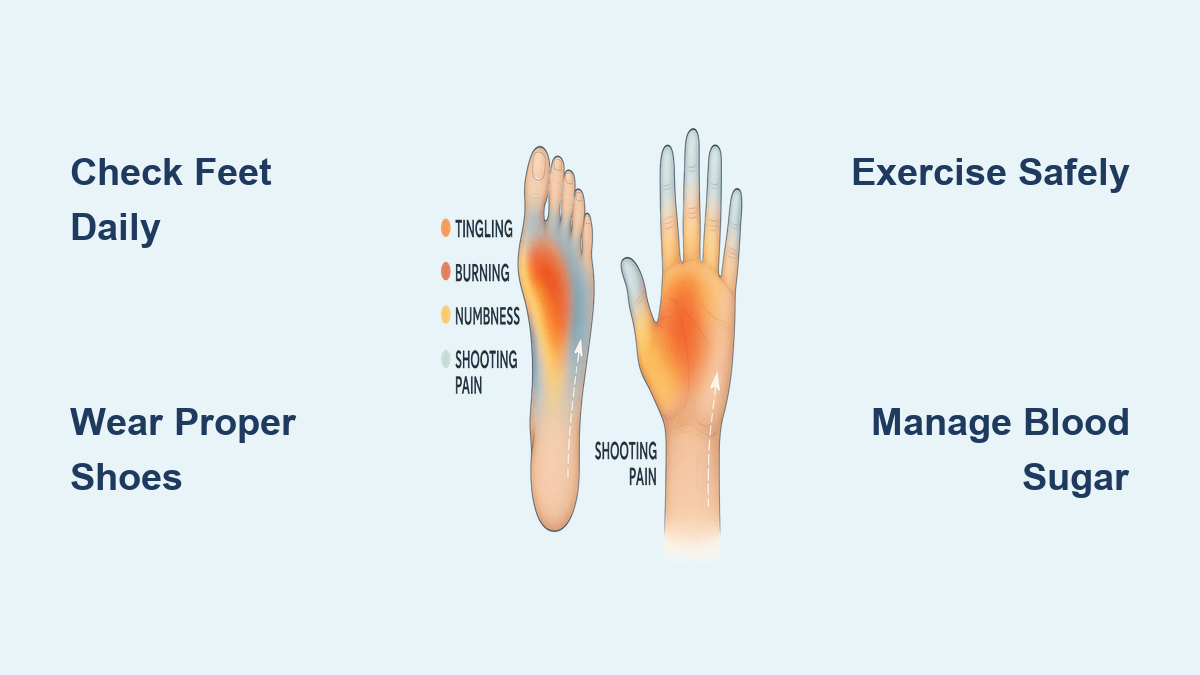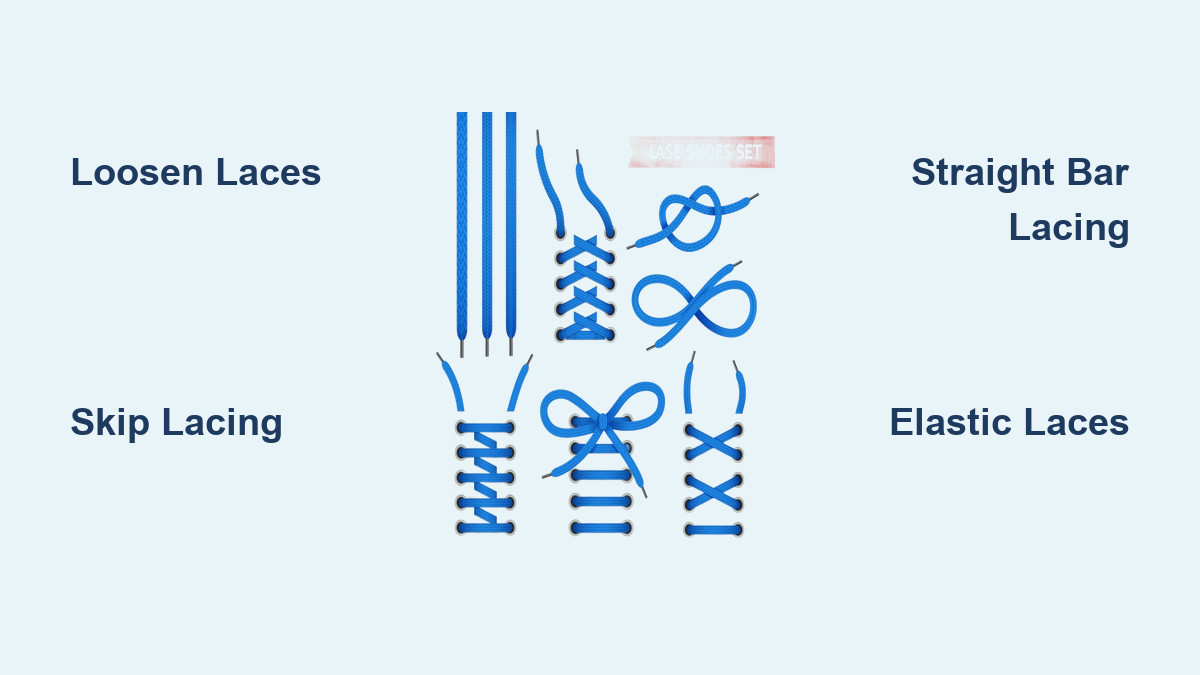
If you’ve ever felt a tingling, burning, or “dead foot” sensation on the top of your foot during a run, hike, or long walk, the problem may not be your shoes—it could be over-tight shoe laces. This common but often ignored issue, clinically known as Lace-Compression Syndrome, happens when tight lacing presses on nerves and blood vessels along the dorsum (top) of the foot. The result? Numbness, pain, and even lingering nerve irritation that persists after you take your shoes off.
The dorsal cutaneous nerve, a branch of the superficial peroneal nerve, runs directly under where your laces sit. When compressed by excessive lace tension, it disrupts sensation, causing that dreaded pins-and-needles feeling. Worse, tight laces can act like a tourniquet, restricting blood flow and delaying recovery. Many runners, hikers, and even casual walkers lace up too tightly—often trying to prevent heel slippage or achieve a “locked-in” feel—without realizing they’re cutting off circulation and damaging nerves.
The good news? You don’t need new shoes to fix this. In most cases, simply adjusting your lacing technique, reducing tension, or switching to elastic laces can eliminate numbness completely. This guide gives you immediate relief strategies, long-term solutions, and prevention tips—all grounded in biomechanics and real-world success.
Loosen Laces to Relieve Immediate Pressure
The fastest way to stop lace-induced numbness is also the simplest: loosen your laces. Excessive tension across the top of the foot directly compresses nerves and restricts blood flow, especially during prolonged activity when feet naturally swell.
Use the Finger Test to Check Tightness
A reliable rule: you should be able to slide one finger comfortably under the laces at the midfoot. If the laces dig into your skin, leave red marks, or cause discomfort within minutes of walking, they’re too tight. This small gap allows room for your foot to expand—critical since feet can swell up to half a size during extended activity.
- Time to fix: Less than 10 seconds
- Difficulty: Easy
- Warning: Avoid loosening the top eyelets near the ankle if you rely on them for heel stability—focus on the midfoot instead.
Many people report immediate relief just by reducing lace tension. One runner eliminated chronic numbness after 500 km of pain simply by loosening his laces and using the finger test as a guide.
Apply Pressure-Relieving Lacing Techniques

Standard crisscross lacing concentrates pressure across the top of the foot—especially between the 3rd and 5th eyelets—right where the dorsal nerve runs. Switching to smarter lacing patterns redistributes tension and creates relief zones.
Skip Lacing for High Insteps and Midfoot Pain
Skip lacing (also called gap lacing) bypasses the painful area by creating a “floating” section over the sensitive part of your foot.
How to do it:
1. Lace normally up to the eyelet just before your pain zone.
2. Thread both laces straight up through the next eyelet on the same side (no cross).
3. Resume crisscrossing from there.
✅ Best for: High arches, swelling, or nerve sensitivity
⏱️ Time to learn: 1–2 minutes
🎯 Pro tip: Use lipstick to mark your pressure point, insert your bare foot into the shoe, then check where the mark transfers to the tongue—this shows exactly where to skip.
Straight Bar (Lydiard) Lacing to Eliminate Crisscross Pressure
This method removes diagonal lace pressure entirely by running laces straight across like bars.
How to do it:
1. Start at the bottom eyelets.
2. Run one lace straight across and feed it through the opposite side’s second eyelet.
3. Continue alternating sides, skipping one eyelet each time.
✅ Benefits: Removes crisscross pressure, ideal for nerve pain
⚠️ Drawback: May cause heel slippage, increasing risk of toe bruising
Straight Bar with Heel Lock for Stability + Comfort
Combine the comfort of straight bar lacing with secure heel hold.
How to do it:
1. Use straight bar lacing for the lower and midfoot eyelets.
2. At the top two eyelets, switch to a heel lock (runner’s loop) to anchor the heel.
✅ Outcome: Pressure-free midfoot + stable heel
🎯 Expert note: This is the top choice for runners who need both comfort and lockdown.
Heel Lock Lacing (Runner’s Loop) for Heel Slippage
Secure your heel without tightening the entire shoe.
How to do it:
1. Lace up to the second-to-last eyelet.
2. Create a small loop (“runner’s loop”) on each side.
3. Pull the lace end through the opposite loop.
4. Thread through the final eyelet and tie.
✅ Use case: Prevents slippage during downhill runs
⚠️ Caution: If pulled too tight, this can worsen extensor tendonitis or compress nerves.
Relaxed Heel Lock to Reduce Top-of-Foot Strain
A modified version that reduces crisscross angle and tension over the instep.
How to do it:
– Skip the second eyelet when forming the loop, reducing pressure on the top of the foot.
✅ Ideal for: Sensitive tendons or previous lace bite
🎯 Best for: Trail runners and hikers needing stability without compression
Try a Dual Lacing System for Custom Fit

Give different parts of your foot independent tension control.
Split Lacing for Independent Zones
How to do it:
1. Replace one long lace with two shorter ones.
2. Use the first lace for the lower eyelets (toe box).
3. Use the second for the upper eyelets (midfoot and heel).
4. Tie each separately.
✅ Benefits:
– Loosen toe pressure while keeping heel tight
– Prevents numb toes and black toenails
– Great for wide forefeet or high arches
⚠️ Trade-off: Two knots per shoe
🎯 Pro tip: Use color-coded laces to remember which controls what
Switch to Elastic or Alternative Lacing Systems
Traditional laces force a static fit. Elastic systems adapt to your foot’s natural swelling—critical for preventing numbness.
Use Elastic Laces (e.g., Lock Laces, XPand)
Elastic laces stretch as your foot expands, maintaining hold without constriction.
Benefits:
– Accommodate foot swelling
– Eliminate pressure points
– No re-tying mid-run
– Reported to resolve numbness in 90% of user cases
🎯 Real-world result: One runner eliminated numbness after switching from traditional laces—completed a half marathon pain-free.
Installation tip: Set tension with your foot inside the shoe. Avoid over-tightening—elasticity does the work.
Quick Shoe Lace Systems for No-Knot Comfort
Use elastic cords with a metal clip closure.
✅ Advantages:
– No knots
– Smooth pressure distribution
– Fast on/off
⚠️ Warning: Still possible to lace too tightly—always test fit before sealing
XPand Laces for All-Day Expansion
Features a sliding cap that allows expansion.
✅ Key users: Diabetics, elderly, or anyone prone to foot swelling
🎯 Why it works: Expands up to 1.5 inches, preventing nerve compression throughout the day
Hickies Elastic Bands for Slip-On Ease
Replace laces with stretchy rubber bands.
✅ Pros:
– Turns shoes into slip-ons
– Removes top-of-foot pressure
– Stylish options available
⚠️ Limitation: Less secure for high-intensity sports
Choose the Right Shoe Fit and Design

Even perfect lacing won’t fix a poorly fitting shoe. Numbness often stems from mismatched footwear.
Buy Shoes Later in the Day
Feet swell after standing or walking. Shopping when your feet are largest ensures a better fit.
✅ Rule: Always try shoes on with the socks you’ll wear
✅ Test: Walk or jog in-store to check for pinch points
Prioritize Width and Volume
A narrow shoe compresses nerves regardless of lace tightness.
✅ Look for:
– Wide-width options
– Gusseted tongues (attached at sides to reduce pressure)
– Stretchy or soft uppers
🎯 Warning: Don’t rely on shoes “breaking in”—most materials stretch minimally
Accommodate a High Instep
High arches need extra vertical space.
Solutions:
– Skip eyelets in the midfoot
– Use elastic laces
– Choose shoes with taller tongue height
🎯 Pro tip: Brands like Altra, Hoka, and Brooks offer high-volume models ideal for sensitive insteps
Rule Out and Treat Related Conditions

Sometimes, numbness isn’t just about laces—it may signal an underlying issue worsened by tight footwear.
Recognize Extensor Tendonitis
Chronic lace pressure irritates the tendons that lift your toes.
Symptoms:
– Pain on top of the foot
– Creaking sensation when moving the big toe
– Worsens with tight laces or uphill running
Treatment:
– Rest and avoid aggravating activities
– Apply RICE (Rest, Ice, Compression, Elevation)
– Stretch and foam roll anterior shin muscles
– Use pressure-relieving lacing immediately
Differentiate Compartment Syndrome
Increased muscle pressure in the lower leg during exercise can mimic lace numbness.
Key signs:
– Cramping or tightness in the shin
– Numbness that starts during activity and fades with rest
– Often affects both legs
🎯 Action: See a doctor if symptoms persist—this may require medical evaluation
Consider Systemic Risks
Certain conditions increase vulnerability to nerve damage from pressure.
At-risk groups:
– Diabetics: Peripheral neuropathy + poor circulation = higher risk
– Morton’s Neuroma: Pre-existing nerve irritation
– Tarsal Tunnel Syndrome: Nerve compression at the ankle
🎯 Prevention: Diabetics should use expandable lacing systems and inspect feet daily
Prevent Numbness Before It Starts
Stop problems before they begin with smart daily habits.
Check Lace Tension Regularly
Tightness can increase mid-activity due to swelling.
✅ Do this:
– Pause every 30 minutes during long runs/hikes
– Reassess finger test under midfoot laces
🎯 Pro tip: Use quick-release elastic laces to avoid re-tying
Look for Skin Indentations
Visible lace imprints on your skin mean too much pressure.
✅ Fix: Loosen immediately or switch to gap lacing
Wear Proper Socks
Moisture-wicking, seamless socks reduce friction and swelling.
✅ Avoid:
– Socks that leave marks
– Cotton (traps moisture)
– “Breaking in” stiff socks
🎯 Ideal: Merino wool or synthetic blends
Maintain Your Laces and Shoes
Worn or dirty laces affect tension and glide.
✅ Maintenance checklist:
– Replace frayed laces
– Clean eyelets with a toothpick
– Ensure smooth lace movement
🎯 Result: Even tension, fewer hotspots
Seek Professional Help When Needed
If home fixes fail, don’t ignore persistent symptoms.
See a Podiatrist or Physical Therapist If:
- Numbness lasts more than 10 minutes after removing shoes
- You feel weakness in your toes
- Pain worsens with activity
- You have diabetes or neuropathy
Professional Treatments That Work
Manual Therapy: Mobilizes tight fascia
Dry Needling: Releases shin muscle trigger points
Orthotics: Stabilize foot motion
Strengthening Exercises: Single-leg calf raises
Stretching Routines: Focus on shin and calf muscles
🎯 Outcome: Addresses root biomechanics, not just symptoms
Final Recommendations
- Start simple: Loosen your laces and use the finger test.
- Try skip or straight bar lacing if pressure persists.
- Switch to elastic laces—top solution for runners and hikers.
- Ensure proper shoe fit, especially width and volume.
- Never lace tightly over a high instep—adapt, don’t compress.
- See a specialist if numbness lingers or you have health conditions.
Bottom line: Over-tight shoe laces are a fixable cause of foot numbness. With the right technique and tools, you can stay comfortable, stable, and sensation-free—without buying new shoes. The key is balancing security and space, letting your foot move naturally while staying locked in.