")


You’ve slipped on a pair of shoes that look perfect—polished, supportive, and just right for the occasion—only to feel a sharp sting at the back of your heel by lunchtime. Shoes cutting into the ankle are more than just a fashion faux pas; they can lead to painful blisters, raw skin, and even chronic irritation around the Achilles tendon. This issue affects millions, from office workers in loafers to athletes in high-performance sneakers. The root cause isn’t always poor quality—it’s often a mismatch between your foot shape and the shoe’s design. The good news? Most ankle rubbing is fixable with the right approach. Whether your shoes are too stiff, too high, or simply need a better fit, this guide delivers proven, step-by-step solutions—immediate fixes and long-term adjustments—so you can walk comfortably without sacrificing style or performance.
Diagnose the Cause of Ankle Rubbing
Before applying any fix, pinpoint what’s really causing the friction. Treating symptoms without addressing the root issue leads to recurring discomfort. Most cases fall into one of several key categories.
Check Your Shoe’s Back Height
The heel counter—the rigid back of the shoe—is often the main offender. If it sits too high, it presses directly on your Achilles tendon. If too low, your heel slips up and down, creating constant rubbing. To find your ideal back height:
- Stand barefoot on a flat surface.
- Use a ruler to measure from the floor to where your heel meets your Achilles.
- Mark this spot with a washable pen.
- When trying on shoes, ensure the heel counter aligns within 2mm of this mark.
This method works best for ballet flats, oxfords, Mary Janes, and closed-back heels—styles where precise fit matters most. A mismatch here is often why otherwise “perfect” shoes still cause pain.
Assess Heel Slippage During Movement
A little heel lift (3–5mm) is normal, but excessive movement leads to chafing. Test your fit:
- Lace up fully.
- Walk on a hard floor.
- Have someone observe or record your step.
If your heel lifts more than a few millimeters, the shoe may be too long, too wide, or lacking midfoot support. This is common in loafers and new sneakers before they’re broken in.
Inspect for Stiff Materials and Internal Seams

Many shoes—especially leather or structured designs—have rigid heel counters with minimal padding. For example, Nike MMW Zoom 4s are known for sharp, unpadded ankle collars that dig into the skin. Flip the shoe over and run your fingers along the inside heel collar. Feel for:
- Rough stitching
- Raised seams
- Hard stabilizing boards
Sometimes, one shoe (often the left) has a manufacturing flaw causing one-sided rubbing. If the material feels abrasive, it’s not just fit—it’s friction.
Choose the Right Socks for Protection
Socks are your first line of defense. The wrong pair turns minor pressure into raw skin. Upgrade your sock game to stop rubbing before it starts.
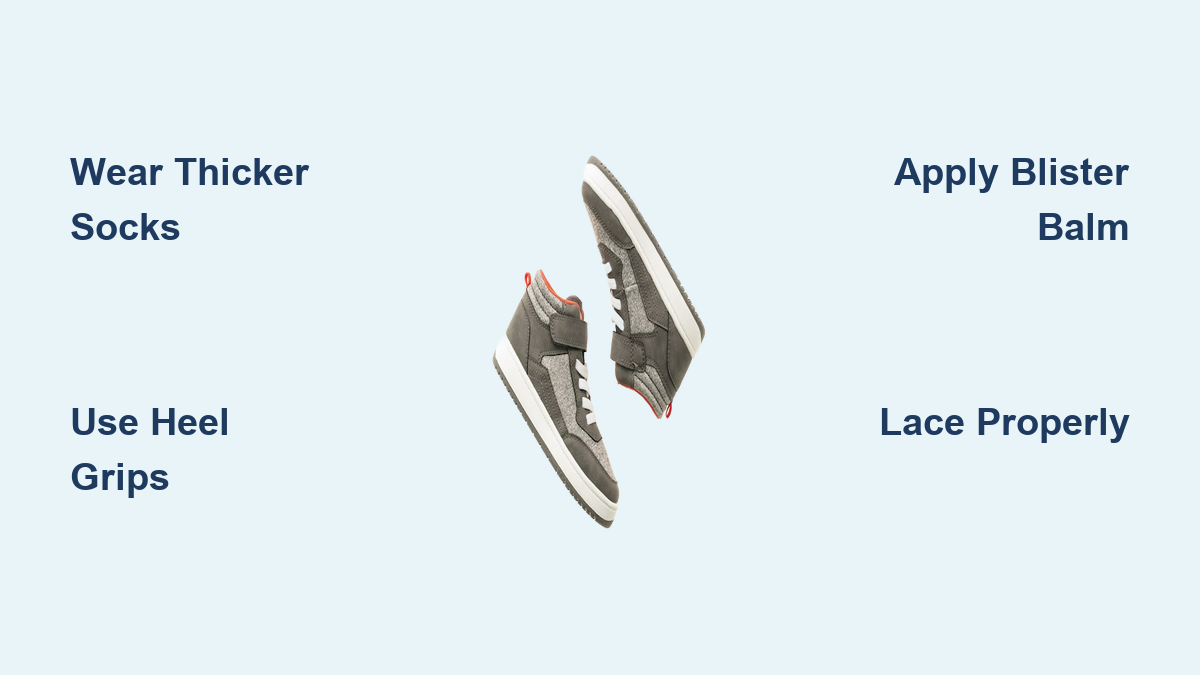
Wear Thicker or Higher Socks
Thin or no-show socks offer little cushion. Switch to:
- Crew socks for full heel coverage
- Ankle socks with reinforced heels for targeted protection
- Running socks that extend slightly above the heel to shield the Achilles
Brands like Nike and Adidas make performance socks with moisture-wicking fabric and targeted padding—ideal for preventing chafing during long wear.
Try the Double Sock Method
For new shoes or long walks:
- Put on a thin liner sock (e.g., synthetic moisture-wicking).
- Add a thicker sock on top.
The two layers slide against each other, reducing direct friction on your skin. Hikers and travelers use this trick to prevent blisters during extended use.
Use Low-Cut Liner Socks with Grip
For dress shoes or loafers where visibility matters:
- Choose ultra low-cut socks with gel gripper tabs that stay in place.
- Look for breathable, machine-washable options in black or beige.
- Sizes typically fit women’s 6–11.
These invisible socks prevent slippage and protect sensitive skin without ruining your look.
Use Internal Shoe Modifications
Fix the shoe itself—not just your foot. These modifications work inside the shoe to cushion, stabilize, and improve fit.
Apply Heel Grips and Gel Pads
Adhesive gel heel pads stick inside the heel lining to:
- Cushion the back of your heel
- Reduce slippage
- Prevent direct contact with stiff materials
Made with memory sponge and micro-fleece, they’re comfortable, invisible, and available in black, beige, or 12-packs for multiple pairs. Users report: “I put these in my shoes and I’ve not had a blister since!” Trim to fit and replace every few months as adhesive wears.
Add Moleskin Inside the Shoe or on Skin
Moleskin is a soft, durable fabric with adhesive backing:
- Cut a piece and stick it inside the heel collar to smooth rough spots.
- Or apply Dr. Scholl’s moleskin strips directly to your skin—ideal for pre-blister protection.
Each strip is ~4.1” x 3.3” and can be customized. It stays in place through sweat and movement.
Install Oval Friction Patches
These ultra-thin (0.015”) adhesive patches go where rubbing occurs:
- Don’t alter fit—perfect for tight shoes.
- Use in heel, toe, or side areas.
- Pack includes 4 large (1.75” x 2.75”) and 2 small patches.
One user said: “After placing them on the pain points in my shoes, they are better than ever.”
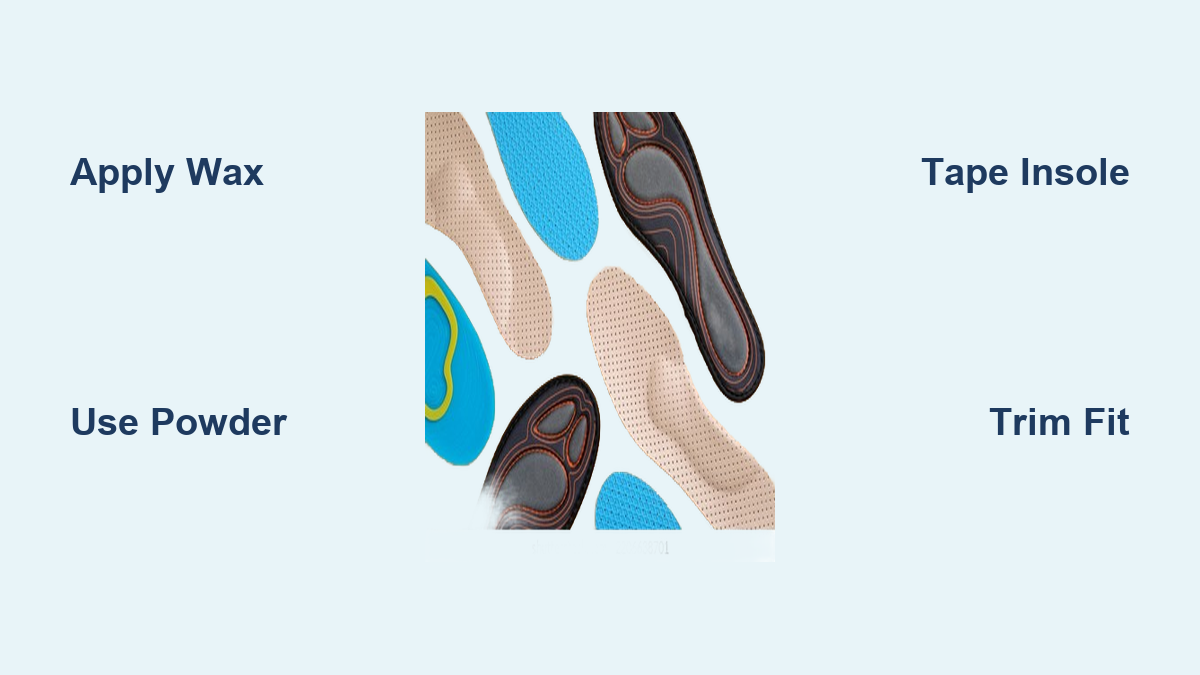
Insert Insoles for Better Fit
Insoles lift your foot slightly, reducing heel-to-shoe contact:
- Generic insoles add cushioning and reduce slippage.
- Custom insoles (e.g., FitMyFoot) are molded to your foot shape, correcting asymmetries and pressure points.
Custom options are especially helpful if one foot rubs more than the other.
Add Tongue Pads for Top-Foot Comfort
If the shoe tongue rubs your instep or toes:
- Use soft foam tongue pads.
- Attach them to the underside of the tongue.
- They fill excess space and prevent pressure.
Great for sneakers and lace-ups with stiff tongues.
Protect Your Skin Directly
When the shoe can’t be changed, protect your skin. These methods create a barrier between your heel and the friction zone.
Apply Blister Prevention Balm
Anti-chafing balms form a protective, slippery layer:
- Use petroleum jelly, beeswax-based formulas, or Nexcare Blister Prevention Balm.
- Apply directly to the back of the heel and Achilles before wearing shoes.
- Sweat-proof and long-lasting—ideal for travel or all-day wear.
Some balms include vitamins A and C to support skin repair. User feedback: “Wore this with shoes that always rub my heel raw—and no blisters!”
Use Medical-Grade Tape
For high-friction zones:
- Nexcare Blister Prevention Tape: 5 yards of 1-inch-wide, waterproof, stretchy foam tape.
- Cut and apply directly to the heel.
- Latex-free and durable.
Duct tape works in a pinch for extreme conditions (e.g., hiking), but avoid if skin is already broken.
Pre-Apply Plasters or Band-Aids
Stick a bandage on your heel before putting on shoes:
- Acts as a physical barrier.
- Prevents direct shoe-to-skin contact.
- Especially useful during the break-in period.
Replace daily or when damp.
Wear Silicone Heel Sleeves
Reusable silicone gel sleeves slip over your heel:
- Breathable with ventilation holes.
- Can be worn with or without socks.
- Cushion the Achilles and reduce friction.
- Sold in 2-pair packs; FSA/HSA eligible.
One user said: “Not only did they protect my ankles, but they made the shoes feel comfier.”
Try Vaseline (Petroleum Jelly)
Simple, accessible, and effective:
- Softens skin and reduces friction.
- Reapply as needed.
- May attract dirt but washes off easily.
Great for quick fixes or when other products aren’t available.
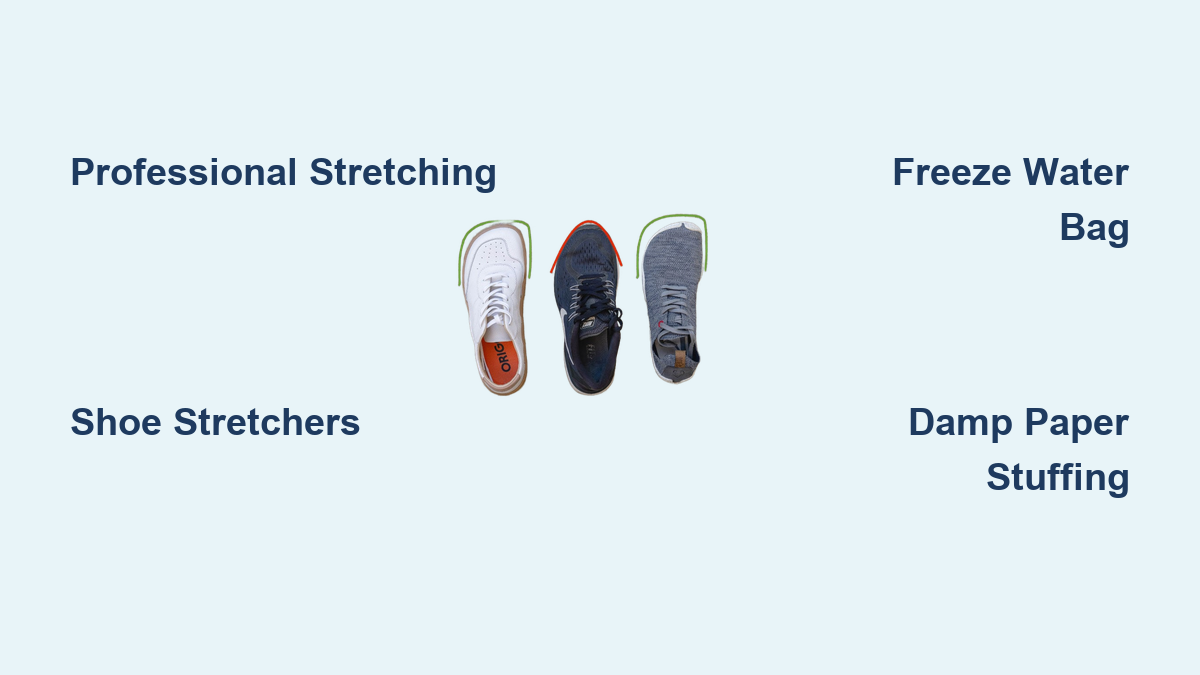
Stretch and Soften the Shoes
Sometimes the shoe itself needs adjustment. These techniques modify the fit and comfort of the shoe over time.
Use a Four-Way Shoe Stretcher
This adjustable tool stretches shoes in width, length, instep, and heel:
- Includes bunion pads for targeted relief.
- Works on loafers, flats, sneakers, and sandals.
- Leave in for 24+ hours.
User feedback: “Put this in to stretch the back a bit… fits much more comfortable now.”
Soften with a Hair Dryer
Break in stiff shoes at home:
- Wear thick socks.
- Put on the shoes.
- Use a hair dryer on medium heat to warm the heel area for 2–3 minutes.
- Walk around to mold the material.
Best for: Leather, suede, and cloth.
Avoid on synthetic or glued shoes—heat can damage adhesives.
Visit a Cobbler
For high-value or frequently worn shoes:
- Professionals can stretch leather shoes.
- Modify heel counters.
- Smooth internal seams.
A small investment can extend the life of your favorite pair.
Modify Internal Stitching (Advanced)
If a sharp internal seam is the issue:
- Carefully trim or file down the offending area.
- Create a smoother contour inside the heel collar.
- Re-stitch or glue if necessary.
Warning: This can compromise shoe structure—only attempt if experienced or with professional help.
Optimize Lacing and Wear Habits
How you wear your shoes matters. Small adjustments in lacing can eliminate heel lift and rubbing.
Use All Lace Holes
Many shoes come with unused top eyelets:
- Lace through the topmost holes.
- This pulls the heel down and secures it.
- Prevents lift and reduces friction.
A simple fix that’s often overlooked.
Tighten Laces Correctly
Loose lacing allows heel movement. Focus on:
- Snug fit in the midfoot and heel zones.
- Use heel lock lacing (e.g., runner’s loop) to lock the heel in place.
This technique is essential for running shoes and hiking boots.
Control Moisture and Sweat
Wet skin is more prone to chafing:
- Wear moisture-wicking socks.
- Apply foot powder to absorb sweat.
- Helps prevent both rubbing and odor.
Keep feet dry, especially during long wear or in warm weather.
Best Solutions by Shoe Type

Different shoes need different fixes. Match your solution to your footwear.
Fix Sneakers That Rub the Heel
Sneakers often have stiff heel counters:
- Use gel heel grips or insoles.
- Wear running socks with Achilles coverage.
- Break in with heat method or thick socks.
- Ensure laces are tight—use heel lock lacing.
Stop Loafers and Flats from Slipping
Slip-on styles lack heel support:
- Use heel grips or double socks.
- Apply anti-slip balm inside the collar.
- Consider a four-way stretcher for long-term fit.
Prevent Rubbing in Running Shoes
Even cushioned runners can cause blisters:
- Focus on proper lacing (use top eyelets).
- Wear running-specific socks.
- Pre-tape high-friction areas.
- Use custom insoles to reduce movement.
Break In Stiff Boots (e.g., Doc Martens)
Boots have high, rigid shafts:
- Use silicone heel sleeves.
- Apply moleskin inside the collar.
- Break in with heat and thick socks.
- Consider cobbler stretching.
Comfort for High Heels and Dress Shoes
Dress shoes often have rigid backs:
- Use gel pads or friction patches.
- Apply blister balm to skin.
- Wear low-cut liner socks if acceptable.
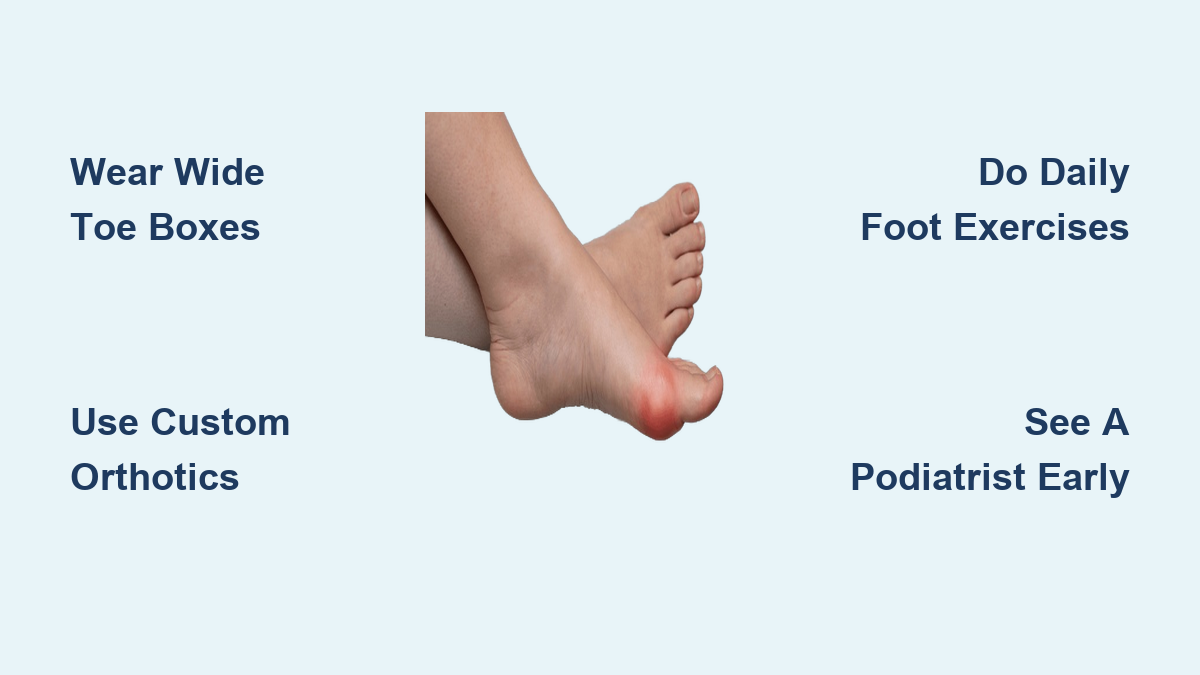
When to See a Podiatrist
If ankle rubbing persists across multiple shoes, it may not be the footwear—it could be your foot.
Signs You Need Professional Help
- Recurrent blisters despite preventive measures.
- Pain beyond surface irritation.
- Swelling, inflammation, or visible deformity.
- A bony growth (exostosis) pressing against the heel counter.
These may require medical evaluation.
Consider Custom Orthotics
A podiatrist can prescribe:
- Custom insoles tailored to your foot shape.
- Gait analysis to correct walking patterns.
- Foot padding or bracing for structural issues.
Custom solutions offer long-term relief for chronic heel rubbing.
Summary: Top 8 Ways to Stop Ankle Rubbing
- Wear the right socks – Thicker, moisture-wicking, or gel-gripped liners.
- Use heel grips or gel pads – Cushion and secure the heel inside the shoe.
- Apply skin protection – Balm, tape, or Vaseline to reduce friction.
- Lace properly – Use all eyelets and heel lock techniques.
- Stretch the shoe – With a stretcher, heat, or cobbler.
- Improve fit with insoles – Especially custom ones for asymmetries.
- Measure back height – Match shoes to your heel’s natural curve.
- Use silicone sleeves or moleskin – For immediate, reusable protection.
There’s no universal fix—your foot shape, shoe design, and activity level all matter. The best results come from combining methods (e.g., thicker socks + heel grips + balm). Address rubbing early, before blisters form. With these strategies, you can keep wearing your favorite shoes—comfortably and confidently.