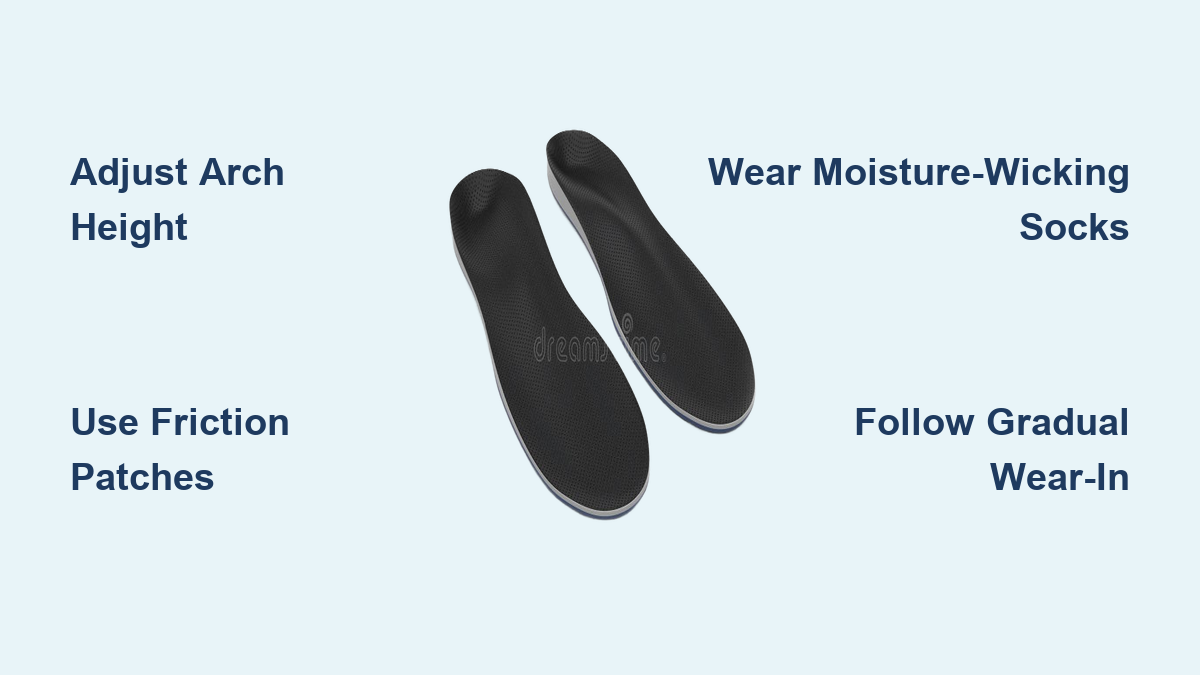
If you’ve recently started wearing orthotics and now notice redness, blisters, or raw spots on your feet, you’re not alone. Skin irritation from orthotics is a common—but fixable—problem that affects many users, especially during the break-in period. Whether it’s a painful blister under your big toe, a raw patch along the inner arch, or persistent heel rubbing, these issues typically stem from friction, pressure, moisture buildup, or improper fit. The good news? Most cases can be resolved quickly with targeted treatment and smart adjustments. This guide gives you step-by-step solutions to heal irritated skin, modify your orthotics, reduce friction, and prevent future flare-ups—so you can wear your devices comfortably and confidently.
We’ll walk through how to identify the root cause of your irritation, treat blisters and sores safely, adjust your orthotics for better fit, choose blister-preventing socks and shoes, manage sweat, and know when to seek professional help. You’ll also learn a proper wear-in schedule, maintenance habits, and high-risk warning signs to watch for—especially if you have diabetes, neuropathy, or sensitive skin conditions like epidermolysis bullosa (EB).
Identify the Source of Your Skin Irritation

Before treating the symptoms, pinpoint where and why the irritation is happening. Different locations often point to specific mechanical problems with your orthotic or footwear.
Check Common Irritation Zones
- Medioplantar arch (inner arch): Blisters or redness here often mean the orthotic’s arch is too high or doesn’t match your foot’s natural contour.
- Heel edge (side or back): Fluid-filled blisters along the rim suggest the orthotic has shifted forward or the heel cup is too narrow.
- Posterior heel (back of heel): Rubbing against the shoe counter may occur if the orthotic lifts your heel into stiff material.
- Under the big toe or first MPJ: Pressure sores or calluses can form if the orthotic is too long or fails to support the windlass mechanism during walking.
- Ball of the foot: Blisters or thickened skin may develop if pressure isn’t evenly distributed across the metatarsal heads.
Look for patterns: Does the irritation only happen in certain shoes? After long walks? On one foot more than the other? These clues can help determine whether the problem is due to fit, function, or environment.
Distinguish Friction, Pressure, and Moisture Damage
- Friction causes blisters and shearing injuries—common where skin moves against the sock or orthotic surface.
- Pressure leads to calluses, bruising, or ulcers—especially in high-load areas like the heel or ball of the foot.
- Moisture softens the skin (maceration), increasing its vulnerability to both friction and infection.
Pro Tip: Blanchable redness (skin that turns white when pressed) usually resolves on its own. Non-blanchable redness may indicate deeper tissue damage—stop wearing the orthotic and assess immediately.
Heal Active Blisters and Sores

Once you’ve identified the irritated area, take immediate steps to protect the skin and prevent infection.
Treat Blisters Based on Severity
- Intact blisters: Do not pop. Cover with a hydrocolloid dressing (like Band-Aid Blister Guard) or moleskin with a hole cut out to relieve pressure.
- Ruptured blisters: Gently clean with mild soap and water, apply antibiotic ointment, and cover with a sterile bandage. Change daily.
- Calluses: Avoid trimming at home—especially if you have diabetes or poor circulation. See a podiatrist for safe removal.
- Open wounds or ulcers: Offload pressure completely. Use a diabetic shoe or temporary boot if needed, and consult a foot specialist promptly.
Warning: Never ignore open sores, pus, increasing redness, or warmth—these are signs of infection requiring medical care.
Soothe Inflamed and Irritated Skin
- Wash the area with fragrance-free soap and lukewarm water.
- Pat dry—don’t rub—and apply a light, non-greasy moisturizer to dry skin (avoid between toes).
- Use a cool compress for 10–15 minutes to reduce acute inflammation or itching.
- If a fungal rash is suspected (itchy, scaly, spreading), try an over-the-counter antifungal powder like clotrimazole.
Expert Note: Moisturizing helps prevent cracks, but over-moisturizing can worsen maceration—especially under pressure points.
Adjust Your Orthotics for Better Fit and Function
Most irritation stems from how the orthotic interacts with your foot. Small modifications can dramatically improve comfort.
Modify Orthotic Structure to Eliminate Pressure Points
- Grind down high arch areas: Use a Dremel tool or see your orthotist to reduce excessive arch height causing medioplantar blisters.
- Bevel the heel cup: Smooth sharp edges to prevent heel-edge irritation.
- Shorten the distal end: If the orthotic presses under the big toe, grinding back the tip can relieve pressure.
- Prevent forward shift: Apply double-sided tape under the rearfoot post to stop the orthotic from sliding and creating heel blisters.
“The only way to fix heel edge blisters from orthotics is double-sided tape under the rearfoot post.” – Rebecca Rushton
Improve Biomechanics to Reduce Shear and Pressure
Some issues aren’t about fit—they’re about function. For example, if your windlass mechanism (the tightening of the plantar fascia during toe-off) isn’t working, pressure shifts to the big toe.
Solutions include:
– Calf stretching to improve ankle dorsiflexion
– Heel lifts to reduce strain
– Cluffy wedge or reverse Morton’s extension in the orthotic design
– Medial heel skive or arch height adjustment to enhance arch rise during gait
Key Insight: If your orthotic doesn’t support natural foot mechanics, it fights your body—increasing shear and irritation.
Reduce Friction with Proven Materials and Techniques

Friction is a leading cause of blisters. Lowering the coefficient of friction between your skin, sock, and orthotic can prevent irritation before it starts.
Use ENG0 Friction-Reducing Patches
- Apply self-adhesive PTFE (Teflon) patches to high-friction zones: heel, arch, or first MPJ.
- Reduces friction by up to 37%.
- Use the two-patch technique for heel edges: one vertical (on heel cup wall), one horizontal (on base) to prevent peeling.
“ENG0 patches are just about the only thing I ever need for heel blisters.” – Rebecca Rushton
Wear Low-Friction Socks Designed for Sensitive Skin
- ArmaSkin socks: Silicone-lined inner layer glides against skin; outer layer grips orthotic. Must be rolled on.
- GlideWear socks: Dual-layer fabric with low-friction interface—pull on like regular socks.
- Both are ideal for epidermolysis bullosa (EB), diabetes, or chronic blistering.
Avoid cotton socks—they absorb moisture and increase friction when wet.
Apply Lubricants and Antiperspirants
- Petroleum jelly: Reduces skin-sock friction but wears off quickly; reapply often.
- Clinical-strength antiperspirant (e.g., Drysol): Apply aluminum chloride to feet at night to reduce sweating. Use under medical guidance.
- Botox injections: For severe hyperhidrosis unresponsive to topicals.
Tip: Apply antiperspirant to clean, dry feet before bed. Wash off in the morning to minimize irritation.
Optimize Socks and Shoes for Maximum Comfort
Even perfect orthotics fail in bad footwear. Your shoe and sock combo plays a critical role in skin health.
Choose the Right Socks
- Material: Opt for wool blends, acrylic, polyester, or moisture-wicking synthetics.
- Seamless construction: Prevents rubbing at toe seams.
- Length and fit: No bunching or folding—especially around the ankle or toes.
- Special needs:
- Diabetic patients: Wear white socks to spot drainage.
- Sweaty feet: Try socks with copper or silver fibers for antimicrobial benefits.
- Kids: Change socks midday to reduce moisture buildup.
“Changing socks throughout the day can do wonders for reducing blisters.” – Josh Ahlstrom
Upgrade Your Footwear
- Shoes should be:
- Half-size larger than usual to fit the orthotic
- Deep enough in the toe box
- Available in multiple widths
- Made of breathable materials (mesh, leather)
- Replace worn insoles—old, folded inserts create uneven surfaces.
- Avoid shoes that are too stiff or too loose—even the best orthotic can’t fix poor shoe fit.
Reminder: If your heel slips or your toes jam, the orthotic can’t work properly.
Control Moisture and Promote Dryness
Wet skin is weak skin. Sweat increases friction and softens the epidermis, making it more prone to damage.
Daily Moisture Management
- Wash and dry feet thoroughly every day—especially between toes.
- Remove orthotics from shoes nightly to air out and dry completely.
- Never wear wet shoes or orthotics—moisture breaks down top covers and promotes bacterial growth.
Advanced Sweat Control
- Apply antiperspirant directly to soles (e.g., Drysol) 2–3 times per week at night.
- Insert gauze pads into socks at high-risk sites to absorb sweat—change every few hours.
- Use PTFE film (like Engo) inside the shoe or orthotic to reduce tackiness when wet.
Boost Airflow
- Punch ventilation holes in carbon-fiber AFOs using a hand tool—improves breathability.
- Use a small fan to blow air into boots or shoes during breaks.
- Remove braces or boots periodically (e.g., in the evening) to let skin breathe.
Pro Tip: Let shoes dry in a well-ventilated area—never store them damp or in plastic bags.
Follow a Gradual Wear-In Schedule
Even perfectly fitted orthotics need time to adapt. Rushing in can cause avoidable irritation.
Gradual Break-In Protocol
- Week 1: Wear 1–2 hours per day, increasing by 1–2 hours daily.
- Week 2–3: Build up to full-day use.
- Sitting with orthotics in shoes does not count as wear time—movement creates pressure and shear.
Monitor for:
– Muscle soreness (normal—indicates new muscle activation)
– Skin redness (should fade within 20 minutes of removal)
– Blisters or pain (signs of poor fit or need for adjustment)
“Most people take 2–3 weeks to get used to orthotics.” – Caring for Your Orthotics
Respond to Early Warning Signs
- If redness persists or blisters form:
- Stop wearing the orthotic
- Treat the skin
- Reassess fit and function
- Don’t “push through” pain—early intervention prevents chronic issues.
Know When to See a Specialist
Most irritation can be managed at home, but some situations require professional help.
Seek Medical Attention If You Have:
- Persistent redness or blisters after 1–2 weeks of adjustments
- Open sores, ulcers, or non-healing wounds
- Signs of infection: pus, warmth, swelling, foul odor
- Rash that’s spreading, itchy, or scaly (possible fungal or yeast)
- Numbness, tingling, or poor circulation
- Pain that worsens instead of improves
High-risk patients—especially those with diabetes, neuropathy, or EB—should consult a podiatrist or orthotist at the first sign of irritation.
“If redness occurs, wash the area and contact your physician immediately.” – Align Clinic
Maintain Your Orthotics Long-Term
Proper care keeps orthotics effective and skin-safe for years.
Clean and Dry Regularly
- Wipe orthotics weekly with an antibacterial wipe.
- Never soak in water—this damages adhesives and top covers.
- Let them air dry after exposure to sweat or moisture.
Replace Worn Top Covers
- Top covers degrade faster than shells—typically lasting 6 months to 2 years.
- Replace if:
- Peeling or lifting
- Holes or thinning
- Worn-through areas
- Minor peeling? Re-glue with super glue or contact adhesive.
- Full replacement cost: ~$60–80/pair.
“Worn-through top covers can cause skin irritation.” – Article 6
Monitor Device Lifespan
- Adult shells: Last 3–5 years
- Runners or high-impact users: May need earlier replacement
- Children: Outgrow in 12–18 months
- Warranty:
- Shell: 12 months against cracks
- Top cover: 6 months free repair/replacement
Final Note: Skin irritation from orthotics is treatable—and often preventable. By identifying the cause, adjusting fit, reducing friction, managing moisture, and following a smart wear-in schedule, you can stay comfortable and keep your feet healthy. For high-risk individuals, early detection and professional care are crucial. With the right approach, your orthotics should support your feet—not harm them.