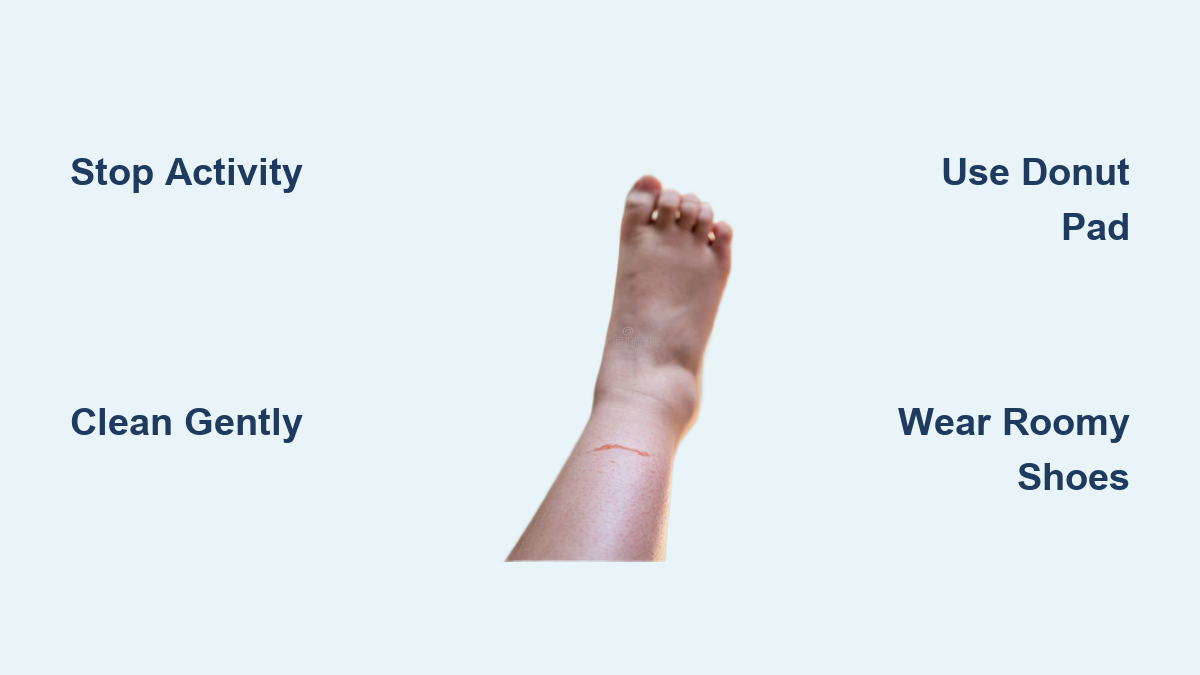
You’re walking the final miles of a long hike, mid-way through a marathon, or simply on your feet all day at work when a sharp, burning sensation flares under the ball of your foot. Within hours, that hot spot swells into a painful blister—especially dangerous when it forms on weight-bearing areas like the heel or forefoot. Left unprotected, a blister can burst, become infected, or sideline you for days. But with the right care, you can keep it intact, reduce pain, and stay mobile. This guide shows exactly how to protect a blister on the bottom of your foot using proven, step-by-step strategies that prevent complications and speed healing. Whether it’s already formed or you’re feeling the early warning signs, you’ll learn how to shield it from pressure, friction, and infection—so you can keep moving safely.
Stop Activity and Assess the Blister Immediately
When you feel a hot spot or notice swelling, stop what you’re doing. Continuing to walk or run increases friction and pressure, turning a minor irritation into a full-thickness blister or causing an existing one to rupture.
Identify the Blister Type and Location
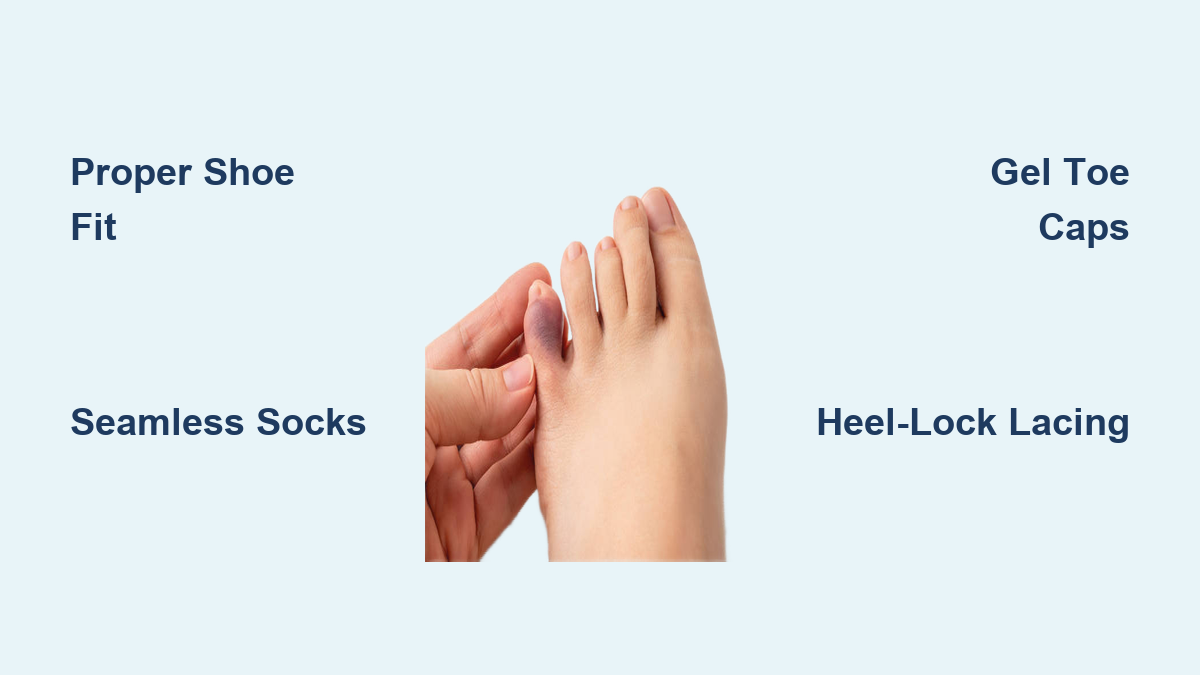
Check whether the blister is intact, torn, or already drained. Note its size and exact location—common trouble zones include the ball of the foot (metatarsal heads), heel, and side of the toes, all high-pressure areas during movement. An intact blister with clear fluid is best left alone—it’s nature’s protective bandage. A blood blister (dark red or purple) indicates deeper tissue damage and needs extra cushioning. If the skin is broken, shift focus to infection prevention and wound protection.
Pro tip: Use a mirror or your phone’s camera to inspect hard-to-see areas like the heel or arch.
Clean and Prep the Area to Prevent Infection
Keeping the blister clean is essential, especially on the sole of the foot, where dirt and bacteria are common.
Wash Gently with Mild Soap and Water
Use lukewarm water and a mild soap to clean the blister and surrounding skin. Avoid scrubbing—this can damage delicate tissue. Rinse thoroughly and pat dry with a clean towel. Moisture softens skin and increases friction, slowing healing and raising infection risk.
Avoid: Alcohol, hydrogen peroxide, or iodine on intact blisters—they can irritate healthy tissue and delay healing.
Let the Foot Air Dry Completely
After drying, leave the foot exposed for 1–2 minutes. This ensures no trapped moisture remains, which improves bandage adhesion and reduces slippage in your shoe.
Protect an Intact Blister with Offloading Pads

The key to blister protection is pressure redistribution—taking weight and shear forces off the blister while supporting the surrounding area.
Use Donut-Shaped Padding to Relieve Pressure
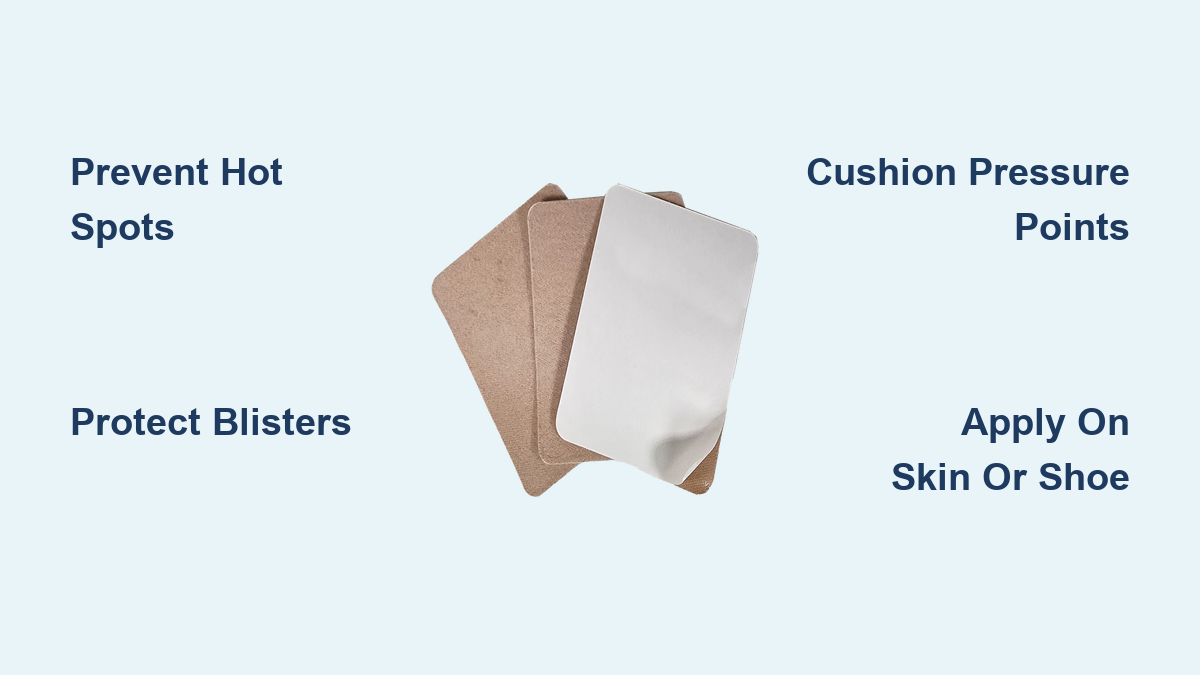
Create a protective ring around the blister using moleskin, felt, or hydrocolloid material. This “donut” lifts pressure off the blister while stabilizing the surrounding skin.
How to Apply Moleskin as a Donut Pad
- Cut a piece of moleskin 1 inch larger than the blister on all sides.
- Fold it in half with sticky sides together.
- Cut a half-circle along the fold that matches the blister size.
- Unfold—this creates a hole in the center.
- Position the hole over the blister so the blister sits inside the ring.
- Smooth down and cover with a bandage or tape.
Warning: Never place padding directly on the blister—this increases pressure and risk of rupture.
Choose the Right Padding Material
- Hydrocolloid bandages (e.g., BAND-AID® HYDRO SEAL®): Ideal for small to medium blisters. They seal out dirt, reduce pain, and accelerate healing by maintaining a moist environment.
- Felt or foam pads: Best for larger blisters or high-pressure zones. Use 5–7 mm thick material for maximum cushioning.
- ENGO Blister Patches: Apply these to the insole, not the foot. They reduce friction at the shoe-sock interface and last for hundreds of miles.
Cover with a Protective Dressing for Maximum Safety
Even with padding, the blister needs a secure, sterile covering to stay safe during movement.
Apply a Nonstick Bandage First
Use a sterile, non-adherent pad (like Telfa) over the blister, then secure with medical tape or a wrap. This prevents the dressing from sticking to the blister roof, which can tear during removal.
Upgrade to Hydrocolloid for Faster Healing
Hydrocolloid dressings are clinically proven to speed recovery by:
– Maintaining a moist wound environment
– Reducing pain by shielding nerve endings
– Blocking bacteria
They can stay in place for 2–3 days if not exposed to excessive moisture. Replace if wet, dirty, or peeling.
Pro tip: Trim the edges slightly to prevent catching inside your shoe.
Modify Footwear to Prevent Re-Irritation
No amount of padding will help if your shoes keep rubbing the blister. Immediate shoe adjustments are critical.
Wear Roomy, Soft-Soled Shoes
Choose footwear that:
– Fits snugly without heel slippage
– Has a wide toe box
– Is flexible under the ball of the foot
– Laces securely to minimize foot movement
Avoid sandals or flip-flops—they offer no support and increase shear forces.
Consider Temporary Shoe Modifications
- Stretch the shoe over the blister area using a hairdryer and wearing thick socks.
- Cut a hole in the insole under the blister to relieve pressure—cover edges with tape to prevent irritation.
- Use a second pair of shoes rotated throughout the day to reduce continuous pressure.
Manage Broken or Drained Blisters Safely

If the blister has already burst, your focus shifts to infection control and wound protection.
Do Not Remove the Skin Flap
The remaining skin acts as a natural barrier. Removing it exposes raw tissue and increases pain and infection risk.
Clean and Disinfect Gently
Wash the area with mild soap and water. Apply povidone-iodine (Betadine) or an antibacterial wash. Avoid alcohol and peroxide—they damage healing cells.
Apply Antibiotic Ointment or Petroleum Jelly
Use a thin layer of NEOSPORIN® or petroleum jelly to keep the wound moist and protected. Reapply each time you change the dressing.
Cover with a Nonstick Dressing
Use gauze or hydrocolloid to cover the area. Ensure the edges adhere to healthy, dry skin. Change daily or if the dressing becomes wet.
Warning: If pus, increasing redness, or fever develops, seek medical help—signs of infection may require antibiotics.
When and How to Drain a Blister (Last Resort)
Draining should be a last resort—only if the blister is large, painful, or likely to rupture during activity.
Sterilize Tools and Skin
- Wash hands thoroughly.
- Clean the blister with antiseptic.
- Sterilize a fine-gauge needle with rubbing alcohol.
Drain Without Removing the Roof
- Prick the blister at 2–3 edges with the needle.
- Gently press to drain fluid—do not pull off the skin.
- Apply antibiotic ointment and cover with a hydrocolloid bandage.
Never drain blisters if you have diabetes, neuropathy, or poor circulation—seek medical care instead.
Prevent Future Blisters with Proven Strategies

The best way to protect a blister is to stop it before it starts. Use a layered approach targeting friction, moisture, pressure, and biomechanics.
Wear Moisture-Wicking Socks
Cotton holds sweat and softens skin. Choose:
– Merino wool or synthetic blends (polyester, nylon)
– Double-layer socks: Inner liner wicks moisture; outer layer cushions
– Liner socks worn inside out to reduce inter-sock friction
Change socks if they become damp.
Use Friction-Reducing Products
- ENGO Patches: Stick to insoles—reduce friction at the source. Last up to 500 km.
- Taping: Apply Fixomull Stretch or Leukotape to hot spots before activity.
- Petroleum jelly: Apply sparingly to high-friction zones—avoid excess, which can trap moisture.
Add Cushioning Insoles
Cushioned insoles like Spenco or Sorbothane reduce peak pressure and shear forces. Replace every 6–12 months or when worn down.
Address Biomechanical Issues
- Tight calves increase forefoot pressure—stretch daily.
- Overpronation or high arches require orthotics.
- See a podiatrist for recurring blisters—they can analyze gait and recommend custom solutions.
Special Warning: Diabetes and Circulatory Conditions
If you have diabetes, peripheral neuropathy, or poor circulation, do not self-treat foot blisters. Even minor injuries can lead to ulcers, infections, or amputations.
Immediate Actions:
- Stop activity
- Keep the foot clean and dry
- Contact a healthcare provider immediately
Daily foot checks and professional care are essential for long-term foot health.
Monitor Healing and Know When to Seek Help
Most blisters heal in 3–14 days with proper care. Track progress daily.
Normal Healing Signs:
- Fluid reabsorption
- Reduced pain
- Blister roof dries and peels off
Seek Medical Attention If:
- Redness spreads or worsens
- Pus or cloudy fluid appears
- Fever or chills develop
- Red streaks extend from the site
- No improvement after 7–10 days
- Blisters recur in the same spot
Note: Recurrent blisters may signal underlying conditions like athlete’s foot, eczema, or improper footwear.
Essential Blister Care Kit for On-the-Go
Pack these items for hikes, travel, or long days on your feet:
- Hydrocolloid bandages (BAND-AID® HYDRO SEAL®)
- Moleskin or felt pads
- ENGO Blister Patches
- Antibiotic ointment
- Sterile gauze and medical tape
- Small scissors and tweezers (sterilized)
- Extra moisture-wicking socks
Apply protection at the first sign of a hot spot—before pain or blistering begins.
Final Tips for Long-Term Foot Protection
- Break in new shoes gradually—wear 1–2 hours at a time before long use.
- Lace shoes properly to reduce heel slippage.
- Use antiperspirant or talcum powder to control sweat.
- Inspect feet daily if you’re prone to blisters or have health risks.
Protecting a blister on the bottom of your foot isn’t just about covering it—it’s about offloading pressure, reducing friction, and preventing infection. With the right tools and knowledge, you can heal quickly and stay active. For persistent issues, consult a podiatrist to address root causes and keep your feet blister-free.