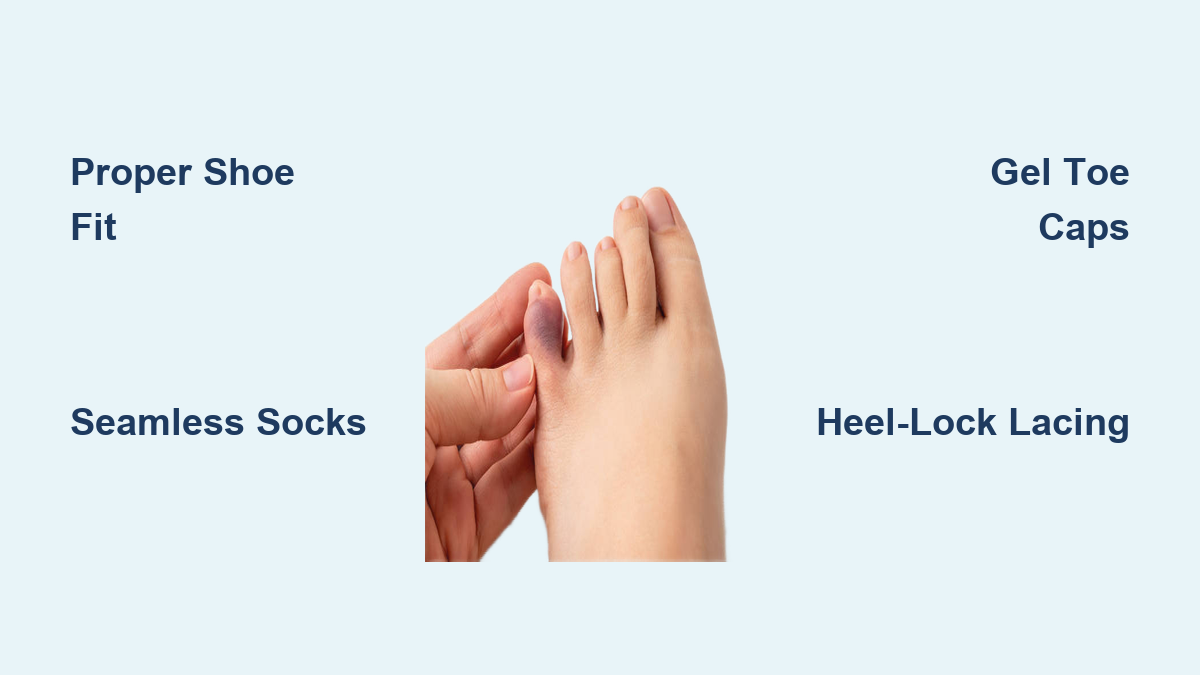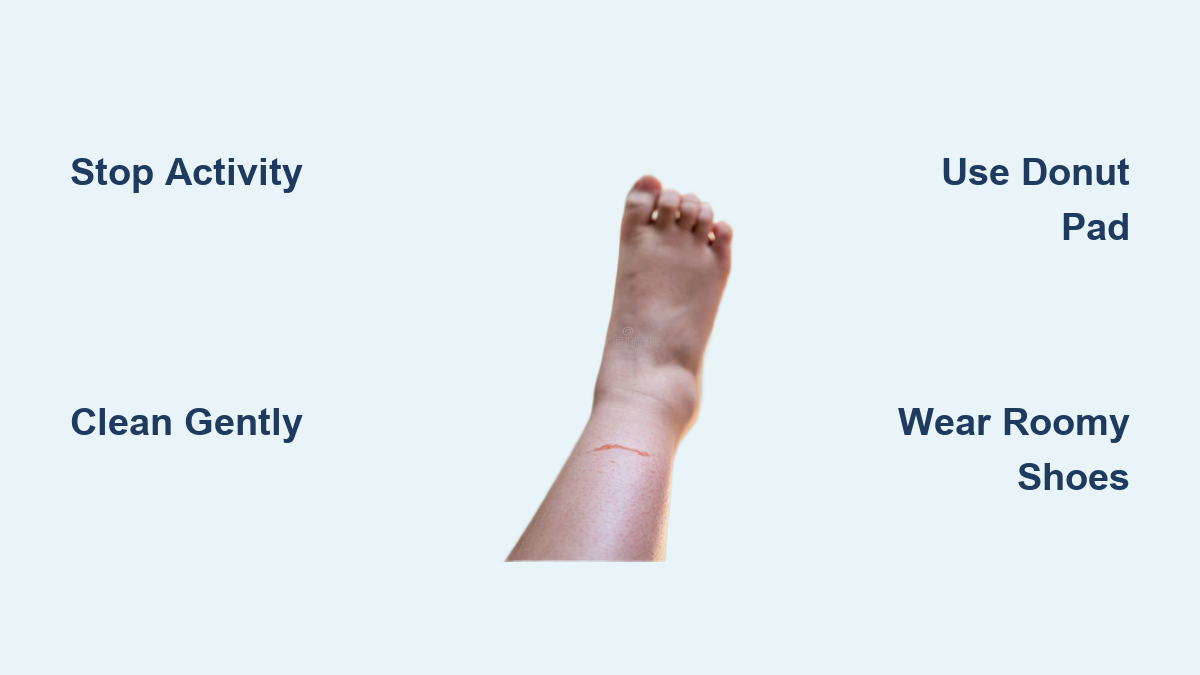
There’s nothing worse than finishing a long run, hike, or day on your feet only to discover a hot, tender spot between your toes. Interdigital blisters—those painful bubbles that form between toes—are among the most stubborn and uncomfortable foot issues athletes, hikers, and even daily walkers face. Unlike blisters on the heel or ball of the foot, these develop in a tight, moist environment where skin rubs directly against skin, often leading to prolonged pain and slow healing.
The root cause? Friction between toes, amplified by moisture, poor footwear, and toe alignment. But here’s the good news: you don’t have to suffer. With the right strategies, you can stop toe blisters before they start. This guide delivers 10 proven, science-backed methods to reduce friction between toes, drawing from biomechanics, materials science, and real-world endurance experience. You’ll learn exactly what to wear, how to prep your feet, and which tools work best—so you can walk, run, and stand pain-free.
Choose the Right Socks to Eliminate Skin-on-Skin Contact
Wear Toe Socks Like Injinji for Maximum Protection
The most effective way to stop interdigital friction is to put a barrier between your toes—and that’s exactly what toe socks do. Brands like Injinji feature individual sleeves for each toe, replacing skin-on-skin contact with a fabric-fabric interface, drastically reducing shear forces.
Made from moisture-wicking synthetics like polyester, nylon, or CoolMax, these socks pull sweat away, keeping the space between toes drier and less prone to maceration. Ultrarunners and thru-hikers rely on them during multi-day events to prevent chronic blisters. They’re especially effective for people with normal toe alignment who still develop true interdigital blisters from repetitive rubbing.
Pro tip: Break them in before race day. Some users need time to adjust to the “glove-like” feel, but most adapt within a few wears.
Try a Double-Sock System to Absorb Shear Forces
A double-sock setup uses a thin liner sock (such as Wrightsock) under a regular performance sock. The two layers slide against each other, absorbing friction before it reaches your skin. This system is proven in military and ultra-running studies to reduce blister incidence significantly.
It’s especially helpful for runners who slide forward in their shoes, increasing pressure on the toes. However, it adds slight bulk—make sure your footwear has enough room to avoid compression. And never pair this with cotton socks, which absorb sweat and stay wet, softening skin and increasing tear risk.
Use Protective Foot Devices to Separate and Cushion Toes

Insert Gel Toe Wedges to Stop True Interdigital Blisters
Gel toe wedges are soft silicone or medical-grade gel inserts that slip between toes to physically separate them and cushion bony areas. They’re ideal for true interdigital blisters, where direct skin-on-skin friction causes painful rubbing.
Look for wedges made from low-shear modulus materials—they deform under pressure, absorbing impact and reducing force transmission. Available in multiple thicknesses, they work best in shoes with wide toe boxes. Thicker versions add more separation but may feel tight.
Caution: They can shift during activity, especially in wet or gritty conditions. Use them for short-to-moderate duration activities and check positioning mid-run.
Apply Gel Toe Sleeves or Caps for Full-Toe Protection
Unlike wedges, gel toe sleeves (like BlisterPod or Compeed) cover the entire toe in a protective, shock-absorbing layer. They’re excellent for pinch blisters, common in people with hammertoes or curled toes where one toe gets repeatedly compressed.
These sleeves provide 360-degree protection, shielding the sides, tip, and underside of the toe. Elasticized edges help them stay in place better than wedges. However, some users report maceration after 6+ hours due to trapped moisture.
Expert insight: One ultramarathoner wore a gel sleeve continuously for 144 hours (6 days) without issues—proving high tolerance in some individuals, though results vary.
Try Custom Otoform K Wedges for Severe Toe Deformities
For chronic issues like adductovarus or hammertoes, off-the-shelf solutions may fail. Otoform K is a moldable putty applied by a podiatrist while you’re standing, so it fits your foot’s natural shape under load.
It sets into a semi-rigid, flexible form that lasts 6+ months, redistributing pressure and gently repositioning curled toes. Ideal for recurring or treatment-resistant blisters, it requires professional fitting.
Drawback: It may feel stiff at first, but remains bendable during movement. Not a DIY solution—but highly effective for structural problems.
Reduce Friction with Taping and Lubrication

Tape Problem Toes Before Activity to Stabilize Movement
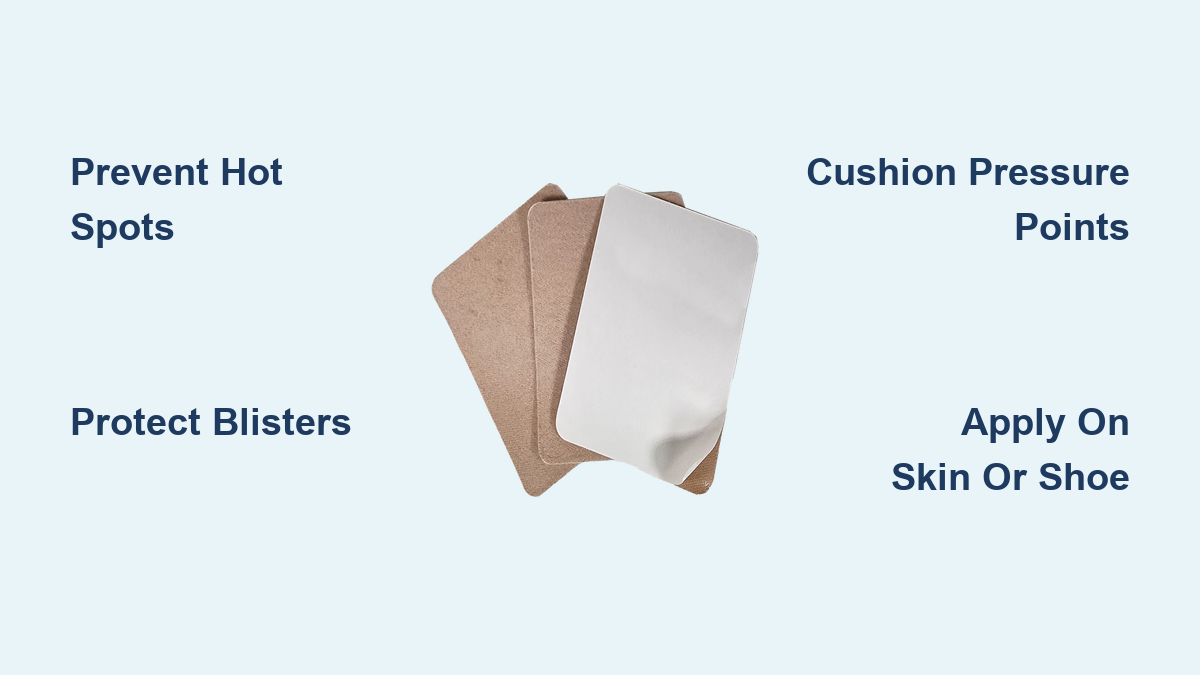
Pre-taping is a powerful proactive strategy to stabilize toes, reposition curled digits, or spread shear forces. Use Leukotape P, kinesiology tape, or moleskin on hot spots—before pain begins.
- For pinch blisters, tape the affected toe upward and outward to reduce compression.
- For interdigital blisters, wrap tape around two toes to limit movement—but avoid excessive tightness.
- Apply to clean, dry skin with rounded edges to prevent peeling.
Warning: Tape loses adhesion when wet. Sweat and moisture can cause it to stretch or loosen within hours. Once a hotspot forms, it’s often too late—tape before pain, not after.
Use Anti-Chafe Balms and Lubricants for Short-Term Relief
Products like Body Glide, Trail Toes, or petroleum jelly reduce the initial coefficient of friction between toes.
Apply generously to known hot spots before putting on socks. Works well for short runs or walks (under 90 minutes).
But beware: research shows that after about 90 minutes, lubricated skin can become more slippery than bare skin, increasing shear and maceration risk. Overuse may soften skin, making it more vulnerable.
Best use: Short-term relief or in combination with other methods (e.g., toe socks + light glide).
Optimize Footwear Fit to Reduce Toe Pressure
Ensure Proper Shoe Length and Width
Ill-fitting shoes are a leading cause of toe blisters. Even minor compression or slippage multiplies friction over thousands of steps.
- Follow the thumb’s width rule: Leave about 1 cm between your longest toe and the shoe end.
- Shop in the afternoon when feet are naturally swollen.
- Check width—many people have normal length but wide forefeet, requiring wider toe boxes.
Signs of poor fit:
– Toes jamming forward on downhill runs
– Numbness or tingling
– Visible toe creases in the shoe upper
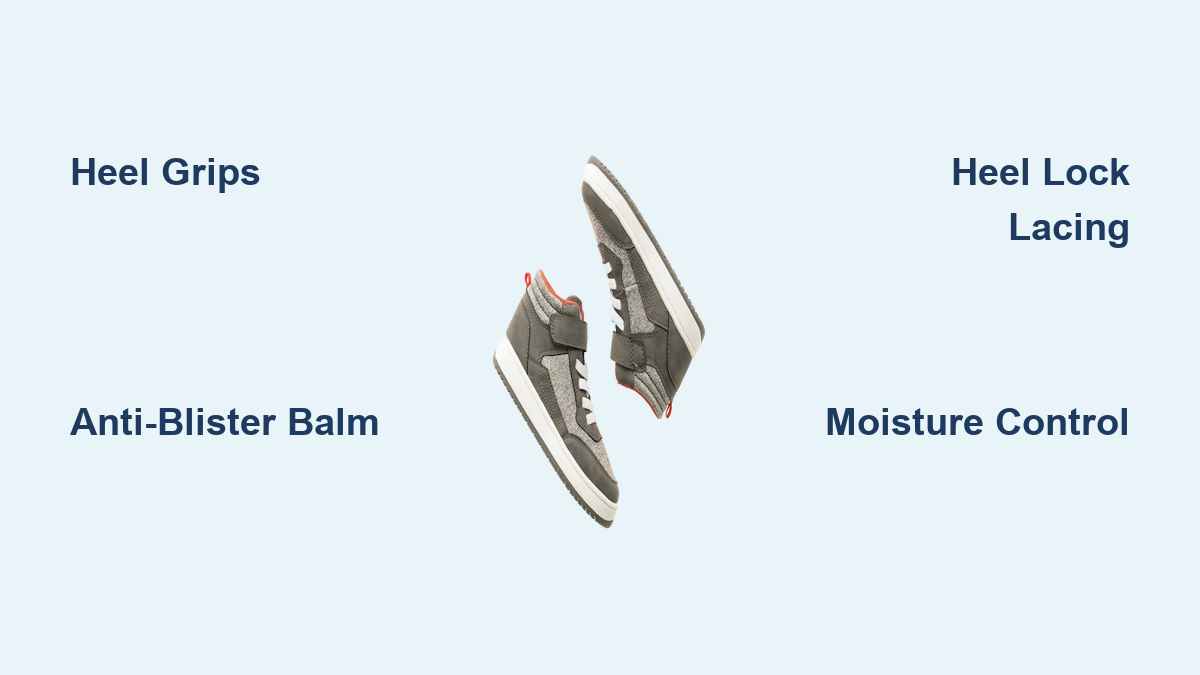
Use Smart Lacing Techniques to Lock in Your Foot
Proper lacing can transform shoe performance and reduce toe pressure.
Heel Lock (Runner’s Loop)
- Prevents heel slippage, which causes the foot to slide forward and jam toes.
- How to do it: After the second-to-last eyelet, loop laces back, cross, and thread through the opposite loop before tying.
Parallel Lacing
- Reduces pressure across the forefoot—ideal for wide feet or high arches.
- Skip crisscrossing in the front eyelets; lace straight across instead.
Result: More secure fit, less toe movement, fewer blisters.
Control Moisture to Prevent Skin Maceration
Apply Antiperspirant at Night to Reduce Sweating
Excessive sweating (hyperhidrosis) turns the space between toes into a moist, macerated zone where skin weakens rapidly.
Use clinical-strength antiperspirants like CertainDri or Drysol (with aluminum chloride). Apply to clean, dry feet at night, 2–3 times per week. It reduces sweat production by blocking sweat glands.
Note: Don’t apply to broken or irritated skin—can cause stinging.
Use Talc-Free Foot Powder to Absorb Dampness
Powders like Gold Bond or Zeasorb absorb moisture and reduce dampness inside socks and shoes.
Apply to feet, inside socks, and shoe interiors. Choose talc-free formulas to avoid respiratory risks.
Best when combined with moisture-wicking socks and antiperspirant for a multi-layer dryness strategy.
Support Healthy Skin and Nails to Resist Blisters

Trim Toenails Straight Across to Avoid Pressure
Long or curved toenails can press into adjacent toes or shoe material, increasing pressure and friction.
- Cut straight across, not too short.
- Avoid rounding corners to prevent ingrown toenails.
- File edges gently to smooth sharp corners.
Moisturize and Exfoliate Regularly for Resilient Skin
Healthy skin resists blisters better than dry, cracked, or overly soft skin.
- Use urea-based creams (10–20%) to maintain smooth, resilient skin.
- Exfoliate with a pumice stone to remove calluses that can crack or rub.
- Hydrated skin is more elastic and less likely to tear under shear.
Avoid over-moisturizing between toes—can lead to maceration. Apply moisturizer to the top and bottom, not the crevices.
Carry a Blister Prevention Kit for Fast Intervention
Even with the best prep, hot spots can develop. Be ready with a blister first aid kit:
- Gel toe sleeve or wedge – immediate protection
- Leukotape or kinesiology tape – for taping hot spots
- Body Glide or anti-chafe balm – quick friction reduction
- Hydrocolloid blister bandage – seals and cushions if a blister forms
- Spare moisture-wicking socks – change if feet get wet
Pro tip: Place kit in a small ziplock—lightweight and easy to stash in a pack or pocket.
Know When to See a Doctor for Persistent Issues
Most toe blisters heal on their own—but some need medical attention.
Seek help if you have:
– Pus, redness, warmth, or fever – signs of infection
– Large blisters (>2.5 cm) or blood-filled blisters with dark fluid
– Recurrent blisters without clear cause – could signal diabetes, tinea, eczema, or autoimmune conditions
– Diabetes or poor circulation – even minor blisters require professional care due to high infection and ulcer risk
See a podiatrist for structural issues (e.g., hammertoes), custom devices, or persistent pain.
See a dermatologist if blisters are due to fungal, allergic, or skin conditions.
Healing and Aftercare: What to Do If a Blister Forms
Leave Blisters Intact to Speed Recovery
Never pop a blister. The roof of skin acts as a natural barrier, protecting new tissue underneath.
- Intact blisters heal faster and with lower infection risk.
- Cover with a hydrocolloid dressing to cushion and promote healing.
If a Blister Breaks
- Wash the area with soap and water.
- Apply antibiotic ointment (e.g., Neosporin).
- Cover with sterile gauze or hydrocolloid bandage.
- Do not peel off dead skin—it shields the wound.
Healing Timeline
- Small, intact blisters: 3–7 days
- Large or ruptured blisters: Up to 2 weeks
- Healing is faster with friction-free protection and clean care
Summary: Best Ways to Prevent Toe Blisters
| Method | Best For | Key Benefit | Limitation |
|---|---|---|---|
| Toe socks (Injinji) | Skin-on-skin friction | Eliminates direct contact | May feel tight |
| Gel toe wedges | True interdigital blisters | Separates and cushions | Can shift during use |
| Gel toe sleeves | Pinch blisters | Full-toe protection | Risk of maceration |
| Otoform K | Curled or deformed toes | Custom, long-lasting fit | Needs podiatrist |
| ENGO patches on socks | Rescue during events | Ultra-low friction | Temporary, costly |
| Pre-taping | Known hot spots | Immediate stabilization | Loses adhesion when wet |
| Lubricants | Short activities | Easy application | Less effective after 90 mins |
| Double socks | High-mileage use | Shifts friction to sock layer | Adds bulk |
| Moisture control | Sweaty feet | Prevents maceration | Requires consistency |
| Proper shoe fit | All users | Addresses root cause | Needs careful selection |
Final Tip: Prevention beats treatment every time. Combine proper footwear, moisture-wicking socks, and targeted protection (like toe sleeves or wedges) to stop friction before it starts. Whether you’re running 100 miles or standing all day, these strategies will keep your toes blister-free and your feet moving strong.