There’s nothing quite as mortifying as walking into a quiet office, library, or meeting room—only to announce your presence with an unmistakable squeak, squeak, squeak with every step. That high-pitched noise might seem minor, but it’s impossible to ignore once it starts. The good news? You don’t have to live with squeaky shoes when walking. In most cases, the fix is simple, fast, and requires nothing more than items you already have at home.
Squeaking isn’t usually a sign of a broken or defective shoe. More often, it’s caused by friction between layers, trapped air, moisture buildup, or even dry leather. The key to silence is diagnosing the source of the sound—whether it’s under the insole, on the sole, or in the upper material. This guide gives you proven, step-by-step fixes backed by users, shoe experts, and manufacturers like HANWAG. You’ll learn exactly how to fix squeaky shoes when walking—safely, effectively, and without damaging your favorite pair.
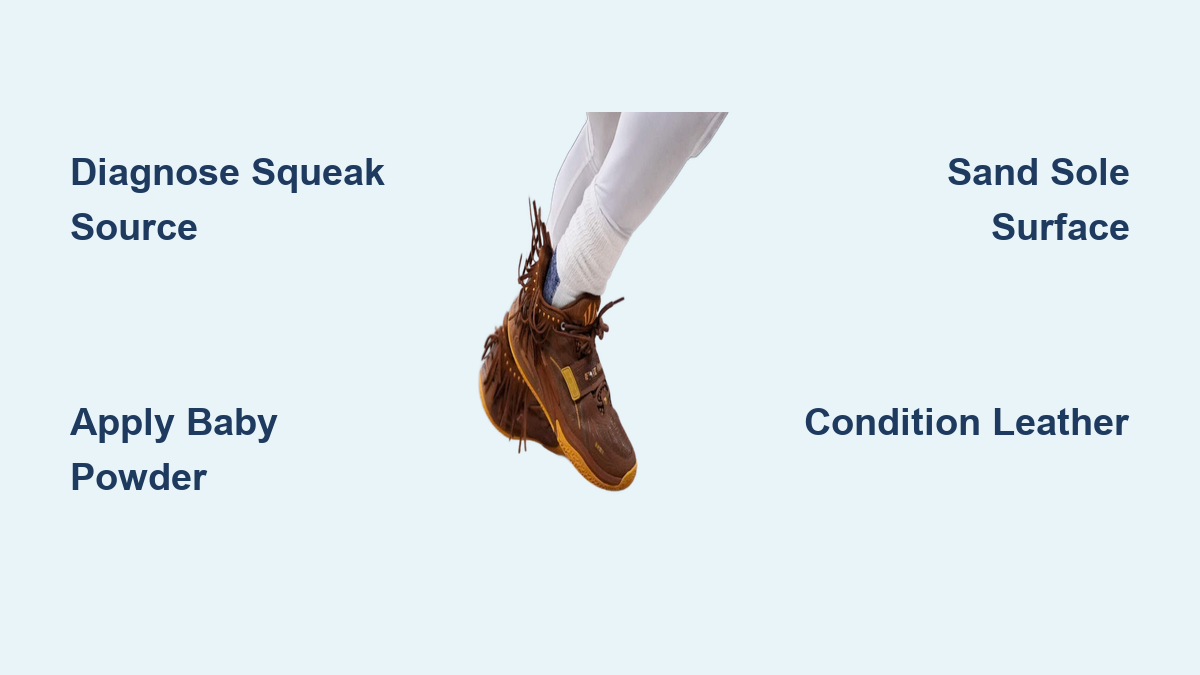
Diagnose the Source of the Squeak First

Before applying any fix, isolate where the noise comes from. Applying the wrong solution wastes time and may even make the squeak worse.
Remove the Insole to Test for Internal Friction
Take out the insole and walk barefoot on the shoe’s midsole.
– If the squeak stops: The issue is between the insole and shoe bed.
– If it continues: The problem lies in the sole, heel, or upper structure.
This is the fastest way to rule out insole friction—one of the most common causes.
Press and Twist the Sole to Check for Trapped Air
With the shoe off your foot, press down on the heel and twist the sole side to side.
– A squeaky crunch indicates trapped air or delamination in the sole layers.
– This is often a manufacturing defect and may be covered under warranty—especially in brands like Hoka, On Cloud, or Adidas.
🛠️ Expert Insight: “Very occasionally, air gets trapped inside the sole during production. This is a guarantee issue.”
— Florian Kern, HANWAG Service Head
Walk on Different Surfaces to Identify Floor-Related Squeaks
Test your shoes on tile, hardwood, carpet, and concrete.
– Squeaks only on smooth floors? It’s likely rubber sole gripping and releasing—not a defect.
– Squeaks everywhere? The cause is internal: friction, moisture, or material stiffness.
Knowing this helps you skip unnecessary fixes and target the real problem.
Fix Insole Friction Squeaks (Most Common Cause)
When the insole rubs against the shoe bed, it creates a high-pitched squeak with every step. These fixes target that exact issue.
Sprinkle Baby Powder or Talcum Powder Inside
Remove the insole and generously sprinkle talcum powder, baby powder, or cornstarch into the shoe cavity.
– Reinsert the insole and walk around to distribute the powder.
– How it works: The powder acts as a dry lubricant, reducing friction.
– Best for: Sneakers, athletic shoes, and orthopedic footwear.
– Duration: 1–2 weeks; reapply after heavy use or washing.
💡 Pro Tip: Gold Bond powder (green bottle) is a user favorite for long-lasting results.
⚠️ Avoid in waterproof shoes (e.g., Gore-Tex)—powder can clog breathable membranes.
Insert a Dryer Sheet or Paper Towel
Cut a dryer sheet or paper towel to fit under the insole.
– How it works: Creates a smooth, non-slip barrier that stops rubbing.
– Bonus: Dryer sheets leave a light, pleasant scent.
– User-confirmed: Recommended by foot doctors for patients with orthotics.
Replace when damp or worn. This is a safe, temporary fix for most shoe types.
Apply a Thin Layer of Coconut Oil or Vaseline
Rub petroleum jelly (Vaseline) or solid coconut oil on the bottom of the insole.
– Why it works: Oils reduce friction and condition materials. Coconut oil lasts longer than powder.
– Best for: Leather shoes, stiff sneakers, and work boots.
– Caution: Use sparingly—too much can attract dirt or weaken adhesives.
Let absorb for 1–2 hours before wearing. Reapply every few weeks.
Tape the Bottom of the Insole with Painter’s Tape
Apply painter’s tape or masking tape (smooth side up) to the entire underside of the insole.
– How it works: Creates a smoother surface, eliminating friction.
– Long-term fix: Lasts weeks to months until tape wears out.
✅ Source: Recommended by New Balance Product Support for performance shoes.
Glue a Loose Insole Edge Back Down
If the insole peels at the edges, apply a small amount of Crazy Glue or shoe glue to the lifted area.
– Press firmly and let dry overnight.
– Result: Permanent fix for insole movement.
– Warning: Avoid over-gluing—this can make future insole removal impossible.
Silence Outsole Floor Squeaks (Smooth Floors Only)

If your shoes squeak only on tile or hardwood, the rubber sole is gripping and releasing—not broken.
Lightly Sand the Sole with Fine-Grit Sandpaper
Use 220–400 grit sandpaper to gently roughen the heel and ball of the foot.
– How it works: Breaks the “stick-slip” friction causing the squeak.
– Bonus: Improves traction on wet or polished floors.
🛠️ User Tip: “Be careful not to take the whole sole off… that would be sad.”
— JGTaylor
Avoid deep sanding—this shortens sole life.
Sand Off the Glossy Coating on New Dress Shoes
Many new dress shoes have a thin black paint layer that causes squeaks.
– Use sandpaper to rub it off until natural rubber appears.
– Result: Eliminates squeak and improves grip.
💬 “It’s only a thin layer… you’ll see it peeling off as you sand.”
— Mafu
Rub a Bar of Soap on the Sole
Take a plain bar of soap (hotel-sized works) and rub it across the entire sole.
– How it works: Mild lubrication reduces floor friction.
– Duration: 1–2 weeks; reapply after rain or heavy use.
– Bonus: Leaves a fresh scent and improves wet-floor safety.
💬 “I keep the bar in my desk drawer. Smells good, and works great.”
— BarefootIsBest
Use Silicone Spray or Rubber Sole Spray
Spray a small amount of silicone spray (like WD-40 Specialist Silicone) on the sole.
– Wipe off excess to avoid slipperiness.
– Best for: Temporary fixes or testing sole-related squeaks.
– Duration: A few days to a week.
⚠️ Caution: Can make soles slippery—avoid on suede or climbing shoes.
Test with Duct Tape (Diagnostic Hack)
Place a small piece of duct tape on the sole’s bottom.
– Walk around. If the squeak stops, the issue is sole-to-floor friction.
– Next step: Visit a cobbler for resoling or traction coating.
This is a quick diagnostic tool, not a long-term fix.
Stop Tongue and Upper Material Squeaks

If the noise comes from the top of the shoe, it’s likely dry leather or lace friction.
Lubricate the Tongue and Collar with Vaseline or Hand Cream
Apply Vaseline, hand cream, or leather conditioner to the inner collar and tongue.
– Focus on areas where leather rubs against laces.
– Result: Softer material, reduced friction, no squeak.
– Reapply after cleaning or heavy wear.
✅ Expert Advice: “Apply a small amount of hand cream to the leather cuff.”
— Florian Kern, HANWAG
Clean and Condition with Saddle Soap
Unlace the shoe and apply saddle soap with a damp cloth to the tongue and upper.
– Lather gently, then let dry completely before wearing.
– Effect: Conditions leather, prevents future creaking.
Alternative: Use leather conditioner if saddle soap isn’t available.
Add Felt or Moleskin Under the Tongue
Cut a piece of felt or moleskin to fit under the tongue.
– How it works: Creates a soft buffer between laces and tongue.
– Best for: New boots or stiff leather shoes.
Replace when worn thin.
Fix Dry or Creaking Leather Shoes
Leather loses moisture over time, becoming stiff and prone to creaking.
Condition Leather Every 4–6 Weeks
Use leather conditioner or HANWAG Shoe Wax.
– Apply in small circles, focusing on flex points (toe box, heel).
– Frequency: Every 4–6 weeks with regular use.
❌ Never use cooking oil or grease—they block pores and reduce breathability.
— HANWAG Warning
Never Dry Leather Shoes with Heat
Avoid radiators, heaters, or ovens.
– Correct method: Air-dry at room temperature with newspaper or a shoe tree.
– Why: Heat dries out leather, cracks glue, and warps soles.
Eliminate Moisture-Related Squeaks
Sweat, rain, or humidity can cause temporary squeaks.
Dry Shoes Thoroughly with Newspaper
Remove insoles and stuff shoes with crumpled newspaper or silica gel packets.
– Place in a well-ventilated area for 12+ hours.
– Use a fan or cool hair dryer setting to speed drying.
– Never use high heat—it damages glue and leather.
Use Powder to Absorb Residual Dampness
After drying, sprinkle talcum powder inside to absorb leftover moisture.
– Let sit overnight, then shake out excess.
– Prevents odor and friction-based squeaks.
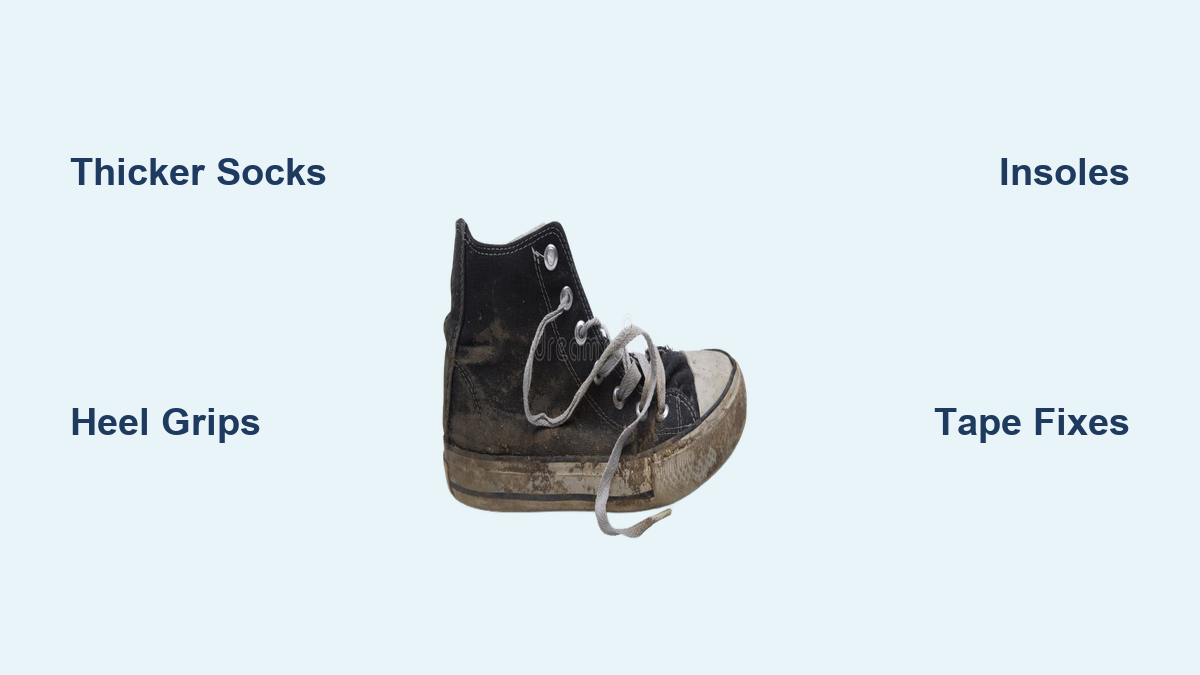
Fix Heel Slippage and Poor Fit
If your heel lifts with each step, it can create a tap-squeak sound.
Wear Thicker Socks or Grippy No-Show Socks
Switch to thicker socks or socks with silicone grips.
– Fills extra space in oversized shoes.
– Reduces foot movement and friction.
Add a Heel Wedge or Footbed
Use gel heel grips or foam heel wedges (available at pharmacies).
– Stick inside the heel collar to prevent slippage.
– Footbeds improve overall fit and stability.
Insert Napkins or Dryer Sheets Under the Insole
Place a napkin or dryer sheet under the insole to reduce movement.
– Quick fix for slightly loose shoes.
– Replace regularly to avoid odor buildup.
Avoid Risky DIY Fixes That Damage Shoes
Some popular hacks can do more harm than good.
| Risky Fix | Why to Avoid | Safer Alternative |
|---|---|---|
| Cooking oil | Clogs pores, stains fabric | Coconut oil or leather conditioner |
| Hairspray on soles | Sticky residue, slip hazard | Soap rub or sanding |
| Bleach | Corrodes materials, weakens glue | Skip—no benefit |
| Baby powder in waterproof shoes | Blocks breathable membranes | Use dryer sheets instead |
| High-heat drying | Warps glue, cracks leather | Air-dry with newspaper |
When to Replace or Repair Instead of Fix
Some squeaks mean it’s time for professional help—or retirement.
Signs to Let Go
- Sole separating from the upper.
- Glue cracking or layers delaminating.
- Trapped air confirmed by twisting test—contact manufacturer.
- Multiple fixes failed—likely structural wear.
🛠️ Final Tip: “If none of these methods work, the shoe may have structural wear—time to let it go.”
— Article 2
For permanent fixes:
– Visit a shoe repair shop for resoling.
– File a warranty claim if the shoe is new.
Prevent Future Squeaks with Smart Habits
Keep your shoes silent with simple routines.
- Break in new shoes at home to soften stiff materials.
- Rotate shoes—give them 24–48 hours to dry between uses.
- Store with shoe trees or newspaper to absorb moisture.
- Condition leather monthly—every 4–6 weeks for frequent wear.
- Test one fix at a time—walk test before adding another.
Summary: Best Fixes by Cause
| Cause | Best Fix | Duration | Safety |
|---|---|---|---|
| Insole friction | Baby powder or coconut oil | Medium–Long | ✅ Safe |
| Outsole squeak | Sanding or soap rub | Medium | ✅ Safe |
| Tongue rubbing | Vaseline or saddle soap | Medium | ✅ Safe |
| Dry leather | Leather conditioner | Long | ✅ Safe |
| Moisture | Dry with newspaper + powder | Immediate | ✅ Safe |
| Trapped air | Contact manufacturer | Permanent | 🛠️ Warranty |
| Poor fit | Heel wedge or thicker socks | Immediate | ✅ Safe |
Squeaky shoes don’t have to ruin your stride. With the right diagnosis and fix, you can walk in silence—confidently and comfortably. Start with non-invasive methods like powder or conditioning, and move to permanent solutions like sanding or gluing only if needed. Always consider your shoe’s material and construction. In most cases, a simple fix is all it takes to silence the squeak for good.