")


You slip on a fresh pair of shoes—stylish, supportive, and precisely your size—only to feel a hot spot developing on your heel after just a short walk. Within hours, it’s a full-blown blister. It’s a frustrating experience millions face every year, and it’s not just about tight shoes or poor break-in. The real reason new shoes cause blisters on the heel lies in repeated internal shear, an invisible force that damages skin from the inside out.
Even if your shoes seem to fit perfectly, micro-movements of your heel inside the shoe create friction and tension between skin layers. This leads to tiny tears beneath the surface, triggering fluid buildup and blister formation. According to research from the University of Salford, some people develop blisters in as little as four minutes of walking—not from rubbing, but from this hidden mechanical stress.
The good news? Heel blisters aren’t inevitable. They’re preventable with the right knowledge. In this guide, you’ll discover the true causes of heel blisters—from shoe fit and materials to foot anatomy and moisture—and learn proven, science-backed strategies to stop them before they start. Whether you’re breaking in dress shoes, hiking boots, or sneakers, these solutions will help you walk comfortably from day one.
Heel Movement Creates Shear Damage

Internal Slippage Tears Skin Layers
Every time your foot strikes the ground, your heel moves slightly inside the shoe. In new footwear, especially stiff or poorly secured ones, this motion can reach up to 15 mm of displacement—far more than most realize. That movement doesn’t just rub the skin; it creates shear stress, where the outer layer of skin stretches and slides over deeper tissues.
Unlike surface abrasions, blisters form underneath the skin. Repeated shear causes micro-tears in the epidermis, prompting the body to fill the gap with fluid. This process can begin within minutes, turning a harmless hotspot into a painful blister.
The worst part? You may not even feel it happening. The damage occurs below the surface, often without noticeable rubbing—making prevention essential.
Vertical Lift Grinds the Heel Against the Shoe
As your foot rolls through each step, the heel lifts during push-off and slams back down at the next stride. If the shoe doesn’t lock the heel securely, this up-and-down motion grinds the back of your heel against the rigid heel counter.
Over thousands of steps, this repetitive impact:
– Softens and weakens the skin
– Increases vulnerability to tearing
– Accelerates blister formation
Even slight heel lift becomes problematic over time, especially during long walks, hikes, or all-day wear.
Poor Fit Increases Heel Slippage

Shoes That Are Too Big Allow Excessive Motion
A shoe that’s slightly oversized may feel roomy and comfortable at first—but that extra space lets your heel bounce with every step. This is common in loafers, flats, and slip-ons, which lack laces to secure the ankle.
Even 3–4 mm of heel slip is considered acceptable, but beyond that, the risk of blisters rises dramatically.
Quick test: Walk on a hard floor in the store. If you hear your heel tapping, it’s too loose.
Shoes That Are Too Small Force Forward Slide
Tight shoes compress the forefoot, pushing your toes forward. To compensate, your heel lifts higher during gait, increasing pressure and friction at the back.
This cycle is common with:
– Narrow lasts
– Pointed toes
– Shoes tried on early in the day (when feet are smaller)
The result? Your heel rubs against the counter with every step, creating the perfect conditions for a blister.
Mismatched Foot Shape Creates Pressure Points
Not all feet fit standard shoe molds. If your foot is wide, high-arched, or has a prominent heel, a mismatched last (the shoe’s internal form) causes pressure or gaps.
For example:
– A narrow last on a wide foot = lateral pressure and heel movement
– A stiff heel counter on a curved heel = friction hotspots
Expert tip: Try shoes later in the day when your feet are naturally swollen for the most accurate fit.
Stiff Materials Increase Friction
Rigid Uppers Resist Natural Foot Motion
New shoes made of leather, synthetic leather, or molded materials are often stiff out of the box. These rigid uppers don’t conform immediately, acting like sandpaper on your heel during the first few wears.
The heel counter and collar lining are frequent culprits. They need 10–15 days of gradual wear to soften and mold to your heel’s shape. Until then, every step adds friction—especially when combined with sweat.
Seams, Pull Tabs, and Rough Linings Rub the Skin
Internal construction details can be surprisingly abrasive:
– Seams in the heel collar create raised ridges
– Pull tabs may be stiff or poorly placed
– Glue joints or rough linings add texture
These features are invisible externally but cause pinpoint blisters.
Fix: A cobbler can remove or smooth problematic tabs and seams.
Foot Anatomy Influences Blister Risk
Haglund’s Deformity Causes “Pump Bump”
Some people have a bony bump on the back of the heel—Haglund’s deformity—often aggravated by rigid shoe backs. This condition leads to:
– Chronic irritation
– Bursitis
– Recurrent blisters
It’s sometimes genetic or worsened by gait patterns.
Bony Prominences Catch Friction
Even without Haglund’s, many have natural bony protrusions on the side or back of the heel. These spots make first contact with the shoe, becoming prime blister zones. Blisters often form off-center, not in the middle.
Skin Sensitivity Varies by Individual
Some people have fragile skin due to:
– Thin epidermis
– Collagen disorders
– Genetic conditions like epidermolysis bullosa
User insight: “I get blisters even in properly sized shoes because of a collagen issue.” — nychtovile
If your skin blisters easily, friction control is non-negotiable.
Gait Issues Amplify Heel Motion
How you walk affects heel stability:
– Overpronation increases foot movement
– Supination concentrates pressure on the outer heel
– Overstriding increases impact at heel strike
Shorter strides and higher cadence reduce shear and protect your heels.
Moisture Softens Skin and Increases Friction
Sweat Reduces Skin Strength
Moisture from sweat softens the outer skin layer, making it twice as susceptible to shear as dry skin. As your feet warm up:
– Sweat builds up
– Socks lose shape
– Friction spikes
This creates a perfect storm for blisters, especially in non-breathable shoes.
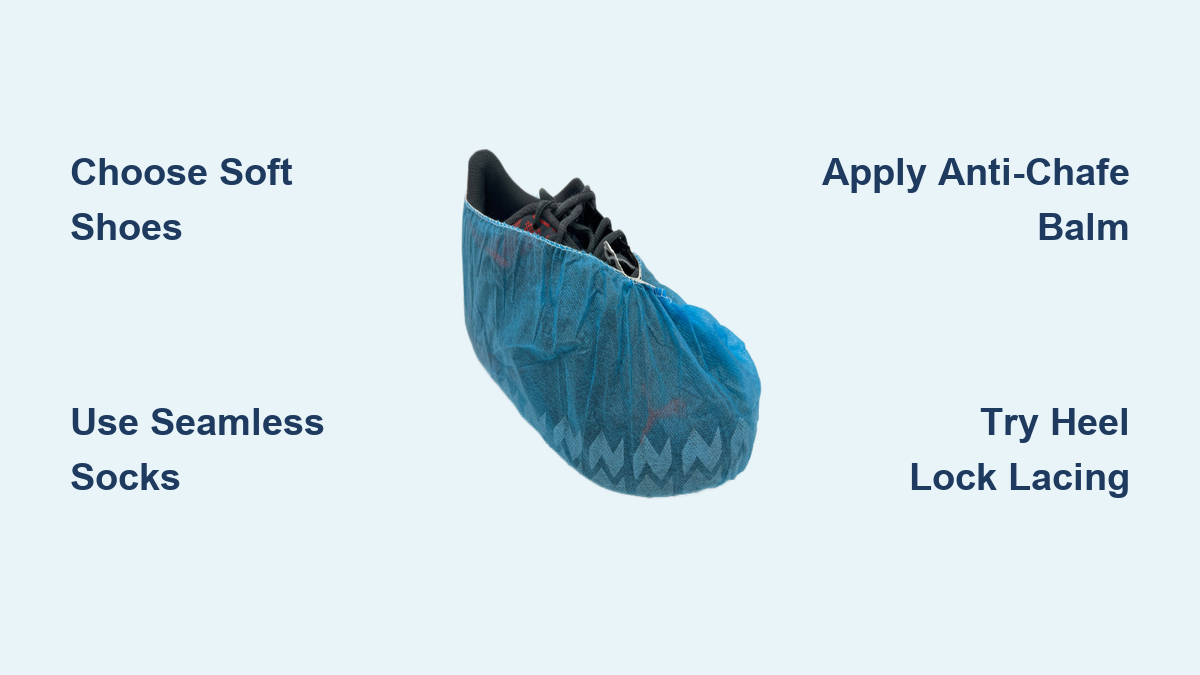
Cotton Socks Trap Moisture
Cotton absorbs sweat but doesn’t wick it away. Once wet, it stays damp, increasing friction.
Better options:
– Merino wool – wicks moisture, resists odor
– Synthetic blends (CoolMax, Olefin) – dry quickly
– Double-layer socks – absorb shear between layers
Pro tip: “Wearing two thin socks reduces blisters.” — rainbowkey
Prevent Heel Blisters Proactively

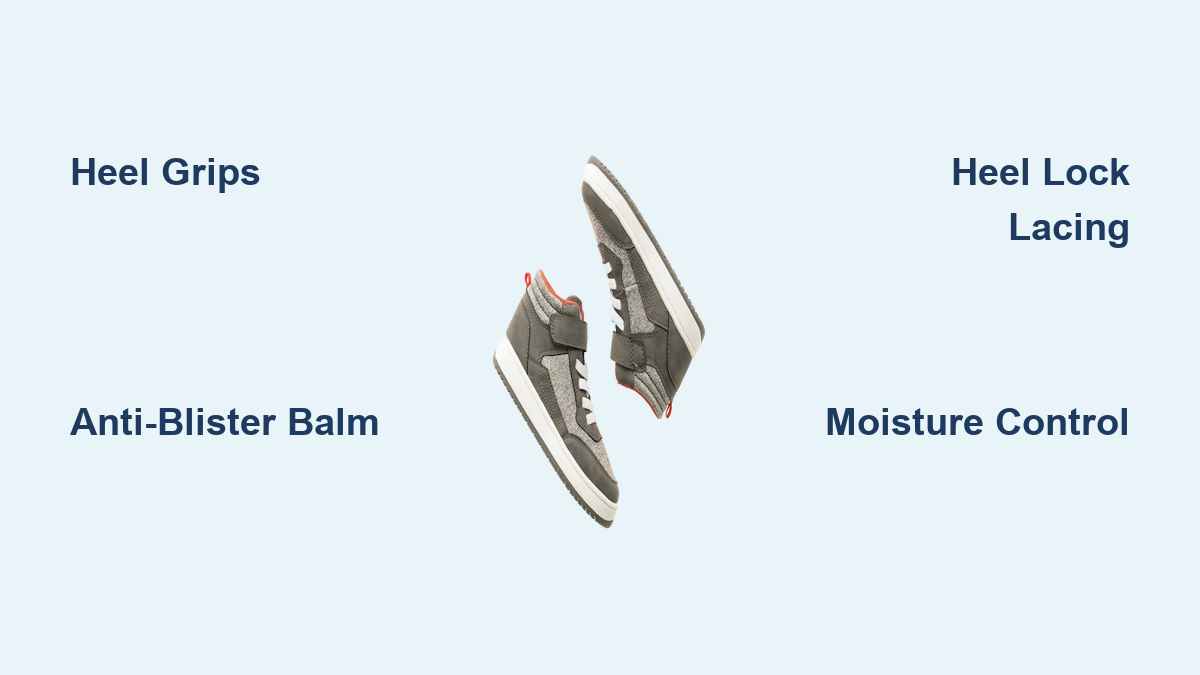
Lock the Heel with Runner’s Loop Lacing
The heel-lock lacing technique stabilizes the ankle and prevents heel lift in laced shoes.
Steps:
1. Lace normally to the second-to-last eyelet.
2. Create a loop with each lace end.
3. Pass the lace through the opposite loop and pull tight.
4. Lace through the top eyelet and tie.
This creates a secure “pocket” around the heel.
Best for: Running shoes, hiking boots, sneakers.
Add Volume to Stop Slippage
Use Thicker, Moisture-Wicking Socks
Adds bulk to fill heel space—avoid thick cotton, which compresses and stays wet.
Upgrade to High-Volume Insoles
Replace flat insoles with supportive ones like:
– Superfeet Green/Orange – deep heel cup
– PowerStep – cushioned arch and heel
These lift the foot, reduce heel drop, and improve fit.
Lifespan: Up to 2 years with daily use.
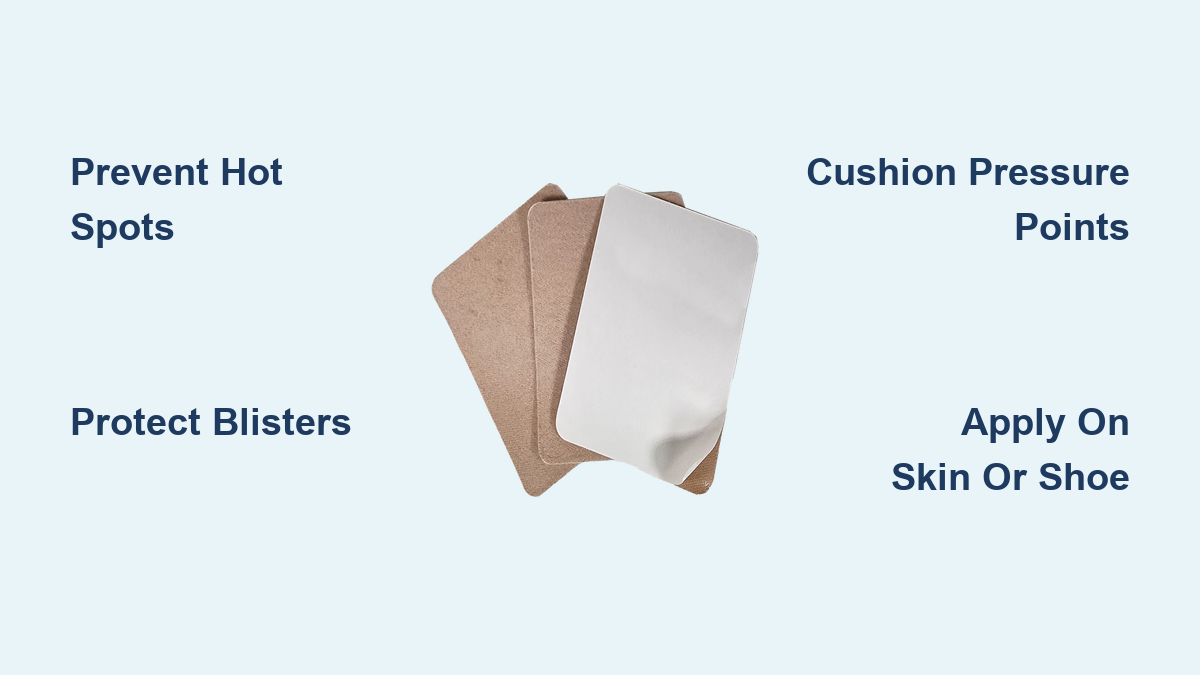
Apply Friction-Reducing Patches
ENGO Blister Patches (Inside the Shoe)
Ultra-thin PTFE (Teflon) patches applied inside the shoe—not on your skin.
Benefits:
– Lasts 3–6 months
– Sweat-proof and invisible
– Reduces friction by up to 80%
– Ideal for chronic blisters
Expert endorsement: “The most effective prevention for heel blisters.” — Rebecca Rushton
Use ENGO Heel Packs for easy, pre-cut application.
PelliTec Silicone Pads
Adhesive pads cushion pressure points.
Pros:
– Repositionable
– Works on heel and toes
Cons:
– Edges may feel bulky
– Less durable than ENGO
Protect Skin with Barrier Methods
Use Blister Wool
Pedag Wool is natural sheep’s wool placed inside your sock over the heel.
It:
– Absorbs shear
– Cushions the area
– Breathes well
Replace daily. Great for travel.
Apply Anti-Blister Balm
Balms like BodyGlide or Squirrel’s Nut Butter create a slick barrier.
Pros:
– Easy to apply
– Reusable
Cons:
– Wears off with sweat
– Less effective than mechanical fixes
Tape High-Risk Areas
Use Fixomull Stretch or RockTape to distribute shear.
Warning: Many still blister under tape. It helps but isn’t foolproof.
Break In Shoes Safely
Wear at Home in Short Sessions
Don’t go for a 5-mile walk on day one.
Instead:
– Wear new shoes 30–60 minutes at home
– Gradually increase wear time
– Walk on hard floors to test heel lock
Allows the shoe to mold without damaging skin.
Use Heat to Soften Stiff Areas
Hairdryer method:
1. Wear thick socks.
2. Heat tight spots for 20–30 seconds.
3. Walk around while warm.
4. Let cool to set the new shape.
Caution: Use medium heat—never direct high heat on synthetics.
Freeze Water to Stretch Gently
Freeze method:
1. Fill two ziplock bags with water.
2. Place in shoes.
3. Freeze overnight.
Works well for leather and canvas.
Stuff with Damp Newspaper
Wet newspaper trick:
1. Crumple damp (not soaked) newspaper.
2. Pack tightly into shoes.
3. Leave for 6–12 hours.
Helps soften leather and slightly expand tight areas.
Treat Blisters Without Infection
Leave Blisters Intact
An unbroken blister protects the wound. Do not lance it.
Instead:
– Cover with a hydrocolloid patch (e.g., Compeed)
– Let it heal naturally
These patches:
– Create a moist healing environment
– Reduce pain
– Stay on for days
Care for Broken Blisters
If the blister bursts:
1. Wash with mild soap and water.
2. Apply antiseptic.
3. Cover with sterile gauze or blister plaster.
Monitor for signs of infection:
– Pus
– Redness
– Increasing pain
– Warmth
See a podiatrist if infection is suspected.
Final Note
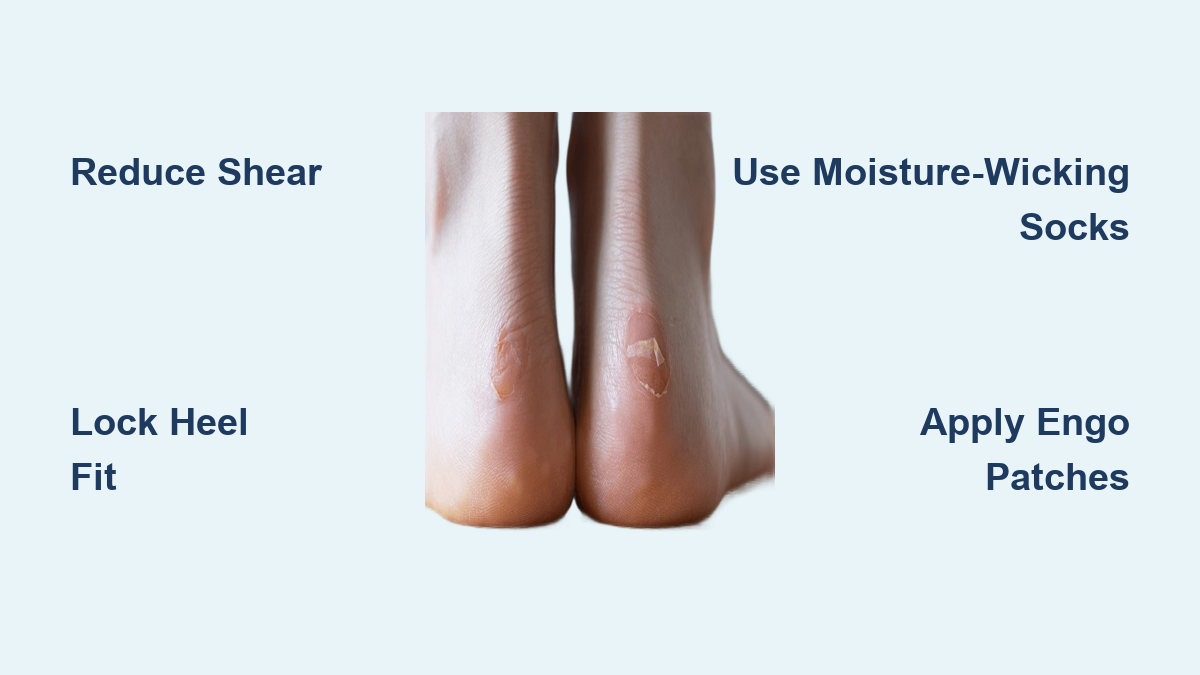
Blisters from new shoes are preventable—not a rite of passage. The real culprit is shear, not rubbing, and the solution lies in reducing internal heel movement and friction. By combining proper fit, smart lacing, moisture-wicking socks, and proven tools like ENGO patches, you can wear new shoes confidently—without a blister in sight.
Don’t accept pain as normal. With the right approach, your feet can stay comfortable from the very first step.