If you’ve ever felt the telltale sting of a hot spot forming on your heel during a long walk or noticed your new hiking boots rubbing a sensitive patch of skin raw, you know how quickly discomfort can turn into a full-blown blister. Left unchecked, that friction can lead to pain, infection, and even forced downtime from your favorite activities. One of the most trusted tools in the battle against blisters is the moleskin pad—a simple, soft, adhesive patch that’s been a staple in first aid kits for decades.
But what exactly is a moleskin pad for blister prevention, and how does it actually work? At its core, a moleskin pad is a thick, plush fabric patch with an adhesive backing, designed to protect high-friction areas on the feet and hands. Made from heavy cotton that’s been brushed to a velvety finish—similar to mole fur, hence the name—it acts as a cushioning barrier between your skin and shoes, socks, or gear. When applied correctly, moleskin absorbs shear forces, reduces pressure, and prevents blisters before they start.
In this guide, you’ll discover how moleskin works, where and when to use it, and the best techniques for applying it—whether you’re preventing hot spots or protecting an existing blister. You’ll also learn about different types of moleskin, real-world performance, and how to combine it with other blister-fighting strategies for maximum protection.
How Moleskin Reduces Friction and Prevents Blisters
Acts as a Protective Barrier Against Shear Forces
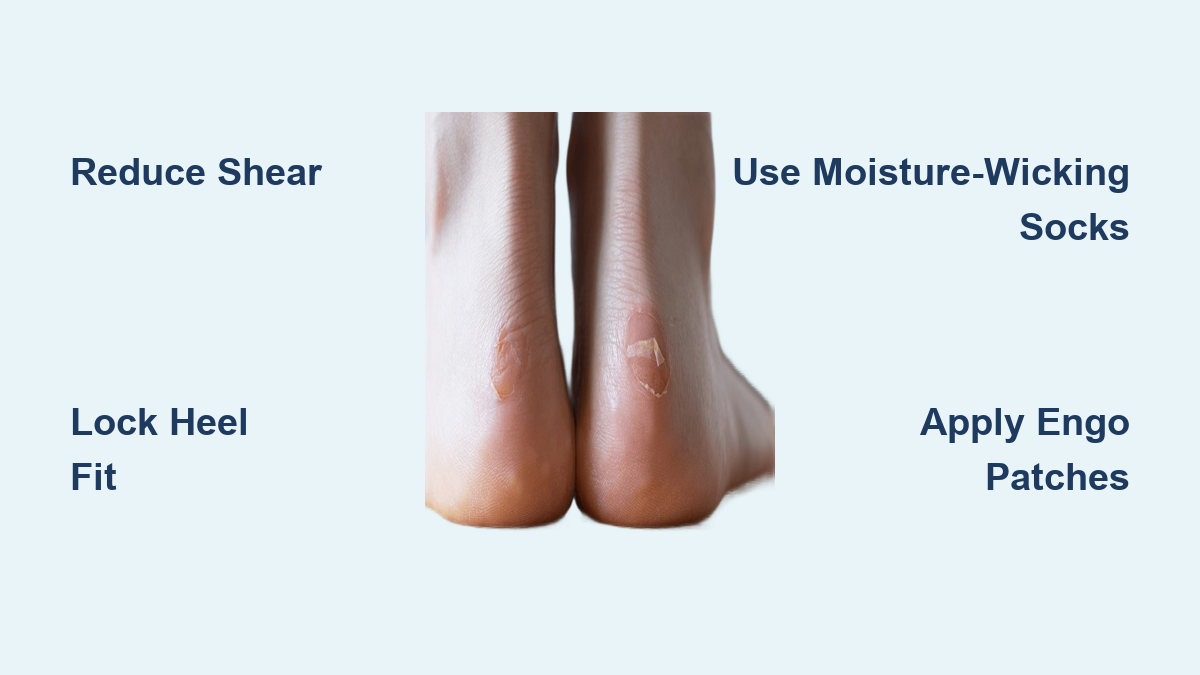
Blisters aren’t just caused by pressure—they’re primarily the result of repeated friction and shear forces that separate layers of skin, allowing fluid to accumulate. Moleskin works by creating a high-friction buffer between your foot and footwear, effectively stopping the rubbing before it damages the skin.
The soft, dense cotton fibers of moleskin absorb movement and distribute pressure evenly across the surface. Unlike regular bandages, which are thin and prone to bunching, moleskin is thick enough to withstand hours of walking, running, or hiking without tearing or shifting out of place. This makes it especially effective for long-duration activities like backpacking, marathons, or city sightseeing.
Cushions Pressure Points and Hot Spots
Even without excessive rubbing, concentrated pressure—like that from a stiff boot collar or tight shoe—can cause blisters over time. Moleskin adds targeted padding to high-stress zones such as the heel, ball of the foot, or little toe. This extra layer helps reduce localized pressure and prevents micro-tears in the skin.
For extra-sensitive areas, foam-backed or plus-padded moleskin versions offer enhanced cushioning. These are ideal for people with bony prominences, calluses, or those breaking in new shoes. The added thickness helps absorb impact and minimize discomfort, especially on uneven terrain or during repetitive motion.
How to Apply Moleskin Correctly

Prevent Blisters Before They Start
The best time to use moleskin is before a blister forms—ideally at the first sign of a “hot spot,” a warm or tender area on the skin. To apply:
1. Clean and dry the area thoroughly—avoid lotions or sweat.
2. Cut a piece slightly larger than the at-risk zone (e.g., heel, toe).
3. Apply directly to the skin or inside the shoe over seams or stiff areas.
4. Use a solid patch—no hole is needed for preventive use.
Common preventive zones include:
– Back of the heel
– Little toe (especially in tight sandals)
– Ball of the foot
– Top of toes
Pro Tip: Round the corners of the moleskin to prevent edges from snagging on socks or peeling off prematurely.
Protect Existing Blisters with a Doughnut Dressing
Never place moleskin directly over a blister. Doing so can cause the fragile skin to tear when you remove the pad, increasing the risk of infection.
Step-by-Step: Create a Blister Shield
-
Cut a ring shape:
– Take a piece of moleskin about ¾ inch larger than the blister.
– Fold it in half and cut a half-circle along the folded edge.
– Unfold to reveal a doughnut-shaped pad. -
Center the blister in the hole:
– Only healthy skin should contact the adhesive.
– The blister remains uncovered, fully protected from pressure. -
Add height if needed:
– If the blister is raised, layer additional moleskin underneath to prevent it from pressing against your shoe. -
Seal for drainage (if needed):
– If the blister has burst or been drained (using a sterilized needle), apply antiseptic first.
– Cover the open center with gauze or a small adhesive pad to keep it clean.
Bonus Tip: Place a piece of sterile gauze or toilet paper over a draining blister before applying the moleskin to prevent the adhesive from sticking to broken skin.
Where to Apply Moleskin: Skin, Shoes, or Socks?
On the Skin for Maximum Protection
Applying moleskin directly to the skin offers the most personalized and effective protection. It moves with your foot and stays exactly where you need it. Ideal for:
– Irregularly shaped hot spots
– Between toes
– Hands (e.g., weightlifting, rowing)
Ensure the skin is dry and free of oils for best adhesion.
Inside Footwear to Prevent Rubbing
You can also apply moleskin inside shoes, boots, or sandals over seams, stiff collars, or narrow heel counters. This is especially useful when:
– Breaking in new footwear
– Dealing with factory stitching that rubs
– Avoiding direct skin contact (e.g., for sensitive skin)
This method keeps the adhesive away from your skin while still reducing friction at the source.
On Socks or Gear for Chafe Prevention
Some hikers and athletes place moleskin on the outside of socks to avoid skin adhesion while still adding cushioning. It’s also used on:
– Backpack shoulder straps
– Gloves
– Clothing seams that cause chafing
This versatile application makes moleskin useful beyond just foot care.
Types of Moleskin: Sheets, Rolls, and Pre-Cuts
| Type | Best For | Pros | Cons |
|---|---|---|---|
| Sheets | Custom shapes, multiple uses | Cost-effective, reusable | Requires scissors |
| Rolls | Frequent users, hikers | Endless supply, less waste | Bulkier to carry |
| Pre-Cut Patches | Quick fixes, emergencies | No prep needed | Limited sizing options |
Top Brands and Options
- SUMBLIME Precut Moleskin (30-pack): Sterile, easy to use, $9.99 (~$0.33 per patch).
- Dr. Scholl’s Moleskin Plus: Includes hydrogel for added comfort, ~$5.59 for 8 pads.
- Adventure Medical Kits Blister Kit: Complete kit with moleskin, wipes, and instructions.
- PrimeMed Durable Roll (2″ x 16′): Favored by backpackers for long trips.
Best Budget Pick: Matwsec 45-sheet pack at $4.99 (~$0.11 per sheet).
Real-World Performance: What Users Say
Customer reviews confirm moleskin’s effectiveness:
“Walked in Disneyland for 5 days… No blisters. Definitely recommend!”
“Just finished a half marathon—worked GREAT.”
“Stopped the blisters on a new pair of shoes.”
However, adhesion issues are common:
– “Doesn’t stick well when sweaty.”
– “Fell off after a few hours.”
– “Peels off in the rain.”
Boost Adhesion in Wet Conditions
- Apply to clean, dry skin—no lotions.
- Press firmly for 30 seconds after placement.
- Seal edges with leukotape or duct tape in wet environments.
- Use gauze between adhesive and blister to prevent sticking.
Benefits of Moleskin for Blister Prevention
- ✅ Friction Reduction: Absorbs rubbing forces before skin damage occurs.
- ✅ Cushioning: Adds padding to pressure-prone areas.
- ✅ Infection Prevention: Shields broken skin from dirt and bacteria.
- ✅ Pain Relief: Reduces discomfort from hot spots and minor abrasions.
- ✅ Portable: Lightweight and compact—fits in pockets or first aid kits.
- ✅ Multi-Use: Works on feet, hands, fingers, and gear.
Verified Use Cases:
– Hikers on multi-day trails
– Marathoners during long races
– Travelers walking all day in theme parks
– Military personnel in combat boots
Limitations and Safety Tips
Adhesion Problems in Moist Conditions
Moleskin’s biggest drawback is moisture sensitivity. Sweat, rain, or humidity can cause it to peel. For better hold, use waterproof tape over the edges or apply in dry environments.
Not for Open Wounds or Diabetic Skin
- Never apply directly over broken or infected skin.
- Avoid use on diabetic or circulatory-impaired skin without medical advice.
- Clean the area first—most moleskin is not sterile.
Safe Removal
- Gently peel from one corner.
- If stuck, moisten with water to loosen adhesive.
- Avoid pulling on fragile or blistered skin.
Maximize Results with a Complete Blister Prevention Plan
Moleskin works best when combined with other strategies:
Wear the Right Socks
- Avoid cotton—it holds moisture.
- Choose wool or synthetic blends (e.g., Smartwool, Darn Tough).
- Use liner socks to reduce internal friction.
Choose Proper Footwear
- Try shoes on at the end of the day when feet are largest.
- Ensure a snug heel fit to prevent slippage.
- Break in new shoes gradually.
Use Anti-Chafe Products
- Apply Body Glide, Bag Balm, or Vaseline to high-friction zones.
- Use Gold Bond powder to reduce moisture.
Adjust Lacing
- Use heel-lock lacing to prevent heel rise.
- Loosen the toe box if pressure builds.
Carry Gaiters
- Keep debris out of shoes—rocks increase abrasion.
How Long Does Moleskin Last?
A properly applied moleskin pad can last up to 72 hours, provided:
– It stays dry and clean
– Edges don’t curl or wrinkle
– No excessive stretching
Replace if:
– It’s wet, dirty, or peeling
– After showering or swimming
Final Tips for Success
- Double-layer for high-pressure zones.
- Round the edges to prevent peeling.
- Pre-cut and store doughnut pads in a ziplock for emergencies.
- Wash and reuse—some users dry it sticky-side down overnight.
- Pack in first aid kits with wipes and gauze.
Conclusion: Is Moleskin Worth It?
Absolutely. A moleskin pad is a simple, low-cost, high-impact solution for preventing and protecting against blisters. While adhesion can falter in wet conditions, proper technique and pairing with moisture-wicking socks and good footwear make it highly effective.
Used correctly, moleskin:
– Stops hot spots in their tracks
– Protects blisters without sticking to the wound
– Fits seamlessly into travel, sports, and outdoor routines
Whether you’re hiking a mountain trail, touring a new city, or breaking in stylish but tight shoes, moleskin is your first line of defense against friction-related foot pain. Keep a roll or pre-cut pack handy—you’ll be glad you did when the miles add up and your feet stay blister-free.