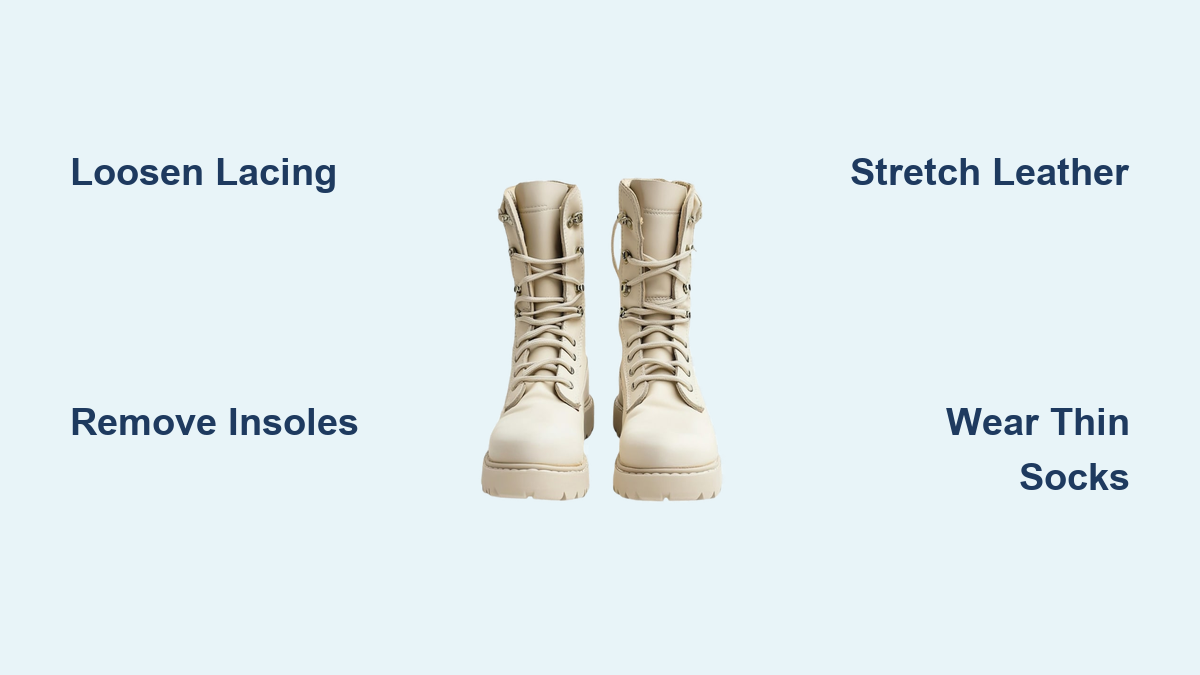
If your boots are pressing painfully against the top of your foot—especially across the instep or midfoot—you’re not imagining things. This is one of the most common complaints among people wearing new work boots, cowboy boots, or stiff leather footwear. The pressure often stems from unyielding materials, improper lacing, or a poor fit that doesn’t account for foot volume. Left unchecked, this discomfort can lead to blisters, numbness, or even nerve irritation. But here’s the good news: in most cases, you can fix the problem without replacing your boots. With simple adjustments like lacing changes, insole removal, and safe stretching techniques, you can turn painful footwear into comfortable, broken-in companions. In this guide, you’ll learn how to relieve pressure immediately, soften stiff leather safely, and upgrade your boots for long-term comfort.
Loosen Lacing to Relieve Instant Pressure
Skip the Top Eyelets for Immediate Relief
One of the fastest ways to reduce pressure on the top of your foot is to leave the top eyelets untied. Factory lacing often pulls too tightly across the instep, pinching nerves and tendons. By skipping the final set of laces, you create instant vertical space without compromising heel stability.
- How to do it: Lace normally until the top two eyelets, then cross over and tie below them.
- Best for: High instep, stiff shafts, or boots with low tongue height.
- Warning: Only skip eyelets if your heel stays secure—otherwise, try a heel lock.
Use Ladder Lacing to Reduce Midfoot Pressure
Ladder lacing creates a looser bridge over the instep while keeping the ankle and heel locked down. It’s ideal for boots that feel tight across the top but fit well everywhere else.
Steps:
1. Start lacing normally through the first two eyelets.
2. Cross laces and run each side straight up the outside.
3. Feed each lace horizontally across, forming a “ladder.”
4. Continue until the top, then tie normally.
Visual cue: If you see red marks or indentations on your foot after removing boots, your lacing is too tight.
Apply the Heel Lock (Runner’s Loop)
This technique secures your heel without tightening the upper part of the boot. It’s especially useful for work boots with deep shafts.
How:
1. Lace normally up to the second-to-last eyelet.
2. Instead of crossing, bring each lace straight up.
3. Loop each lace back through the same side, forming a “lock.”
4. Pull tight and cross to tie.
Pro tip: Combine heel lock with skipping the top eyelets for maximum comfort.
Remove Insoles and Wear Thinner Socks
Take Out the Factory Insoles Temporarily
Stock insoles can add unnecessary bulk, especially in boots with limited internal height. Removing them gives your foot extra vertical clearance, reducing pressure on the instep.
- How to do it: Pull out the insoles before wearing.
- Wear time: Go sockless or wear thin socks for 5–7 days.
- Reinsert later: Once the leather softens, put them back for cushioning.
Expert note: This method works best when combined with gradual break-in wear.
Switch to Thin, Moisture-Wicking Socks
Thick socks increase internal volume, making tight boots even more uncomfortable. Switching to lightweight, low-bulk socks can provide immediate relief.
Recommended options:
– Silk or nylon liner socks
– Lightweight merino wool blends
– Avoid cushioned hiking or winter socks during break-in
Bonus tip: Wear a thin liner under a regular sock to reduce friction without adding pressure.
Break In Stiff Leather Safely and Effectively
Wear Boots Gradually, Not All at Once
Jumping into an 8-hour shift with brand-new boots is a recipe for pain. Instead, ease into them over 1–2 weeks to let the leather adapt to your foot shape.
Recommended break-in schedule:
– Days 1–3: 1–2 hours at home
– Days 4–7: 3–4 hours with light activity
– Week 2+: Gradually increase to full wear
Alternate with broken-in boots to prevent overuse.
Warning: Avoid wet or muddy conditions during initial wear—moisture can warp unconditioned leather.
Use a 50/50 Alcohol-Water Spray (For Full-Grain Leather Only)

A mix of isopropyl alcohol and water helps relax leather fibers, making them more pliable. Spray it directly on the tight area, then wear the boots with thick socks until dry.
Steps:
1. Mix equal parts alcohol and water.
2. Spray generously on the instep.
3. Put on thick socks and wear for 1–2 hours.
4. Let dry completely before next use.
Caution: Never use on exotic leathers (ostrich, snake) or aniline-dyed finishes—alcohol can dry and crack them.
Soak and Mold to Your Foot (Advanced Method)
For full-grain leather boots, soaking in water forces the material to mold tightly to your foot as it dries.
Process:
1. Submerge boots in cold water for 10 minutes.
2. Put on thick socks and wear them.
3. Walk around until fully dry (6–12 hours).
4. Condition afterward to restore moisture.
Risk alert: Not safe for glued soles, electrical boots, or synthetic linings—water can weaken adhesives.
Long-Term Stretching Solutions
Insert Adjustable Cedar Boot Trees

Cedar boot stretchers do more than absorb moisture—they gently expand the interior over time. Models with spreaders can target the instep and toe box.
Benefits:
– Prevents odor and mildew
– Keeps leather soft
– Applies constant, low-pressure stretch
Best practice: Use nightly, especially after heavy wear.
Try the Hammer and Bar Technique

For ultra-stiff cowboy or logger boots, the hammer and bar method breaks down rigid leather in the horseshoe area (reinforced instep).
How to:
1. Place a metal spoon or flat bar inside at the pain point.
2. Gently tap the outside with a rubber mallet.
3. Move along the instep, softening small sections.
Safety tip: Use light taps—excessive force can puncture the lining.
Visit a Professional Cobbler
When DIY methods fail, professional boot stretching delivers precise results. Cobblers use machines that apply heat, steam, and mechanical pressure to stretch the instep by up to half a size.
Ask for:
– Instep stretch (vertical expansion)
– Width stretch (if toes are cramped)
– Spot stretching for localized relief
Cost range: $20–$50 depending on complexity.
Fix Boots Based on Material Type
Full-Grain Leather: Responds Well to Moisture
This durable material can be softened with:
– Water soak
– Alcohol-water spray
– Gradual wear with conditioner
Avoid over-soaking glued constructions or using heat to dry.
Suede and Nubuck: Handle with Care
These textured leathers can stretch but should never be soaked.
Best approach:
– Use commercial suede stretching spray
– Wear with thick socks
– Apply protectant after stretching
Exotic Leathers: Minimal Stretch, High Risk
Ostrich, snake, and lizard skins resist stretching and are easily damaged.
Do:
– Seek professional stretching only
– Use leather-specific conditioners
Never:
– Apply alcohol or water sprays
– Attempt aggressive softening
Synthetic Uppers: Little to No Give
Polyester, nylon, or PU-coated uppers won’t stretch like leather.
Solutions:
– Focus on lacing and insole removal
– Consider exchanging for a roomier model
– Look for boots with gusseted tongues or elastic panels
Rubber or PVC Work Boots: Not Stretchable
These materials offer zero flexibility.
If too tight:
– Replace with correct size immediately
– Choose styles with adjustable side zippers
– Prioritize fit at purchase—no break-in possible
Upgrade for Lasting Comfort
Replace Factory Insoles with Supportive Ones
Stock insoles are often flat and unsupportive. Upgrading to cushioned EVA, Poron, or memory foam insoles improves comfort and reduces instep pressure.
Top picks:
– Superfeet Green (for high arches)
– SOLE Signature Series
– Dr. Scholl’s Work Insoles
Bonus: Removable insoles allow room for orthotics.
Add Custom Orthotics for Persistent Pain
If discomfort lasts beyond break-in, you may need custom-molded orthotics. A podiatrist can design inserts that fit your foot—and your boots—perfectly.
They can also:
– Trim orthotics to fit snugly
– Address overpronation or supination
– Prevent nerve compression
When to consider: Numbness, burning, or pain lasting over 2 weeks.
Condition Boots After Breaking In
Once shaped to your foot, apply boot oil to keep leather soft and prevent re-stiffening.
Recommended products:
– Obenauf’s Leather Oil
– Lexol Conditioner
– Mink oil (use sparingly—can darken leather)
Frequency: Every 1–2 months with regular use.
Prevent Pain Before It Starts
Get Professionally Fitted
Feet change over time, and boot sizes vary widely. At a specialty store, ask for:
– Width and depth measurement
– Arch support assessment
– Instep height check
Pro tip: Always try boots on in the afternoon—feet swell throughout the day.
Choose Boots with Roomy Shafts
Look for features that reduce instep pressure:
– High-cut instep for high arches
– Flexible vamp panels
– Gusseted tongue
– Removable insoles
Brands known for comfort:
– Ariat (wide toe box models)
– Thorogood (multiple widths)
– Wolverine (cushioned midsoles)
Break In Before the Job
Never wear new boots straight into a long shift. Break them in at home first.
Ideal routine:
– Wear 1–2 hours daily
– Walk on different surfaces
– Check for hot spots or pinching
Red flag: Pain that doesn’t improve after 100 hours likely means poor fit.
Know When to Seek Help
See a Podiatrist If:
Persistent pain could signal a medical issue. Consult a foot specialist if you have:
– Numbness or tingling (nerve compression)
– Swelling or redness
– Burning sensations
– Pain lasting more than 2 weeks
A podiatrist can diagnose:
– Extensor tendonitis
– Morton’s neuroma
– Tarsal tunnel syndrome
Consult a Bootmaker For:
High-quality or handmade boots deserve expert care. A cobbler can:
– Stretch specific zones
– Modify lining or padding
– Repair stretched areas
– Adjust lasts on custom boots
Worth it: If you’ve invested in premium footwear, professional fitting preserves value and comfort.
Final Tips for All-Day Comfort
- Never ignore early pain—fix it fast before blisters or inflammation set in.
- Combine methods: e.g., remove insoles + adjust lacing + gradual wear.
- Rotate boots to extend life and reduce moisture buildup.
- Store properly with cedar trees to maintain shape.
- Replace when needed: Some boots simply don’t fit—don’t suffer needlessly.
“You don’t have to endure foot pain as a daily sacrifice.”
Start with low-risk fixes like lacing and insole removal. If those don’t work, progress to stretching only if your boot material allows it. Remember: comfort isn’t optional—it’s essential. With the right approach, even the stiffest boots can become your most trusted footwear.