If you’ve ever winced with every step due to a sharp or burning sensation under the ball of your foot, you’re not alone. Conditions like metatarsalgia, Morton’s neuroma, or even poorly fitting shoes can turn walking into a painful chore. One of the most effective, non-invasive solutions? A metatarsal pad. These small, unassuming inserts are designed to relieve pressure, restore natural foot alignment, and bring long-term comfort—but only if used correctly.
So, what are metatarsal pads and where should they be placed? They’re not meant to cushion the painful spot directly. In fact, doing so often makes things worse. Instead, a metatarsal pad works by lifting the metatarsal shafts just behind the ball of the foot, allowing the heads to drop slightly and spread apart. This reduces nerve compression, redistributes weight, and helps the body’s natural fat pad slide back into place for better shock absorption.
Used by athletes, people with diabetes, and those on their feet all day, metatarsal pads can be life-changing—when placed properly. In this guide, you’ll learn exactly how they work, the different types available, and the step-by-step method for correct placement to ensure maximum relief.
How Metatarsal Pads Work: More Than Just Cushioning
Metatarsal pads aren’t just padding—they’re biomechanical tools that correct how your foot functions under load.
Restore the Transverse Arch
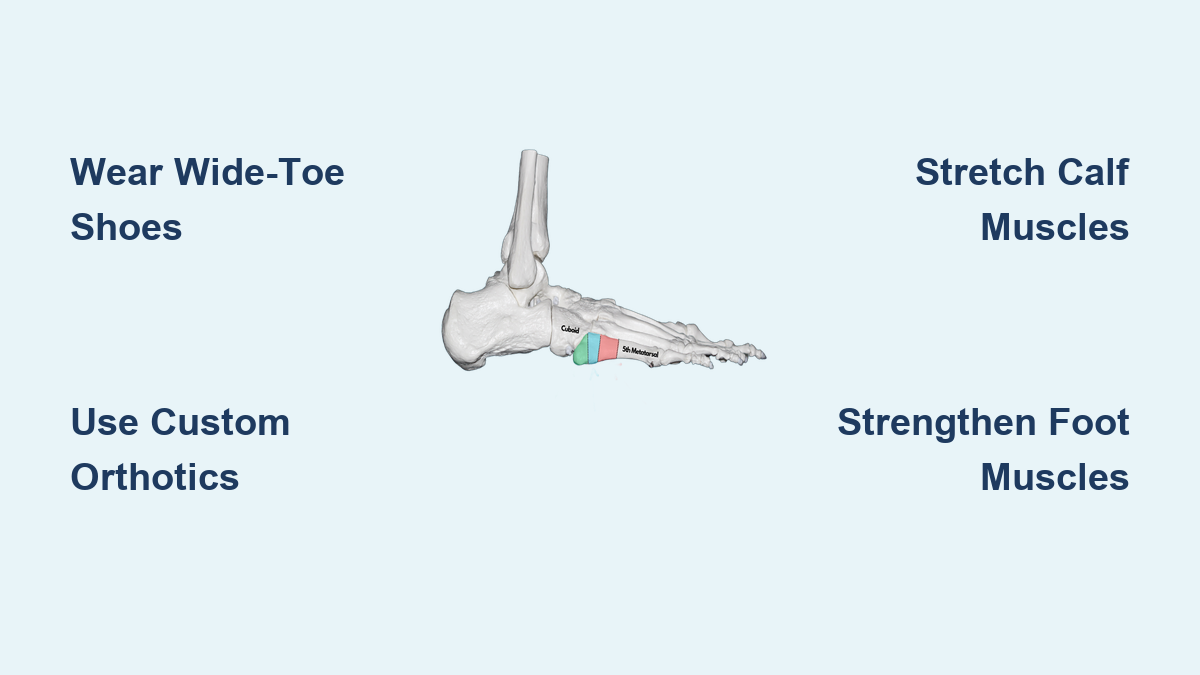
The transverse arch runs horizontally across your foot, just behind the ball. In healthy, bare feet, this arch allows the metatarsal bones to splay naturally, distributing weight evenly. But modern shoes—especially narrow or high-heeled ones—collapse this arch over time. A metatarsal pad lifts this area, restoring width and alignment so your foot can bear weight the way nature intended.
Reposition the Forefoot Fat Pad
Your body comes with built-in cushioning: a protective fat pad under the ball of the foot. Decades of wearing restrictive footwear cause this fat pad to shift forward and thin out, leaving bones and nerves exposed. A correctly placed metatarsal pad encourages the fat pad to migrate back under the metatarsal heads, returning natural shock absorption where it’s needed most.
Decompress Nerves and Joints
In Morton’s neuroma, the nerve between the third and fourth toes gets squeezed as the metatarsal heads press together. By lifting the shafts just behind the heads, the pad creates space, reducing nerve compression. It also relieves joint stress in capsulitis and arthritis, preventing inflammation and further damage.
Improve Gait and Prevent Secondary Pain
When one foot is supported and the other isn’t, your body compensates. This can lead to knee, hip, or lower back pain over time. Using metatarsal pads on both feet ensures balanced support, leading to a smoother, more natural stride.
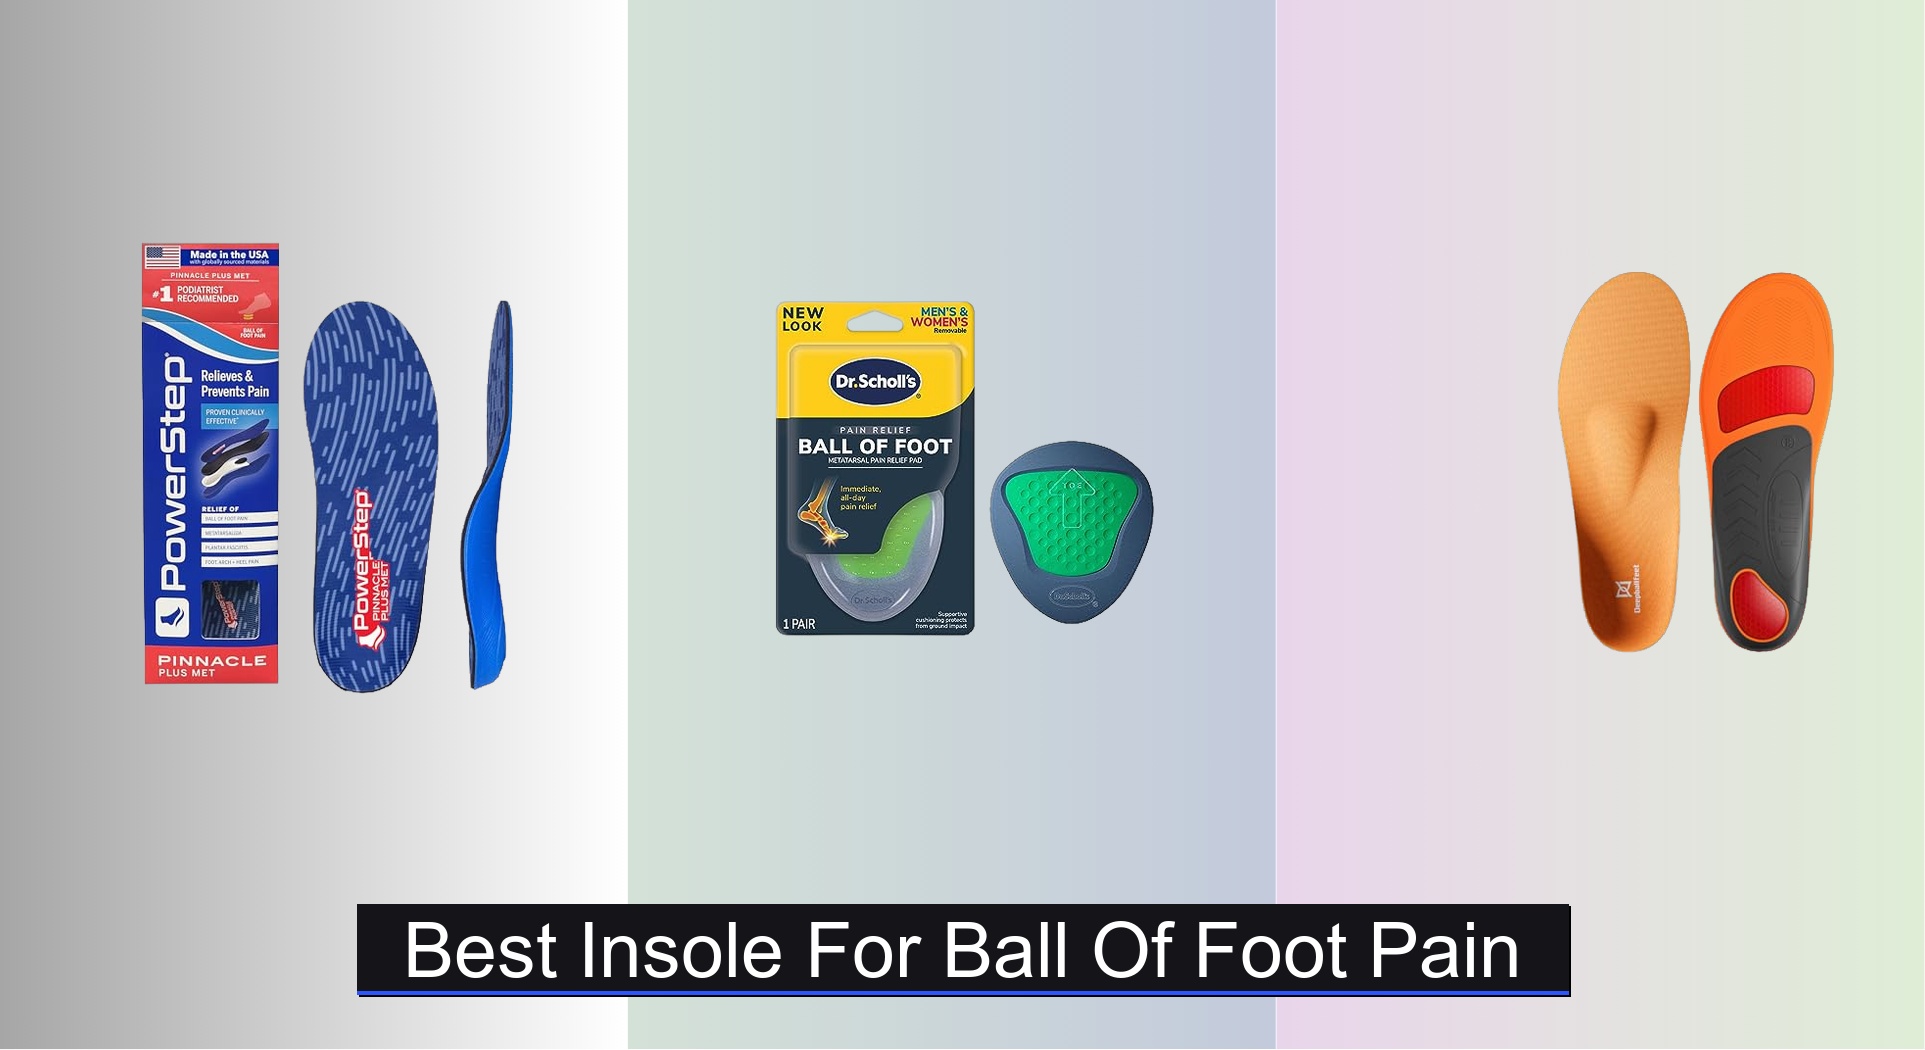
Types of Metatarsal Pads: Choosing the Right One

Not all metatarsal pads are created equal. Your choice affects comfort, durability, and effectiveness.
Shoe-Based vs. Foot-Worn Pads
Shoe-Integrated Pads
- Adhered directly to the insole or shoe bed
- Stay in place, no shifting during movement
- Best for daily wear: sneakers, work boots, walking shoes
- Examples: Tread Labs ramp pads, Pedag T-pads
Wearable (Foot-Applied) Pads
- Attached to the foot with an elastic band or adhesive
- Portable across multiple pairs of shoes
- Ideal for heels or shoes with non-removable insoles
- Example: Strutz Pro foot pads
Pro Tip: Use shoe-based pads for consistent daily support; wearable ones when you need flexibility across footwear.
Material Comparison: Support vs. Comfort
| Material | Support Level | Best For |
|---|---|---|
| Gel/Silicone | High support + cushioning | Neuroma, diabetes, high-impact use |
| Foam/Felt | Low lift, minimal correction | Mild discomfort only |
| Rubber/Leather | Firm, durable support | Structural realignment, long-term wear |
Top Pick: Silipos Gel Metatarsal Pads—combine shock absorption, durability, and precise anatomical fit.
Specialized Designs for Specific Needs
- Gel pad with toe spacer: Supports metatarsals and aligns toes simultaneously
- SlimFit models: Fit in narrow or dress shoes
- TheraStep Ball of Foot Cushion: Designed for use in low-volume heels
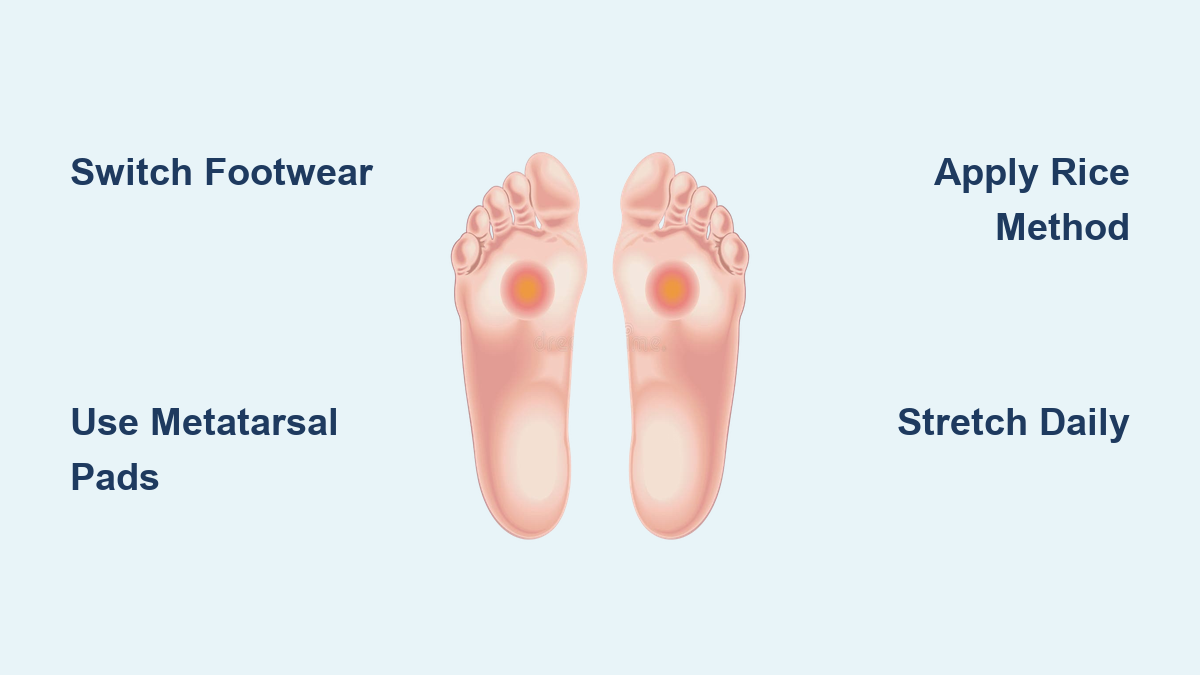
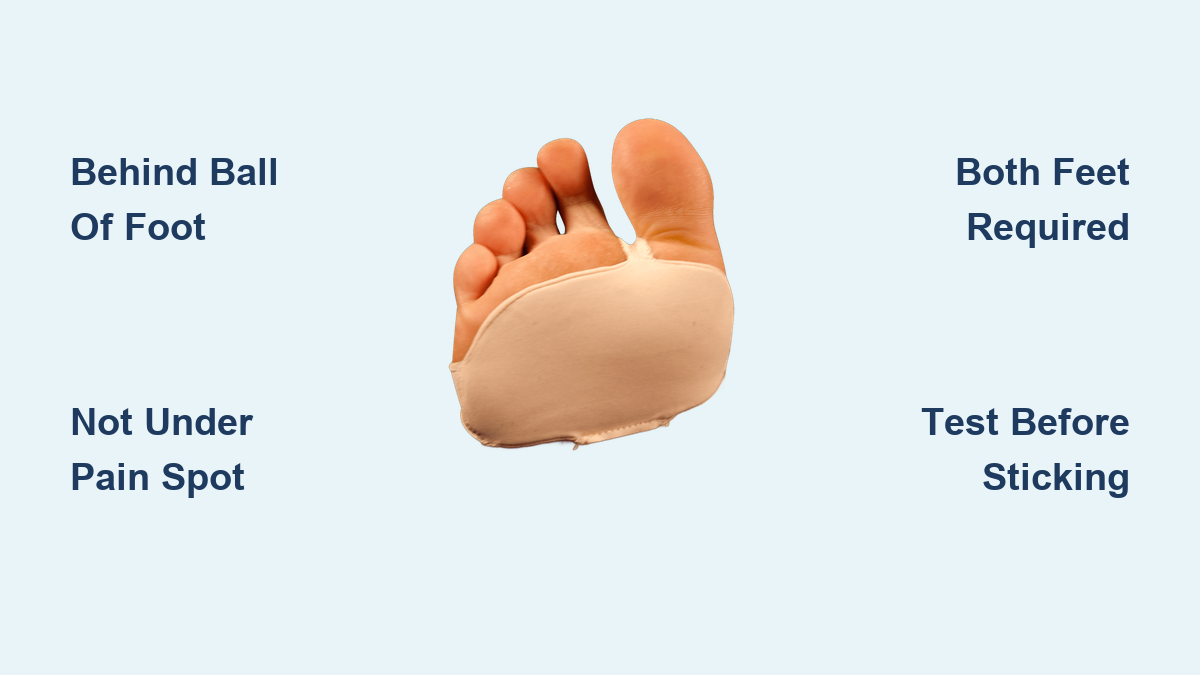
Correct Placement: Behind the Ball, Not Under It
Where should metatarsal pads be placed? This is the most critical—and commonly misunderstood—step.
The Golden Rule
Place the pad ¼ to ½ inch (6–12 mm) behind the ball of the foot, not under it.
Putting the pad directly under the painful area increases pressure on already stressed tissue. Instead, position it just behind the metatarsal heads, where the transverse arch begins. This allows the heads to “drop off” the edge of the pad, spreading them apart and reducing compression.
Step-by-Step Placement Guide
Step 1: Remove the Insole
Take out the insole and look for a wear mark—a dark spot or indentation where your forefoot presses down. This shows where your metatarsal heads make contact.
No wear mark? Apply lipstick or ink to the ball of your foot, step on the insole, and use the imprint.
Step 2: Divide the Insole into Thirds
Split the insole mentally into heel, arch, and forefoot zones. Focus on the middle third, near the arch-forefoot transition. This is your target zone.
Step 3: Position the Pad
- For teardrop or T-shaped pads, point the tip toward the toes.
- Center the pad along the midline of the foot (between second and third toes).
- The thickest part should sit just behind the wear mark.
Visual Cue: Press your thumb into your foot just behind the ball. When your toes flex, you’ve found the anatomical pocket—this is where the pad should press.
Step 4: Test Before Sticking
Peel only 1 inch of adhesive from the back. Stick it temporarily, reinsert the insole, and walk around for 2–3 hours. Test on stairs, flat ground, and while standing.
Step 5: Adjust Based on Feedback
| Symptom | Problem | Fix |
|---|---|---|
| Pain under ball | Pad too far forward | Move backward |
| No relief | Pad too far back | Move forward |
| Side pain | Misaligned laterally | Center the pad |
| Toe fatigue | Normal adaptation | Continue for 1–2 weeks |
Step 6: Finalize Placement
Once the ideal spot is confirmed, trace the back edge of the pad. Remove the full adhesive backing and press firmly into place. Repeat for the other shoe—even if only one foot hurts.
Why both feet? Uneven support disrupts gait and can lead to hip or back pain.
Special Cases: Tricky Shoes and Foot Conditions

Not every shoe or foot type is standard. Here’s how to adapt.
Shoes with Fixed Insoles
If the insole can’t be removed:
– Untie the shoe fully and pull down the tongue.
– Shine a light inside to spot wear patterns.
– Stick the pad directly to the shoe bed.
– Use temporary adhesion first to test fit.
Wearable Pads on the Foot
- Wrap the elastic band around the midfoot.
- Slide the pad up into the arch, just behind the ball.
- Adjust until pressure feels even.
- Can be worn over Injinji toe socks for added alignment.
Condition-Specific Placement
| Condition | Ideal Pad Position |
|---|---|
| Metatarsalgia (2nd toe) | Behind 2nd met head, slightly lateral |
| Morton’s neuroma (3rd/4th web) | Between 3rd and 4th, just behind heads |
| Sesamoiditis (big toe) | Medial side, behind 1st met head |
| General forefoot pain | Centered in middle third, slightly forward |
Expert Note: Combine with Correct Toes or toe spacers to enhance splay and nerve decompression.
Common Mistakes That Make Pain Worse

Even small errors can sabotage relief.
❌ Placing Pad Under the Pain
- Result: Increases pressure on nerves and joints
- Fix: Move pad behind the ball—never directly under
❌ Using Only One Pad
- Result: Creates gait imbalance
- Fix: Apply to both shoes, even if pain is one-sided
❌ Permanent Stick Without Testing
- Result: Hard to reposition; may waste a pad
- Fix: Always test with partial adhesion first
❌ Wearing in Heels or Narrow Shoes
- Result: Foot is compressed; pad can’t function
- Fix: Use only in flat, wide-toed, zero-drop shoes
❌ Giving Up Too Soon
- Result: Miss out on long-term benefits
- Fix: Expect a 1–2 week adaptation period with mild toe fatigue
Podiatrist Insight: “It’ll feel lumpy at first. Over time, it settles and works better—especially with orthotics.”
Maximize Results: Combine with Foot-Healthy Habits
Metatarsal pads work best as part of a broader strategy.
Wear Proper Footwear
- Flat soles (zero-drop): Prevent forefoot elevation
- Wide toe box: Allow natural splay
- Flexible sole: Promote natural foot motion
Brands that work well: Altra, Xero Shoes, Vivobarefoot, Topo Athletic
Use Corrective Accessories
- Toe spacers (e.g., Correct Toes): Improve alignment
- Toe socks (e.g., Injinji): Reduce friction, maintain spacing
- Orthotics with met pad slot: Integrate support seamlessly
Stretch Tight Calves
Tight calves increase forefoot loading. Do daily calf stretches (3×30 seconds per leg) to reduce pressure.
Pro Tip: Stretch against a wall, keeping heels flat—first with straight knees (gastrocnemius), then bent (soleus).
How Long Do Pads Last and When to Replace?
Even the best pads wear out.
Lifespan by Material
- Gel/silicone: 6–12 months
- Foam/felt: 1–3 months
- Rubber/leather: 12+ months
Signs It’s Time to Replace
- Pad feels flat or squished
- Adhesive fails
- Pain returns despite correct placement
- Visible cracks or tears (gel)
Care Tips
- Wipe with mild soap and water
- Air dry—never heat
- Store at room temperature
Visual Guides and Tutorials
Because placement is so precise, video guidance is highly recommended.
Recommended Resources
- Dr. Ray McClanahan (DPM): Easy Effective Tip for Ball of Foot Pain
Shows real-time placement and anatomical cues - Tread Labs: Placement guide for removable pads
- Strutz Foot Pads: Instructions for wearable models
- YouTube: Metatarsal Pad Placement Demo
These videos demonstrate how the pad should feel, how to adjust it, and what to avoid.
Final Tips for Success
Getting long-term relief starts with precision.
✅ Do This:
- Place pad just behind the ball of the foot
- Test position before permanent stick
- Use on both feet
- Wear in flat, wide shoes
- Combine with toe spacers and calf stretches
- Allow 1–2 weeks for adaptation
✅ When to See a Podiatrist:
- Pain persists after 4 weeks of correct use
- You have diabetes or neuropathy
- You’re unsure about foot anatomy or pad type
Final Insight: “A correctly placed metatarsal pad, paired with calf stretching and proper footwear, can significantly reduce or even eliminate forefoot pain—without surgery or medication.”
Metatarsal pads are a simple, evidence-backed tool. But their power lies in precision. Get the placement right, and you’re on your way to pain-free steps.