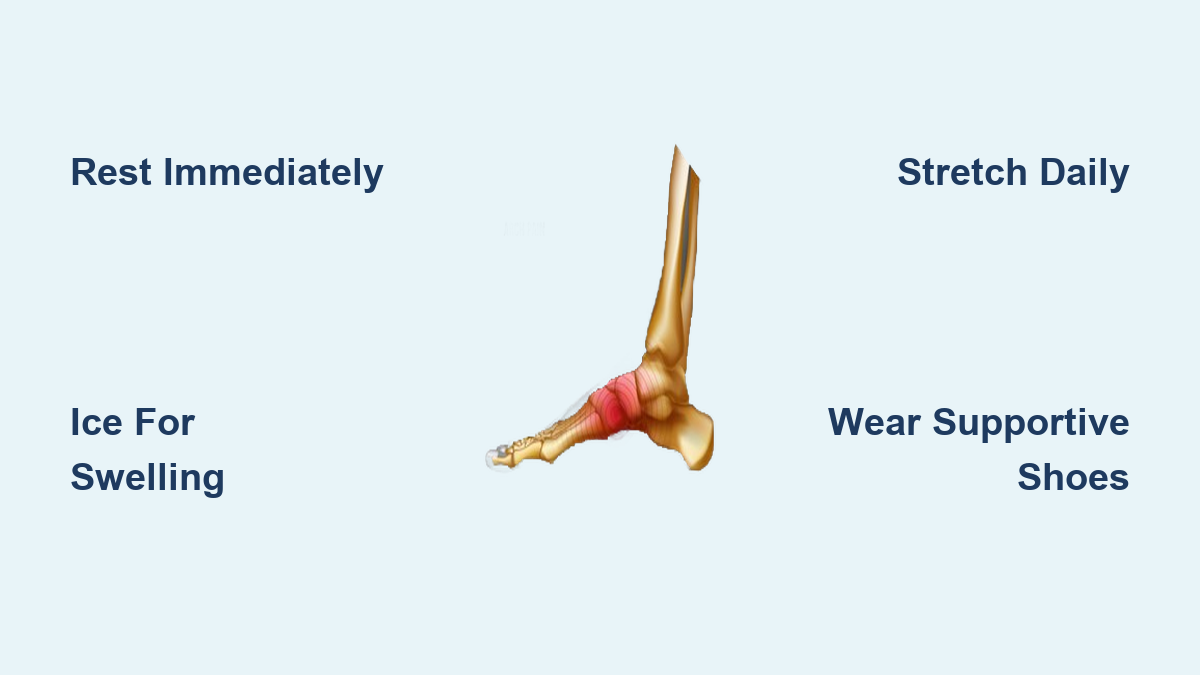
If you’ve ever stepped off a curb awkwardly, pushed too hard during a run, or felt a sharp ache along the inside of your foot after standing all day, you may have sprained your arch. A sprained arch occurs when the ligaments, tendons, or intrinsic foot muscles supporting the medial longitudinal arch—especially the posterior tibialis tendon and plantar fascia—are overstretched or torn due to sudden twisting, overuse, poor footwear, or biomechanical imbalances like flat feet or high arches.
Symptoms include pain under the foot, tenderness behind the inner ankle bone, swelling, morning stiffness, and difficulty walking on hard surfaces. While these signs can mimic plantar fasciitis or even a stress fracture, most mild to moderate sprains respond well to natural treatment when addressed early.
The good news? You don’t need medication or surgery to heal a sprained arch. With the right combination of rest, targeted movement, and supportive care, your foot can recover fully—naturally. This guide walks you through a step-by-step, evidence-based approach to reduce pain, speed healing, and prevent future injury—all without relying on drugs or invasive treatments.
Immediate Care: R.I.C.E. Protocol (First 48 Hours)

Right after injury, your goal is to limit inflammation, protect damaged tissues, and set the stage for healing. The R.I.C.E. method (Rest, Ice, Compression, Elevation) is clinically proven to reduce swelling and pain in the first 48 hours.
Stop Weight-Bearing Activities Immediately
Continuing to walk or stand on an injured arch worsens microtears in ligaments and delays recovery.
- Avoid running, jumping, or prolonged standing.
- Use crutches if walking causes sharp pain.
- Swap high-impact workouts for non-weight-bearing options like swimming or cycling—only when pain-free.
⚠️ Warning: Don’t immobilize completely for more than 72 hours. Early gentle motion prevents stiffness and improves blood flow for faster healing.
Apply Ice to Reduce Swelling
Cold therapy constricts blood vessels, reducing inflammation and numbing pain.
- Wrap an ice pack in a thin towel.
- Apply to the arch for 15 minutes every 2–3 hours during waking hours.
- For added benefit, roll a frozen water bottle under your foot for 5–10 minutes—this combines icing with soft tissue massage.
✅ Pro Tip: Never apply ice directly to skin. Limit sessions to 15 minutes to avoid frostbite or nerve damage.
Use Compression to Control Inflammation
Light compression helps minimize swelling without restricting circulation.
- Wear a compression sock or wrap the foot with an elastic bandage.
- Start wrapping from the ball of the foot and move upward with even pressure.
- Check that you can slide a finger under the wrap—tightness cuts off blood flow.
Remove at night and inspect for skin irritation or increased swelling.
Elevate Your Foot Above Heart Level
Elevation uses gravity to drain excess fluid from the injured area.
- Prop your foot on pillows so it’s above heart level.
- Hold for 15–20 minutes, 3–5 times daily.
- Combine with ice for enhanced results.
🧠 Clinical Insight: Elevation plus ice within the first 48 hours significantly shortens recovery time and reduces bruising.
Reduce Swelling: Natural Therapies After 48 Hours
Once acute swelling starts to fade (after 2–3 days), shift from pure ice to therapies that boost circulation and promote tissue repair.
Try Epsom Salt Soaks for Muscle Relaxation
Epsom salt (magnesium sulfate) absorbs through the skin to relax tight muscles and ease soreness.
- Fill a basin with warm water (92–100°F).
- Add 1 cup of Epsom salt, stir until dissolved.
- Soak feet for 15–20 minutes once or twice daily.
- Dry thoroughly and moisturize.
❌ Avoid if: You have open cuts, sores, or uncontrolled diabetes.
Best used after the first 48 hours—warm water can increase swelling if applied too early.
Use Contrast Baths to Flush Out Inflammation
Alternating hot and cold water creates a “pumping” effect that clears inflammatory waste and delivers oxygen-rich blood.
- Prepare two basins:
- Cold water: 50–60°F
- Warm water: 92–100°F
- Soak in warm water for 3 minutes, then cold for 1 minute.
- Repeat 3–5 cycles, ending with cold.
🔁 Why It Works: Vasodilation (warm) followed by vasoconstriction (cold) enhances lymphatic drainage and speeds healing.
Use once daily during recovery—ideal for lingering stiffness or chronic arch discomfort.
Switch to Heat Therapy After Swelling Subsides
Once swelling is gone, heat helps relax tight connective tissues and prepares them for stretching.
- Apply a heating pad or warm towel to the arch for 15–20 minutes.
- Use before stretching or exercise to loosen tissues.
❌ Never use heat during the first 48 hours—it increases inflammation and can worsen swelling.
Release Tension: Foot and Calf Massage
Tight plantar fascia and posterior tibialis pull on the arch, prolonging pain. Self-massage breaks up adhesions and improves flexibility.
Roll Your Foot on a Ball or Bottle
Use firm pressure to release tension in the sole.
- Sit and place a tennis ball, lacrosse ball, or frozen water bottle under your arch.
- Roll slowly from heel to ball of foot.
- Pause on tender spots for 30–60 seconds.
- Do 5–10 minutes per foot, 1–2 times daily.
✅ Bonus: A frozen bottle adds cooling relief—perfect for morning stiffness.
Target the Posterior Tibialis on the Inner Shin
This key tendon runs behind the ankle and supports the arch. Tightness here often refers pain into the foot.
- Use a cane, foam roller, or rounded butter knife to apply deep pressure along the inner calf.
- Focus on tight or knotted areas.
- Perform for 2–3 minutes per leg.
🧠 Expert Note: Referred pain from this tendon mimics arch strain—treating it speeds recovery.
Restore Flexibility: Daily Stretching Routine

Tight calves and stiff plantar fascia overload the arch. Stretching daily restores balance and reduces mechanical stress.
Stretch Plantar Fascia First Thing in the Morning
Do this before getting out of bed to prevent pain spikes.
- Sit, cross injured foot over opposite knee.
- Hold heel with one hand, grab toes with the other.
- Gently pull toes back toward the shin.
- Feel the stretch along the arch.
- Hold 15–30 seconds, repeat 2–4 times.
✅ Pro Tip: Morning stretches prevent the “first step” pain common with arch injuries.
Try the Kneeling Plantar Stretch for Deep Release
- Get on hands and knees.
- Keep toes flat, heels pointing up.
- Slowly sit back toward heels.
- Hold 15–30 seconds, repeat 2–4 times.
Modify by doing one leg at a time while standing.
Stretch Your Calves to Relieve Arch Strain
Gastrocnemius Stretch (Straight Knee)
- Stand facing a wall, hands at shoulder height.
- Step injured leg back, keep heel down and leg straight.
- Lean forward until you feel a stretch in the upper calf.
- Hold 30 seconds, repeat 3 times.
Soleus & Posterior Tibialis Stretch (Bent Knee)
- Same position, but bend the back knee slightly.
- Keep heel on floor and turn foot out 15–20 degrees.
- Lean forward—this targets deeper calf and arch-supporting muscles.
- Hold 20–30 seconds, repeat 3 times.
🔺 Advanced: Do this on a step or thick book to deepen the stretch.
Use the Stair Stretch for Maximum Tendon Lengthening
- Stand on the edge of a step, ball of foot on step, heel hanging off.
- Slightly bend knee and turn foot out 20 degrees.
- Lower heel below step level.
- Hold 20 seconds, repeat 3 times.
✅ Best for: Chronic tightness and posterior tibialis strain.
🗓️ Frequency: Perform all stretches twice daily, especially after rest.
Rebuild Strength: Arch-Supporting Exercises
Weak foot muscles lead to arch collapse. Strengthening restores dynamic support.
Pick Up Marbles With Your Toes
Activates intrinsic foot muscles.
- Place 10–20 marbles on the floor with a cup nearby.
- Use toes to pick up one at a time and drop in the cup.
- Repeat 8–12 times.
🔺 Progression: Use coins or smaller stones.
Do Towel Scrunches for Arch Activation
- Sit barefoot, place a towel flat on the floor.
- Use toes to scrunch the towel toward you, then push it back.
- Repeat 8–12 times.
💡 Add resistance: Place a soup can on the far end.
Perform Toe Curls on a Washcloth
Refines control of small foot muscles.
- Lay a washcloth under your foot.
- Curl toes to pull the cloth toward your heel, then push back.
- Complete 10 sets of 10 reps.
Activate the Arch: Arch Domes and Heel Raises
Build Arch Bridges (Arch Domes)
Isolates the medial longitudinal arch.
- Stand barefoot, shift weight to one foot.
- Keep heel and ball of foot grounded.
- Lift the arch upward—without curling toes.
- Hold 5 seconds, repeat 10 times per foot.
🔺 Progress: Do on a foam pad for instability training.
Do Heel Raises for Calf and Arch Strength
Double-Leg Heel Raise on Step
- Stand on a step, balls of feet on edge.
- Rise onto toes, then slowly lower heels below step.
- Repeat 8–12 times.
🔺 Progress to single-leg as strength improves.
Heel Raise With Ball Squeeze
Adds medial arch engagement.
- Place a tennis ball between ankles.
- Squeeze while rising onto toes.
- Maintain squeeze throughout.
- Do 10–15 reps, 3 sets.
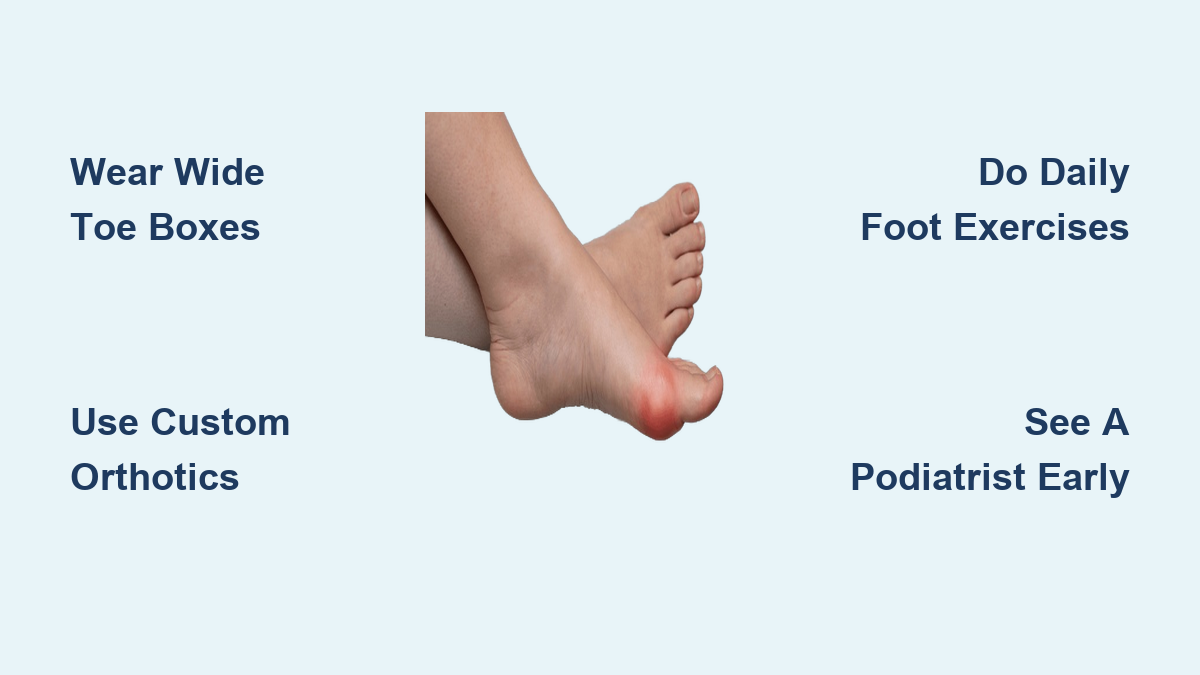
Support Healing: Footwear and Orthotics
Your shoes either help or hurt recovery.
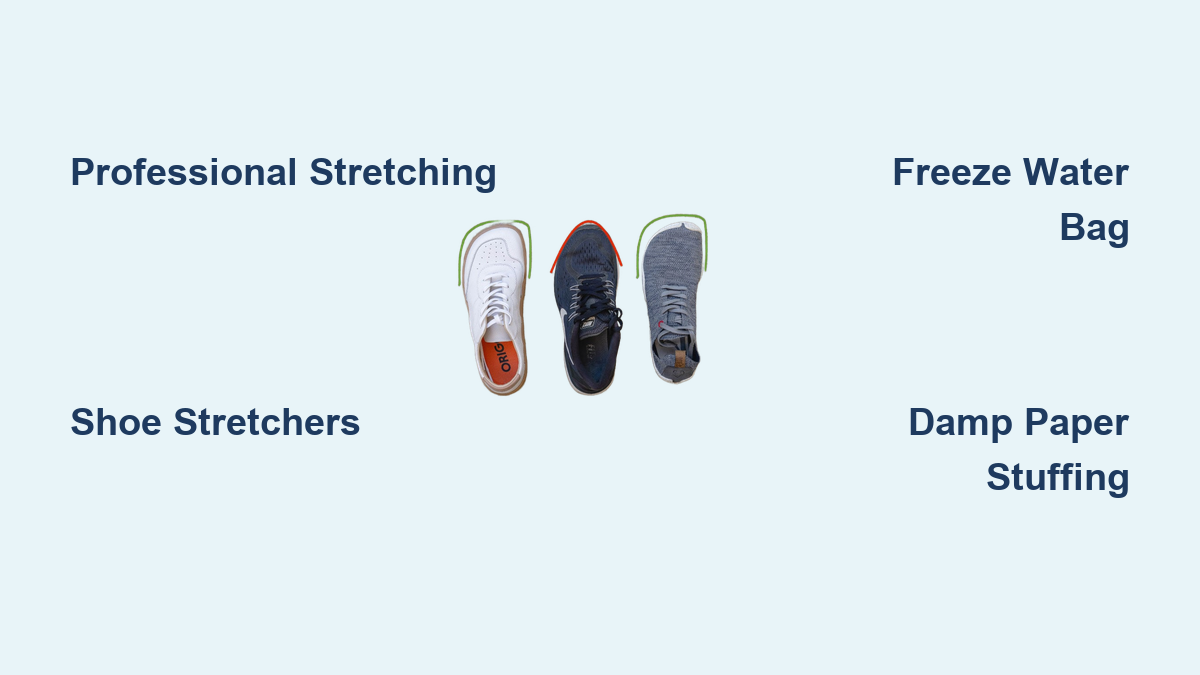
Wear Supportive Shoes
Look for:
– Firm heel counter
– Arch support
– Cushioned midsole
– Flexible only at the ball of foot
– Wide toe box
Replace every 300–500 miles if you run; sooner if soles are worn.
❌ Avoid: Worn-out shoes—they lose shock absorption and increase arch strain.
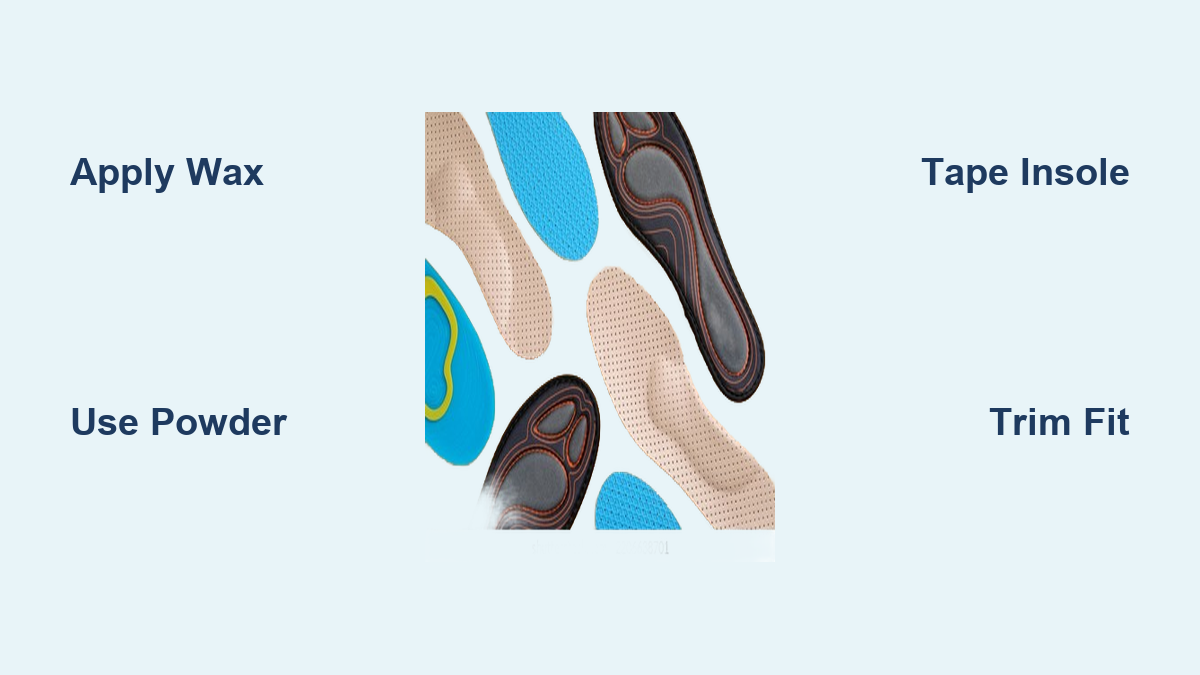
Use Arch Supports
- Over-the-counter insoles: Effective for mild cases
- Custom orthotics: Best for persistent pain or overpronation
Wear them all day, every day, especially during activity.
🚩 Upgrade to custom orthotics if OTC ones fail after 2 weeks.
When to See a Doctor
Natural treatment works for most cases—but seek help if you:
– Can’t bear weight after 48 hours
– Have severe pain, bruising, or deformity
– Feel numbness or tingling
– Have diabetes or poor circulation
– Experience pain lasting more than 6 weeks
🩺 Professional treatments may include: X-ray, MRI, physical therapy, or custom orthotics.
Final Tip: Healing Takes Consistency
Combine rest with progressive movement, proper footwear, and early action on discomfort. With the right approach, most sprained arches resolve fully—naturally and permanently.