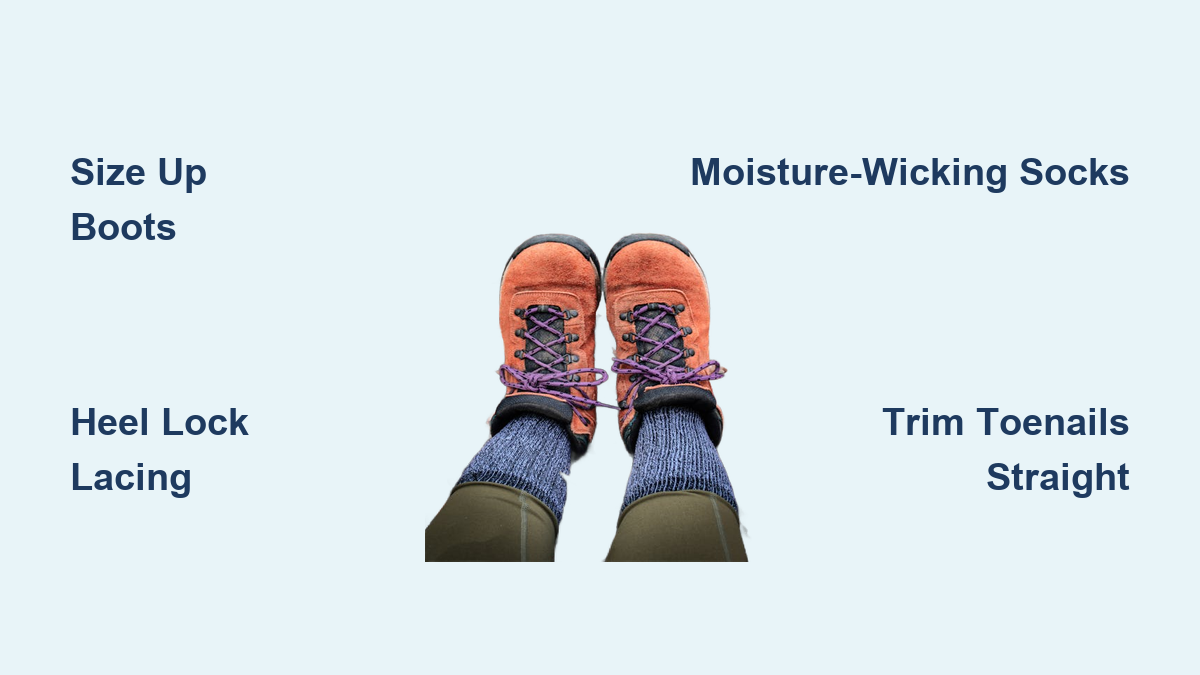
You’ve just finished a grueling but rewarding descent—your legs burn, your breath is steady, and the view from the valley floor is unforgettable. But as you sit down to remove your boots, a sharp pain shoots through your toes. A quick glance confirms your worst hiking fear: black toenails, dark and bruised, possibly lifting or cracked at the edges. This all-too-common issue—medically known as subungual hematoma—isn’t just cosmetic. It’s a sign of repeated trauma, preventable with the right gear and techniques.
Black toenails happen when your toes repeatedly slam into the front of your hiking boots, especially during long, steep descents. Each step drives your foot forward, causing micro-impacts that rupture tiny blood vessels under the nail. Over time, blood pools beneath the nail plate, creating pressure, pain, and discoloration. In severe cases, the nail may detach entirely—leaving the sensitive nail bed exposed and vulnerable.
But here’s the good news: you don’t have to lose toenails to love hiking. With proper boot fit, smart lacing, quality socks, and a few key habits, you can hike confidently—no black toenails included. This guide delivers actionable, field-tested strategies to protect your toes from black nails when hiking, so you can focus on the trail, not your feet.
Choose the Right Boot Fit

Size Up for Downhill Hikes
Feet don’t stay the same size on the trail—they swell. Heat, exertion, and carrying a heavy pack can cause your feet to expand by half a size or more. If your boots fit perfectly in the store, they might become a vice after mile five.
To prevent black toenails, buy hiking boots a half to full size larger than your everyday shoes. Your longest toe should be 6–10 mm (¼ to ⅜ inch) from the front of the boot when standing. This buffer zone absorbs foot slide during descents, stopping your toes from repeatedly hitting the toe box.
Remember: when you’re hiking downhill, gravity pulls your foot forward with every step. Without space, that motion turns your toenails into crash test dummies.
Test Fit with Hiking Socks
Never size boots barefoot. Always wear the exact socks you’ll hike in. Thick merino wool or synthetic blends add volume—enough to turn a comfortable fit into a toe crusher.
When trying on boots:
– Walk up and down an incline.
– Stamp your foot to simulate impact.
– Push your toes all the way forward—they should not touch the front.
– Check for heel lift: if your heel slips more than 5 mm, your foot will piston forward, increasing toe trauma.
Pro tip: Visit an outdoor specialty store like REI for a professional fitting. And if you’re backpacking, try the boots on with a loaded pack if possible—your arches flatten under weight, making your feet longer.
Opt for Wide Toe Boxes
Narrow toe boxes squeeze your toes together, increasing pressure and friction. Look for hiking boots with anatomical or wide toe boxes that allow natural toe splay. Brands like Altra, Topo Athletic, and select models from Salomon and La Sportiva are designed with foot health in mind.
If your pinky toe feels pinched or numb after a short walk, skip the boot. A roomy forefoot isn’t just more comfortable—it’s critical for preventing repetitive impact.
Lock Your Heel in Place
Use the Heel Lock Lacing Technique
Even a perfectly sized boot can fail if your heel slips. That slippage causes your foot to slide forward, turning every downhill step into a toe-pounding ordeal. The heel lock (or lace lock) lacing method solves this by anchoring your heel securely.
How to do it:
1. Lace normally up to the second-to-last eyelet.
2. Create a loop with each lace.
3. Pass the lace end through the opposite loop and pull tight.
4. Finish lacing and tie as usual.
This creates extra tension across the midfoot and ankle, locking your heel in place and minimizing forward movement.
Try Downhill Lacing for Steep Trails
For technical descents, use overhand knot lacing or loop lacing at the top eyelets. This allows you to tighten the upper section independently, keeping your heel planted without over-compressing the forefoot.
Pro tip: Double-knot your laces. Synthetic laces loosen over time—especially on rocky trails—and a sudden slack can lead to immediate foot slide.
Avoid Over-Tightening the Forefoot
Cranking down on the front laces increases pressure on your toes. Keep tension firm but even across the midfoot. Let the heel lock do the work—your toes shouldn’t feel squeezed.
Wear Smart Socks
Pick Moisture-Wicking, Mid-Weight Socks
Cotton socks are a black toenail trap. They absorb sweat, swell, and create friction—increasing both blister and trauma risk. Choose merino wool or synthetic blends (polyester, nylon) that wick moisture and regulate temperature.
Opt for mid-weight socks—they offer cushioning without excessive bulk. Too thick? Your boot becomes cramped. Too thin? No protection from impact.
Prevent Sock Bunching
Wrinkles underfoot create pressure points. Make sure socks lie smooth and snug. Seamless toes or flat seams reduce irritation.
Many hikers use a liner sock + outer sock combo: the liner wicks moisture, the outer provides cushion. Popular with thru-hikers tackling 100+ mile trails.
Replace Worn-Out Socks
Socks lose elasticity and padding after 6–12 months of regular use. If they sag or feel thin, replace them. Old socks = less protection = higher black toenail risk.
Trim Toenails the Right Way
Cut Straight, Not Rounded
Trim toenails straight across to prevent ingrown nails. Rounded cuts encourage corners to dig into soft tissue—especially when your foot swells.
Leave the nail just short of the toe tip—not so short that it hurts, but not long enough to press against the boot roof.
File the Edges
Rough or sharp edges can snag inside your sock or boot. Smooth them with an emery board to prevent microtrauma.
Trim 1–2 Days Before Hiking
Cutting too close to departure can leave tender nail beds vulnerable. Trim early to catch any irritation before you hit the trail.
Why it matters: Long toenails act like levers, amplifying impact with every downhill step.
Use Trekking Poles for Balance

Reduce Foot Impact on Descents
Trekking poles shift weight from your legs to your arms, reducing forward momentum and foot slide. Studies show they cut knee strain by up to 25%—and toe trauma by nearly as much.
On steep downhills, poles help you shorten your stride, maintain control, and keep your heel down.
Adjust Pole Length for Downhill
Shorten your poles slightly when descending. This keeps your arms in front of your body, improving balance and braking power.
Pro tip: Use poles with ergonomic grips and wrist straps to reduce hand fatigue.
Upgrade Your Insoles

Support Your Arches
Flat or collapsing arches cause your foot to roll forward—increasing heel lift and toe impact. Replace flimsy stock insoles with high-performance models like:
– Superfeet Green (firm support)
– Montrail Enduro Soles
– Sole Signature Ed Viesturs (heat-moldable)
These stabilize your foot, lock your heel, and reduce the piston effect.
DIY Arch Fix for Emergencies
No spare insole? Cut a piece of closed-cell foam (from a sleeping pad or backpack liner) and tape it under your arch. It’s not pretty, but it works in a pinch.
Keep Your Pack Light
Reduce Load-Induced Foot Expansion
Every extra pound increases foot swelling and arch collapse. A 30+ lb pack can make your feet grow a half-size—turning a snug boot into a black toenail factory.
Trim weight where you can:
– Use lightweight shelter and sleep system
– Carry only essential food and water
– Avoid “just in case” items
Lighter load = less foot stress = healthier toes.
Monitor Early Warning Signs
Watch for Toe Pain or Discoloration
Don’t ignore toe tenderness, bruising, or pressure. These are early signs of trauma. Act fast:
– Re-lace your boots
– Adjust poles
– Add tissue padding (temporary fix)
Use Tissue Padding (Trail Hack)
If toes are already sore, stuff soft tissue or gauze into the toe box for cushioning. It’s not ideal, but it can get you through a multi-day hike.
Replace it daily to avoid moisture buildup.
When to See a Doctor
Seek medical care if:
– The black spot covers over 50% of the nail
– Pain is severe or worsening
– Signs of infection appear
– The nail detaches oddly
– A dark line appears without trauma—this could be subungual melanoma, a rare but serious skin cancer
Critical: Any unexplained dark streak under a toenail should be evaluated by a dermatologist.
Prevention Checklist: Keep Toes Healthy
| Step | Action |
|---|---|
| Boot Fit | Size up ½–1 size; 6–10 mm toe space |
| Lacing | Use heel lock or downhill lacing |
| Socks | Wear mid-weight, moisture-wicking (merino/synthetic) |
| Toenails | Trim straight, short, 1–2 days pre-hike |
| Trekking Poles | Use on descents to reduce impact |
| Insoles | Upgrade to supportive models (e.g., Superfeet) |
| Pack Weight | Keep light to minimize foot swelling |
| Early Signs | Address pain or bruising immediately |
| Nutrition | Eat iron, biotin, B12, zinc, protein, magnesium |
Final Note: Black toenails are not inevitable. They’re a sign of preventable mechanical stress. With the right boots, lacing, socks, and habits, you can hike steep trails without sacrificing your toenails. Protect your feet—they carry you through the wild places worth seeing.